

You should identify basic customer information before you create the customer account.
Fields to
note include First and Last Name (as it will appear on reports and
notifications), Time zone (of the customer), and
Language (in which the customer will receive reports and
notifications). Before you add a customer and install the Agent on the managed server,
make
sure you have written approval to perform tasks to access, monitor, and manage the
customer's resources.
Procedure
- From the Remote Manager web
console banner, click New Customer.

Note
You can click New Customer from the Banner, or from the Customers tab. - Provide the customer information.
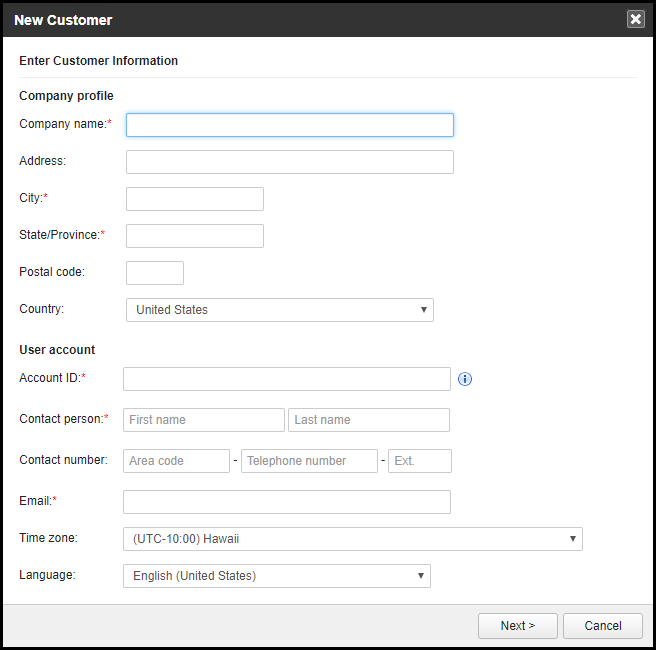
Customer Info Screen - Click Next >.
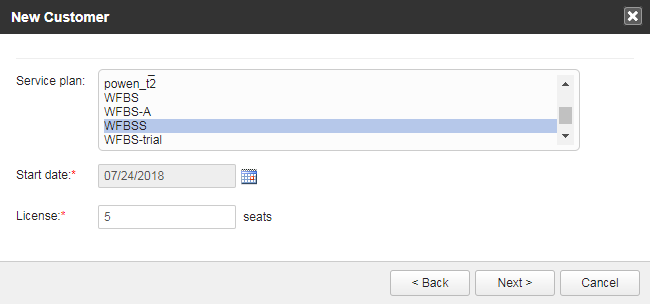
- Assign a service plan, license start date, and the number of units per license.
- Set up the product default settings for this account. These are:
Note
This feature is only for Worry-Free Business Security Services and Cloud Edge.- Basic: Configure only the settings on this
screen that new customer accounts will use.
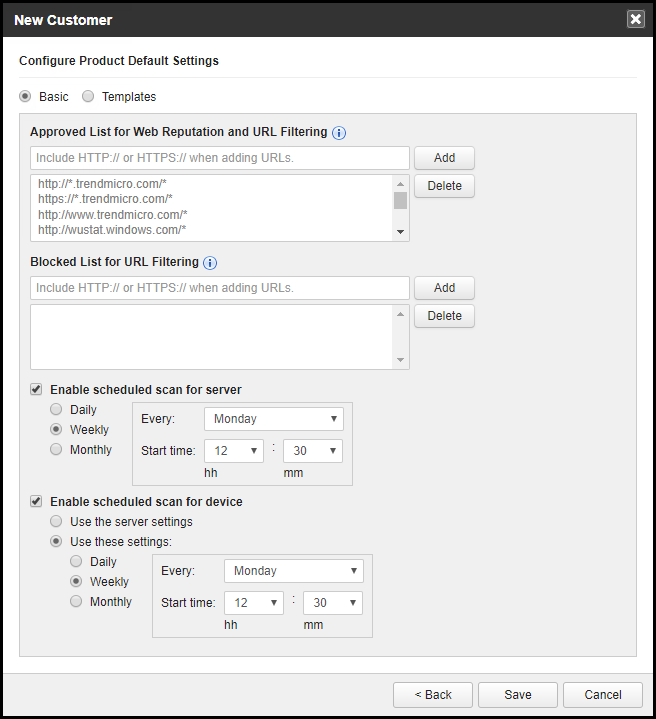
Basic product settings - Templates: Use this option to select a default settings template. Configure the settings from .
- Basic: Configure only the settings on this
screen that new customer accounts will use.
- Verify all the information and then click Save.
Note
After adding the customer, profile changes can only be made from the Trend Micro Licensing Management Platform.