

To install the complete ServerProtect package, including the Management Console, Information
Server and the Normal Server, execute the setup program on one or more Windows
platform computers.
Procedure
- Insert the Enterprise CD-ROM and run SETUP.EXE. The ServerProtect
Welcome screen appears.
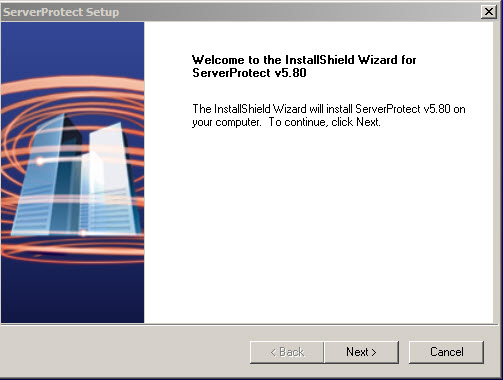
ServerProtect Welcome screen - Click Next. The Software License
Agreement screen appears. You must agree to the license
conditions to proceed with Setup.
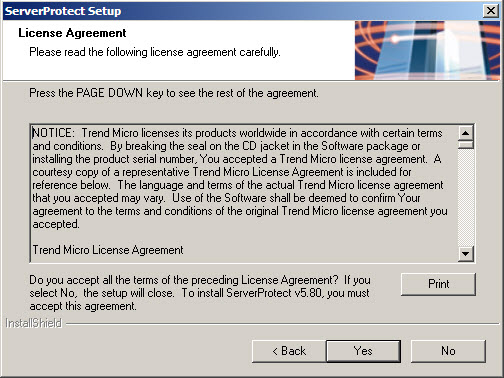
Software License Agreement screen - Click Yes. ServerProtect checks the boot sector of the storage hardware for
viruses.
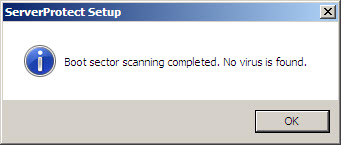
Scan Result Information window - Click OK to continue. The User
Information screen appears.
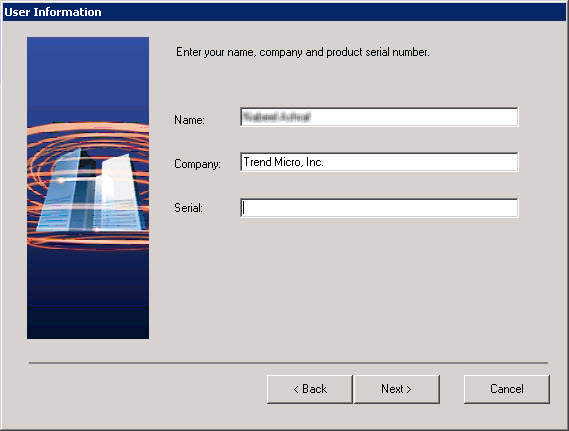
ServerProtect User Information screen - Provide your user information including the product's serial number.Even with the serial number field left empty, the ServerProtect will still be installed to allow the user enjoy a trial version of the program valid for a 30-day period. If the serial number entered is invalid, the installation program appears a message box, showing "The serial number is incorrect, please try again".
- Click Next to continue. The Select
Components screen appears.
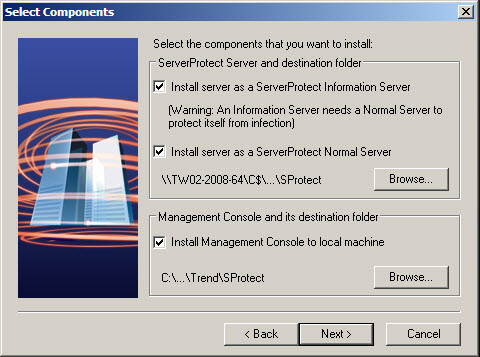
ServerProtect Select Components screen - Select all the check boxes to install complete package for ServerProtect for
NetApp.

Note
Make sure the selection of the components is adequate for the desired setup. You can choose hidden shared storage devices, such as C$ or D$, as destination folders.The default installation path is:<drive>:\Program Files\Trend\SProtectNote
To protect the Information Server, Trend Micro recommends that you install a Normal Server on the computer where the Information Server managing is installed. - Click Yes on the pop-up dialog to continue installing Normal Server.
- Click Next. If you chose to install either a Normal
Server or an Information Server, the Input Logon
Information screen will appear. Under Logon
Information, type the appropriate data in the Domain
name, User name,
Password, and Confirm Password
fields. Click Next to continue.
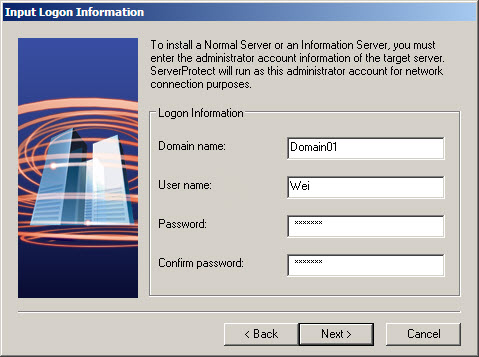
Input Logon Information screen - Follow the instructions given in the following sections to complete the Installation.