

Procedure
- Select a source for the Setup program:
-
Trend Micro website
-
Download IM Security from the Trend Micro website.
-
Unzip the file to a temporary directory.
-
Run
setup.exeto install IM Security.
-
-
Trend Micro Enterprise Solution DVD
-
Insert the DVD and follow the online instructions.
-
The Welcome to Trend Micro IM Security for Microsoft Skype for Business Setup screen appears.
-
- Click Next to continue the installation. The License Agreement screen appears.
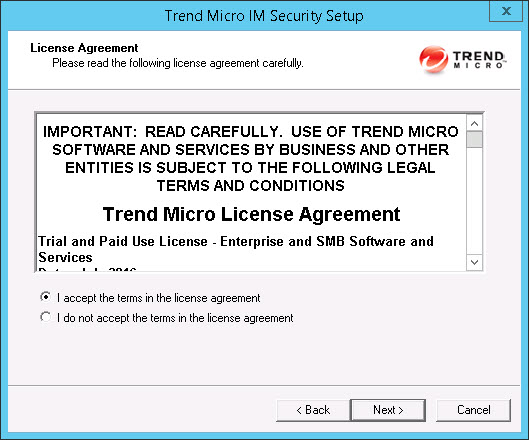
- Click I accept the terms in the license agreement to
agree to the terms of the agreement and continue installation. Click Next to continue.

Note
If you do not accept the terms, click I do not accept the terms in the license agreement. This terminates the installation without modifying your operating system.The Select an Action screen appears.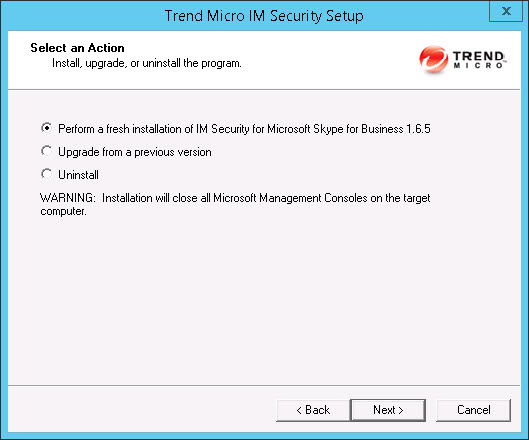
- Select Perform a fresh installation of IM Security for Microsoft Skype for Business
Server 1.6.5 to perform a fresh install. Click Next
to continue. The Select Target Server(s) screen appears.
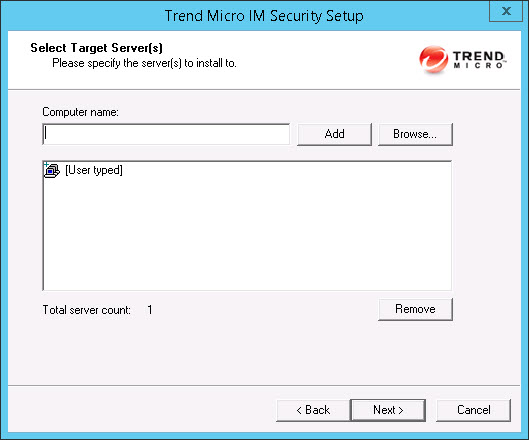
- Select the computers to which you want to install IM Security.
- Perform one of the following:
-
Type the name of the server to which you want to install in the Computer name field and click Add to add the computers to the list of servers.
-
Click Browse and browse the computers that are available on your network, then double-click the computers you want to add to the list.
-
Click Remove to remove a server from the list.
-
- Click Next to save your list of target servers and continue the installation.
The Log On screen appears.
- Perform one of the following:
- Log on to the target servers where you want to install IM Security. Use an account with
Domain User
andLocal Administrator
privileges. Type the user name and password to log on to the target server to install IM Security. Click Next to continue.The Configure Shared/Target Directory screen appears.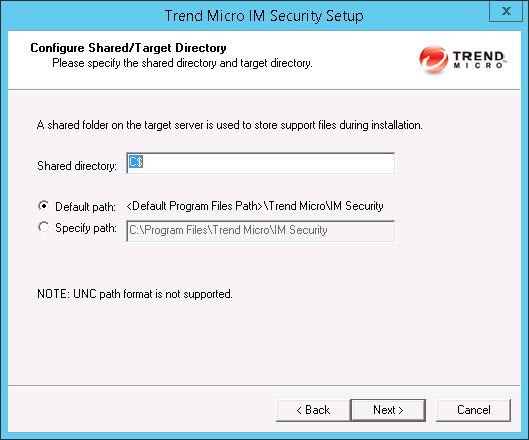
- Type the directory share name for which the specified
user has access rights or keep the default temporary share directory,
C$. The Setup program uses the shared directory to copy temporary files during installation and is only accessible to the administrator. Select Default path or Specify path and type the directory path on the target server where you will install IM Security. Click Next to continue.The Web Server Information screen appears.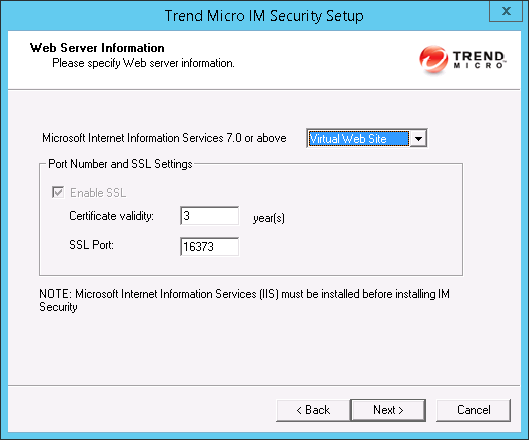
- Select IIS Default Web Site or Virtual Web Site.
Next to Port number type the port to use as a listening port for this server.
You also have the option of enabling Secure Socket Layer (SSL) security. Select Enable
SSL check box to use this feature. Click Next to continue. The Target Server System Requirements Checking screen appears.
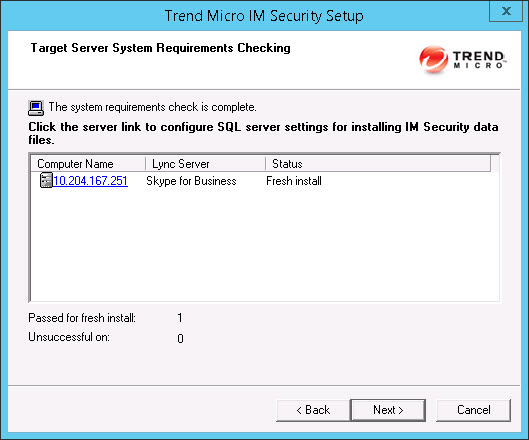
- Review the settings.
- To install IM Security on a remote SQL
server, click the virtual server on which to install IM Security data files. The SQL Server Selection screen appears.
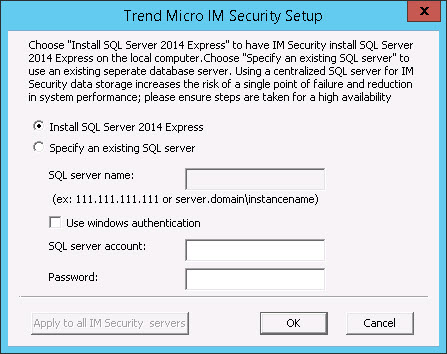
- Select one of the following:
-
Select Install SQL Server 2014 Express to install SQL Server 2014 Express on the local computer.
-
Select Specify an existing SQL server to use an existing database server. Type the SQL server name, SQL server account, and password.
Note
Using a centralized SQL server for IM Security data storage increases the risk of a single point of failure and reduction in performance. Ensure that steps are taken for a high-availability remote SQL server.
-
- Click OK. The Checking SQL Server Database screen appears.
- Check that the user name and password are correct.
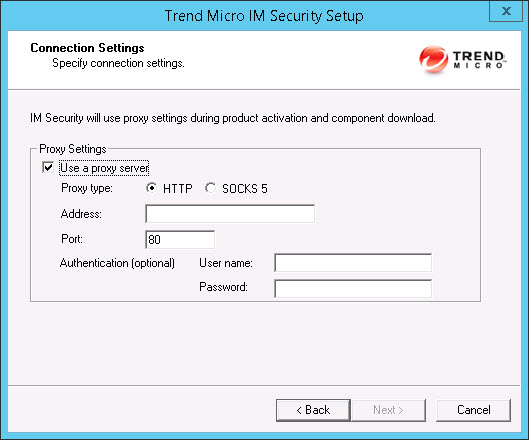
Click Next.The Connection Settings screen appears.
- To install IM Security on a remote SQL
server, click the virtual server on which to install IM Security data files.
- If a proxy server handles Internet traffic on your network,
select Use a proxy server and then type the
proxy hostname or address and port number that your proxy uses.
By default, the proxy server is disabled. If you want to use SOCKS
5 for secure communication behind the proxy, select SOCKS
5. If your proxy requires authentication, type the user name
and password used for authentication. Click Next to
continue. The Product Activation screen appears.
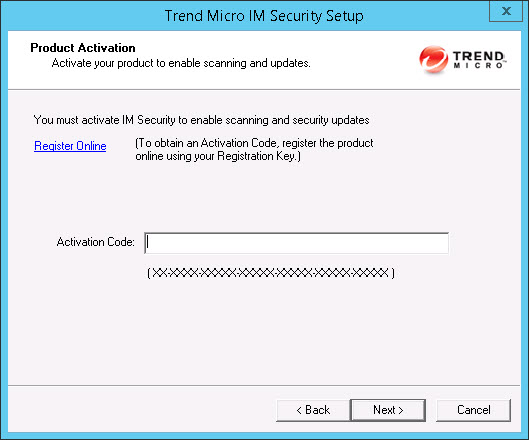
- Type the activation code. Click Next.
Note
You can copy an Activation Code and paste it in the input field of the Activation Code on this screen.The Control Manager Server Settings screen appears.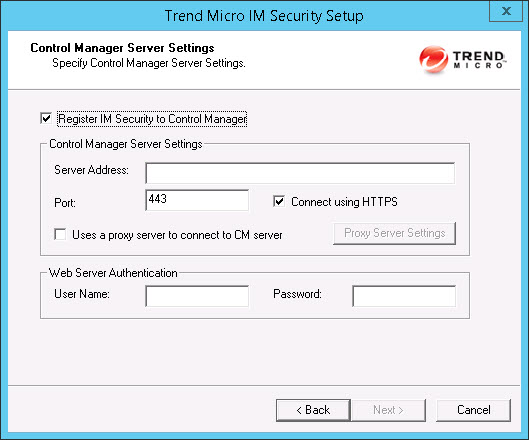
- Specify the Control Manager server settings and specify the proxy server settings
if you use a
proxy server between your IM Security server
and Control Manager server. Click Next to continue. The Email Notification Settings screen appears.
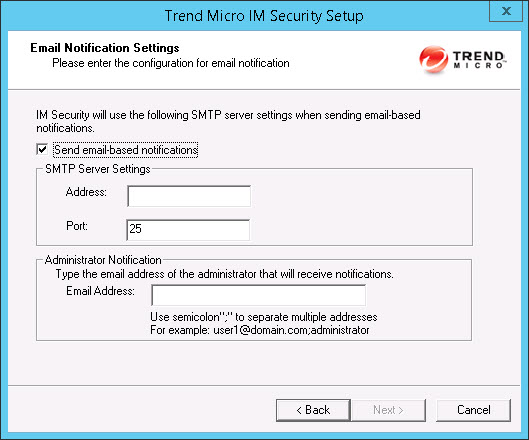
- Specify the SMTP server settings that IM Security uses when sending email-based notifications. Click
Next to continue.

Tip
You can configure the SMTP server settings after the installation completes through the web console on the Administrator Notification screen ().The Review Settings screen appears.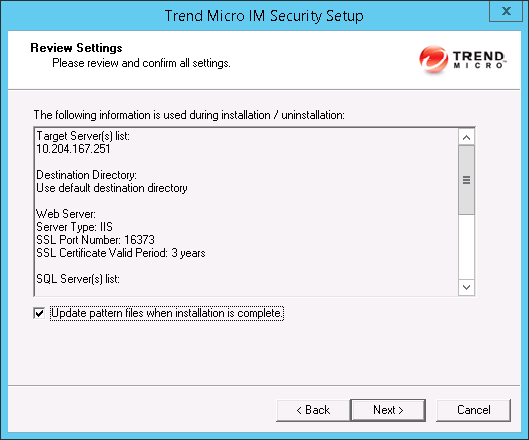
- Review your settings and select the Update
pattern files when installation is complete check box
if you want to update pattern files immediately after installation.
Click Next to continue. The Installation Progress screen appears.
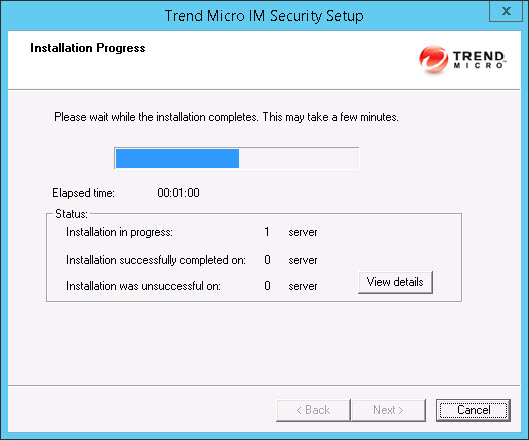
- Click View details to display a list of each computer to which you are
installing IM Security and the status of
each computer. Click Next when the installation completes. The Installation Complete screen appears.
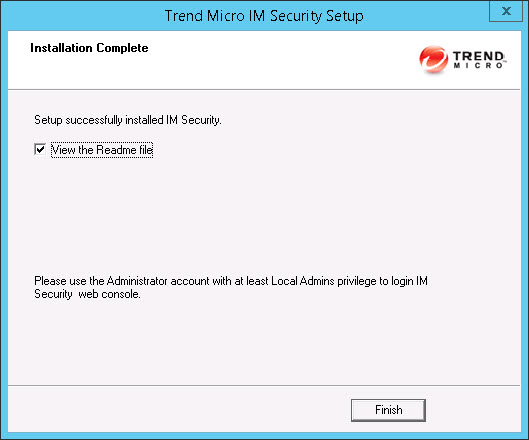
- This screen informs you that the installation was successful. Click Finish to exit the Setup program and the Readme file displays.
- Use an administrator account with local administrator privileges to log on to the IM Security product console.