

View all your XDR data directly on the Splunk dashboard.
Note
|
Procedure
- In the TrendAI Vision One™ console, obtain the Endpoint URL and the Authentication token.
- Go to .
- Locate and click the Splunk XDR card.
- Use the copy icons (
 ) to obtain the following information:
-
Endpoint URL
-
Authentication token
-
- (Optional) If the authentication token is expired or does not exist, click Generate and enter the required information in the API Key Settings window to add a new token.
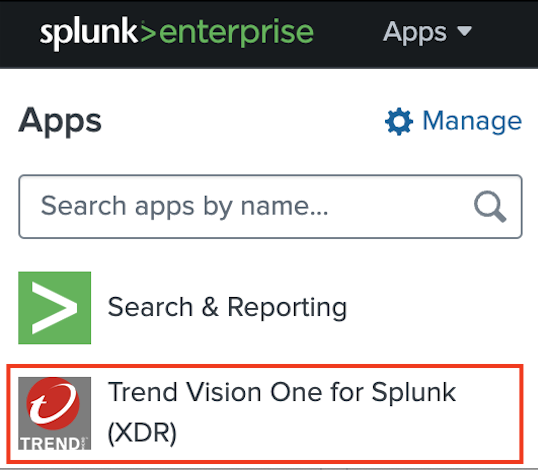
- Search for and install the TrendAI Vision One™ for Splunk (XDR) app from Splunkbase.
- Once the app is installed, go to on the Spunk console.
- Configure the account settings.
- Go to .
- Use the edit icon (
 ) next to each account to modify its
settings.
) next to each account to modify its
settings. - Paste the Endpoint URL and Authentication token obtained from the TrendAI Vision One™ console. If you have multiple authentication tokens, separate them with semicolons.
- Click Update.
- (Optional) Go to and enter the following information as necessary:
-
HTTPS Proxy Address
-
Retry Interval
-
- Click Save.
- (Optional) Add a new account.
- Click Add.
- Enter the Account name and paste the Endpoint URL and Authentication token from the TrendAI Vision One™ console.
- Click Add.
- Configure the data inputs used by Splunk.
- Go to Inputs in the menu bar.
- Under Status, use the toggle to enable or disable each data input.
- Use the edit icon () to configure settings for the data
input.
- Enter the following information for the data input:
-
Name
-
Interval
-
Index
-
Global account
-
- Click Update.
- (Optional) Add a new data input.
- Click Create New Input.
- Select a data input from the following:
-
TrendAI Vision One™ Workbench Alerts
-
TrendAI Vision One™ Observed Attack Techniques
-
TrendAI Vision One™ Audit Logs
-
TrendAI Vision One™ Detection
-
- Enter the Name, Interval,
and Index, and select the Global
account for the data input.

Note
The Observed Attack Techniques data input type additionally requires you to select a Risk level, and synchronizes all events with a risk level equal to or higher than the level specified. Selecting undefined, info, or low might cause a high volume of data transfer. - Click Add.
After successfully installing the Splunk app, Splunk begins collecting XDR data from TrendAI Vision One™. Splunk can only collect XDR data generated after connecting to TrendAI Vision One™. You might need to allow some time before new XDR data starts to appear.Note
The Detection screen in the Splunk console provides only a limited set of detection data fields from XDR data. To access more detailed detection information, go to the Search screen and run a query using supported Splunk syntax, such assource="trendmicro_v1_detection"|table _time,_raw. This allows you to view the full detections data available from TrendAI Vision One™.