

Configure internal network traffic with the VMware vSphere Distributed Switch using promiscuous mode to allow Virtual Network Sensor to monitor data.
ImportantThe following instructions are valid as of July 2023.
|
Procedure
- Turn off your Virtual Network Sensor.
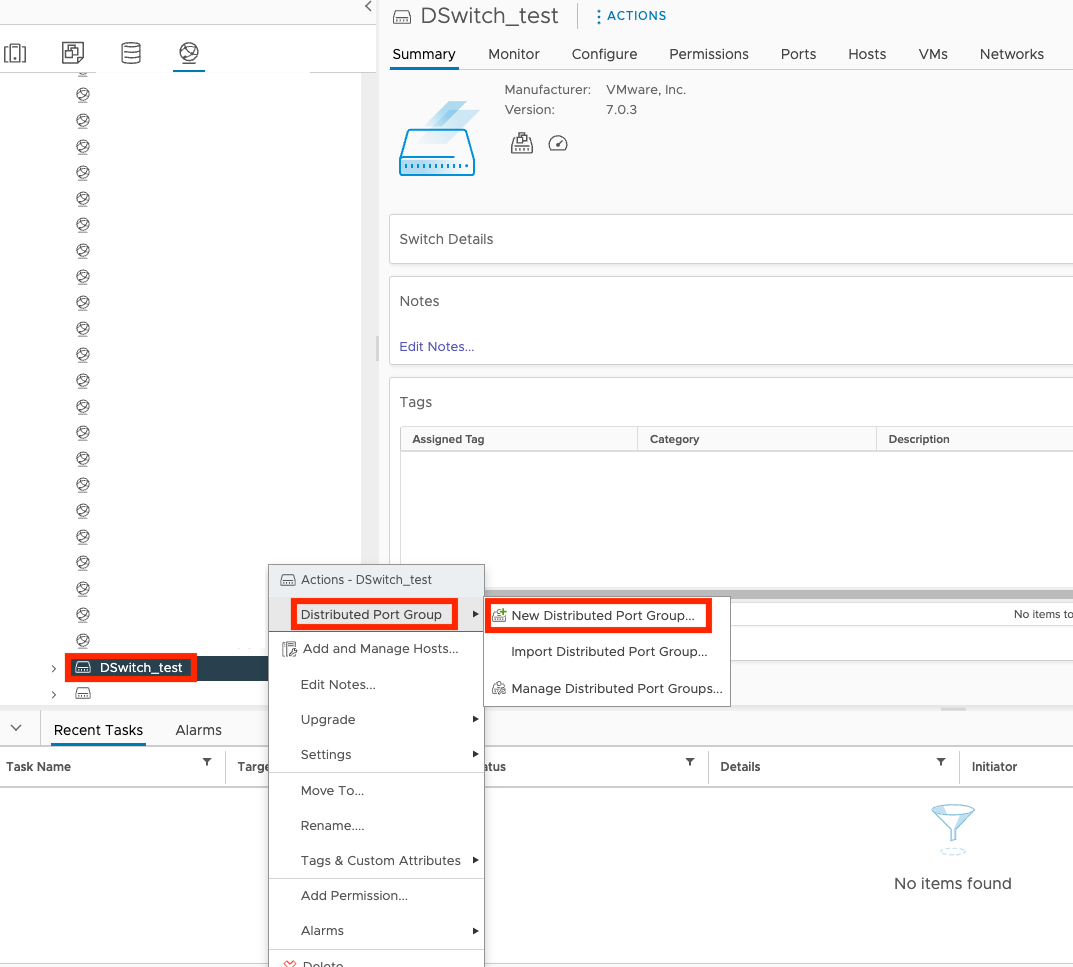
- On the VMware vCenter console, click the
 tab.
tab. - Right-click the name of your switch, and then select Distributed
Port Group and New Distributed Port
Group.
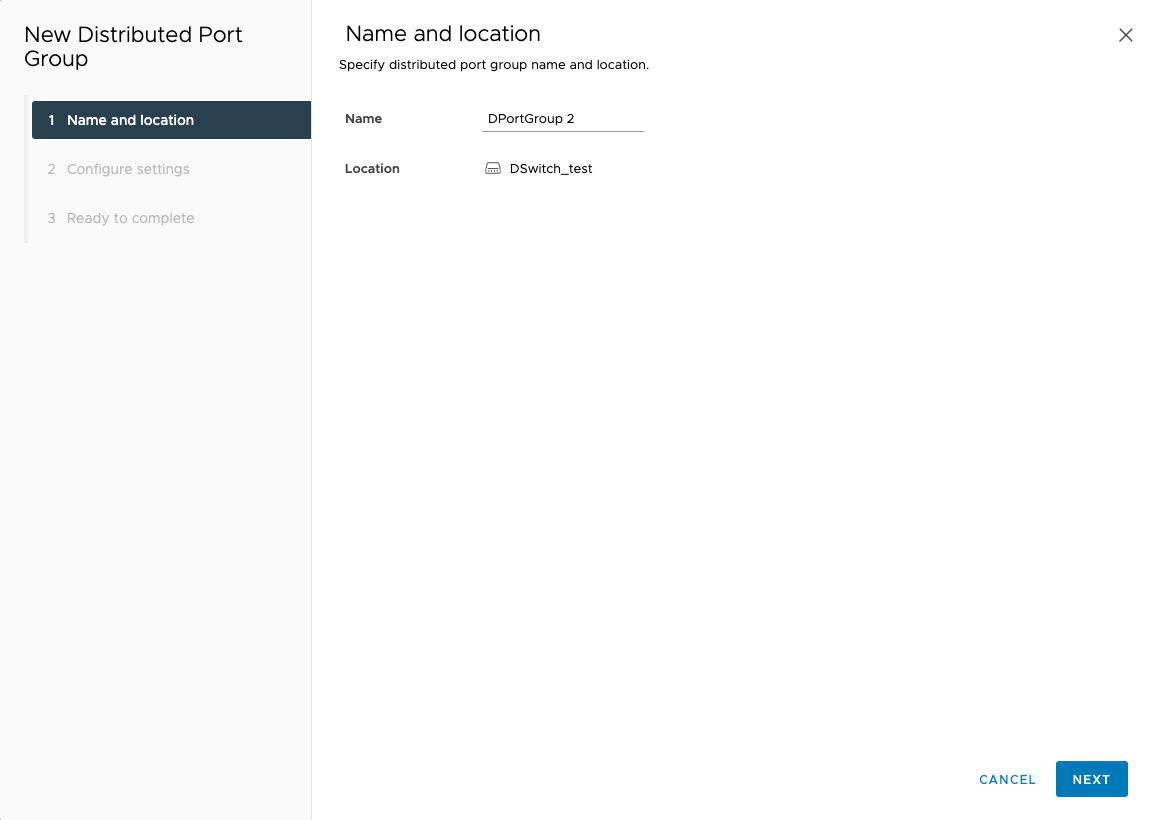
- On the Name and location screen, specify the port group
name and location and click NEXT.
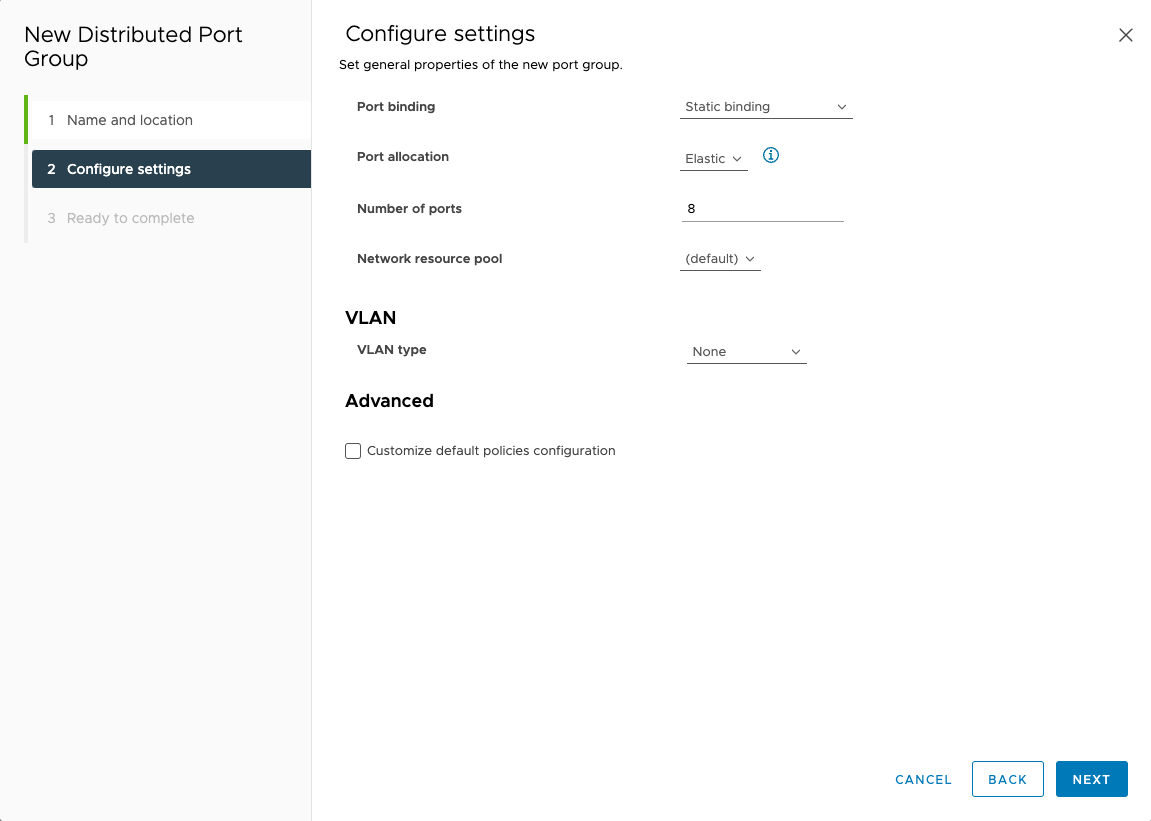
- On the Configure settings screen, view the default
settings and click NEXT.
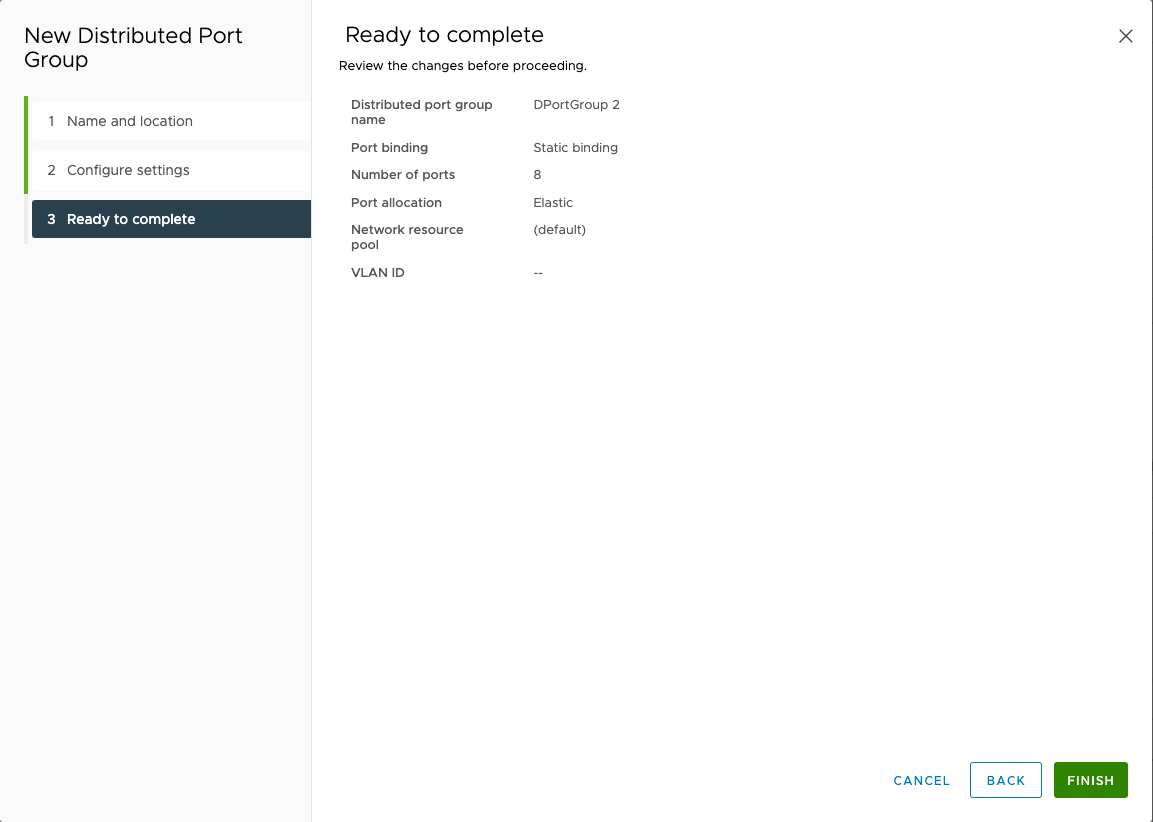
- On the Ready to complete screen, review the settings and
click FINISH.
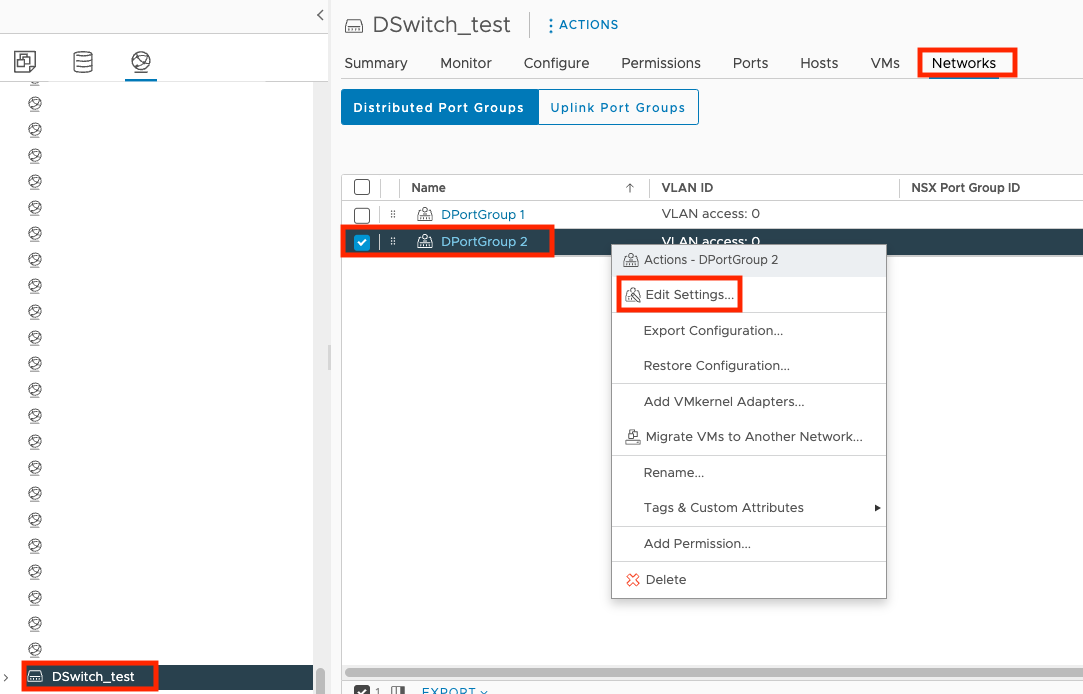
- Click the name of your switch.
- Click the Networks tab, right-click your port group
name, and select Edit Settings....
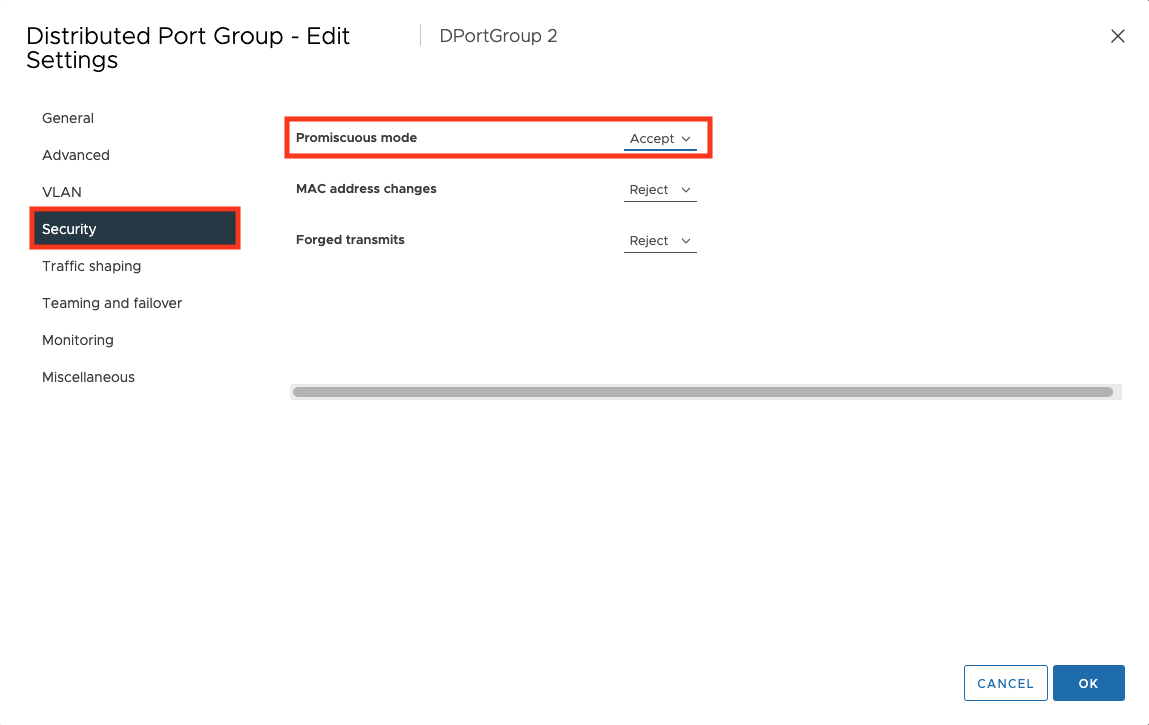
- Click Security, select Accept for
promiscuous mode, and click OK.
- Click the
 tab and click the name of your virtual
machine.
tab and click the name of your virtual
machine.
- Click
 .
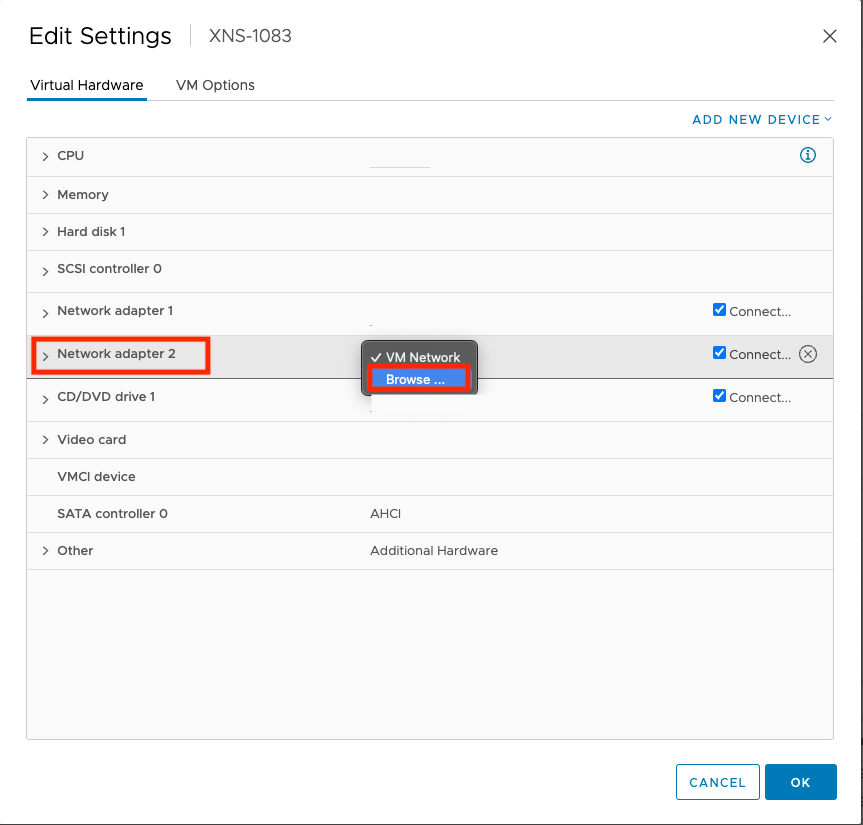
. - On the Edit Settings screen, click Network
adapter 2 and select Browse....
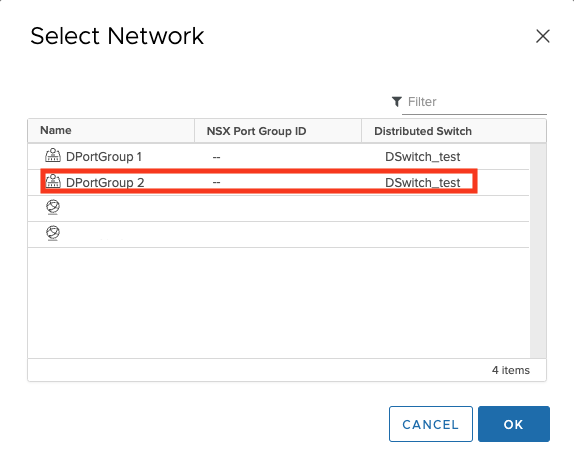
- Click the name of your port group and click OK.
- Click OK.
- Turn on your Virtual Network Sensor.After configuring your network settings, access the Virtual Network Sensor console and use the command
show trafficto verify the Virtual Network Sensor is receiving traffic. For more information about troubleshooting, see Virtual Network Sensor FAQ and Virtual Network Sensor CLI commands.