

You can generate Reports on demand and download them in the following formats:
-
CSV - contains all rule and check information, as well as links to resolution pages
-
PDF - contains a summary section that provides account information and summary stats, rule and check information, and links to resolution pages.
Download a report
-
From Misconfiguration and Compliance, go to Configured reports.
-
Find the report you want to generate and click Generate.
-
In the Generate screen, configure the report settings.
-
Specify a Title.
-
Specify what information to include in the PDF report:
-
Individual checks in PDF report
-
Account names
-
-
Select the Language you want the report to use.You can choose from either English or Japanese.
-
To receive a copy of the report by email, select Send via email when ready.
-
Click Generate report.

Note
Allow a few moments to generate the report. -
-
To view the generated report, click the expand icon (
 ) to view the report history.
 -
Click CSV to download the report in CSV format.
-
Click PDF to download the report in PDF format.
NoteThe format of download for Compliance and Cloud Risk Management Reports might also be dependent on the formatting guidelines of the standard or framework.
|
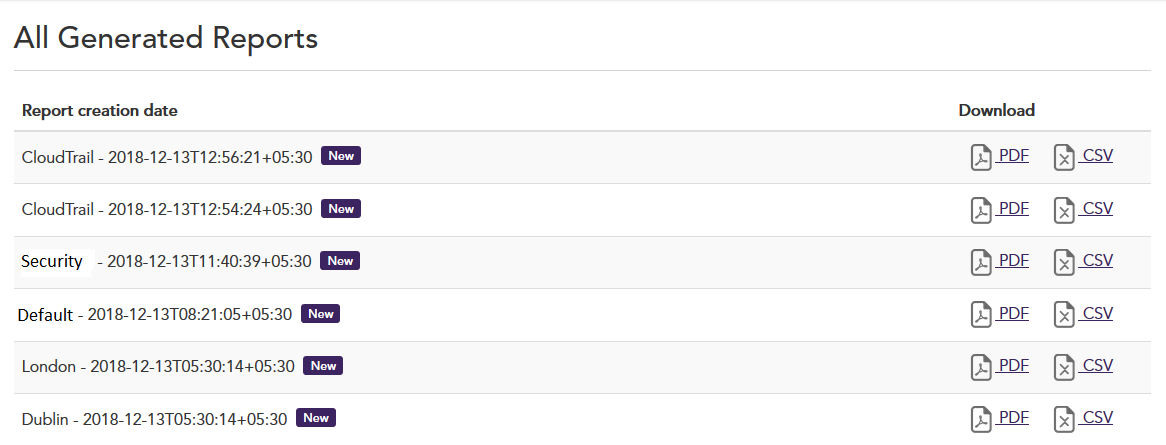
All Generated Reports
All Generated Reports is the central repository of all reports generated since the
creation of your account on the Cloud Risk Management platform. You have the option to download reports in PDF or
CSV format that display your compliance score and status along with
the data as per your selected filters.
NoteThe number of reports available is limited to the 50 most recent reports
|
Generate PDF with all check data from CSV
Step 1: Download report as CSV
Step 2:
From Google Sheets
-
File > Import
-
Select the CSV
-
Once CSV is imported, select sheet with CSV data
-
Data > Pivot Table
-
Select the data on pop-up
-
In Pivot Table Editor
-
Rows
-
Add:
-
Rule ID
-
Rule Title
-
Service
-
Categories
-
Check Status
-
Risk Level
-
Resolution Page
-
Resource
-
Tags
-
Message
-
... any other fields you want
-
-
Uncheck "Show totals"
-
-
Values
-
Add:
-
Resource - Summarise by COUNTA
-
-
-
Filters
-
Add:
-
Check Status ← select to show Failures and or Success
-
-
-
-
[ Optional ] Add conditional formatting_Example_: CSV pivot table showing Rule failures Example: CSV pivot table with expanded rule failure showing failed checks
-
File > Download > PDF Document
Import data through Text Import Wizard
Cloud Risk Management generated CSV report might contain special
double-byte characters. Excel cannot display these characters if you open the file
directly with Excel. This is an Excel limitation. Microsoft recommends to import
file with UTF-8 encoding instead of opening directly. The following steps allow you
to import data with
UTF-8 encoding so it can display the
double-byte characters correctly.-
Create a workbook and go to Data tab > From Text to launch the Text Import Wizard.
-
From Text Import Wizard, select the File origin as: Unicode (UTF-8)
-
Finish Text Import Wizard. The data from CSV file can be loaded correctly in Excel workbook.
Get Reports using API
You can download all reports generated for your Cloud Risk Management account using our Reports API based on your role and permissions.