

Learn how to create an API application in HaloPSA and obtain the credentials required for integration with external services.
ImportantThe following HaloPSA instructions were valid as of November 17, 2025. For further
help, check your HaloPSA documentation.
|
Procedure
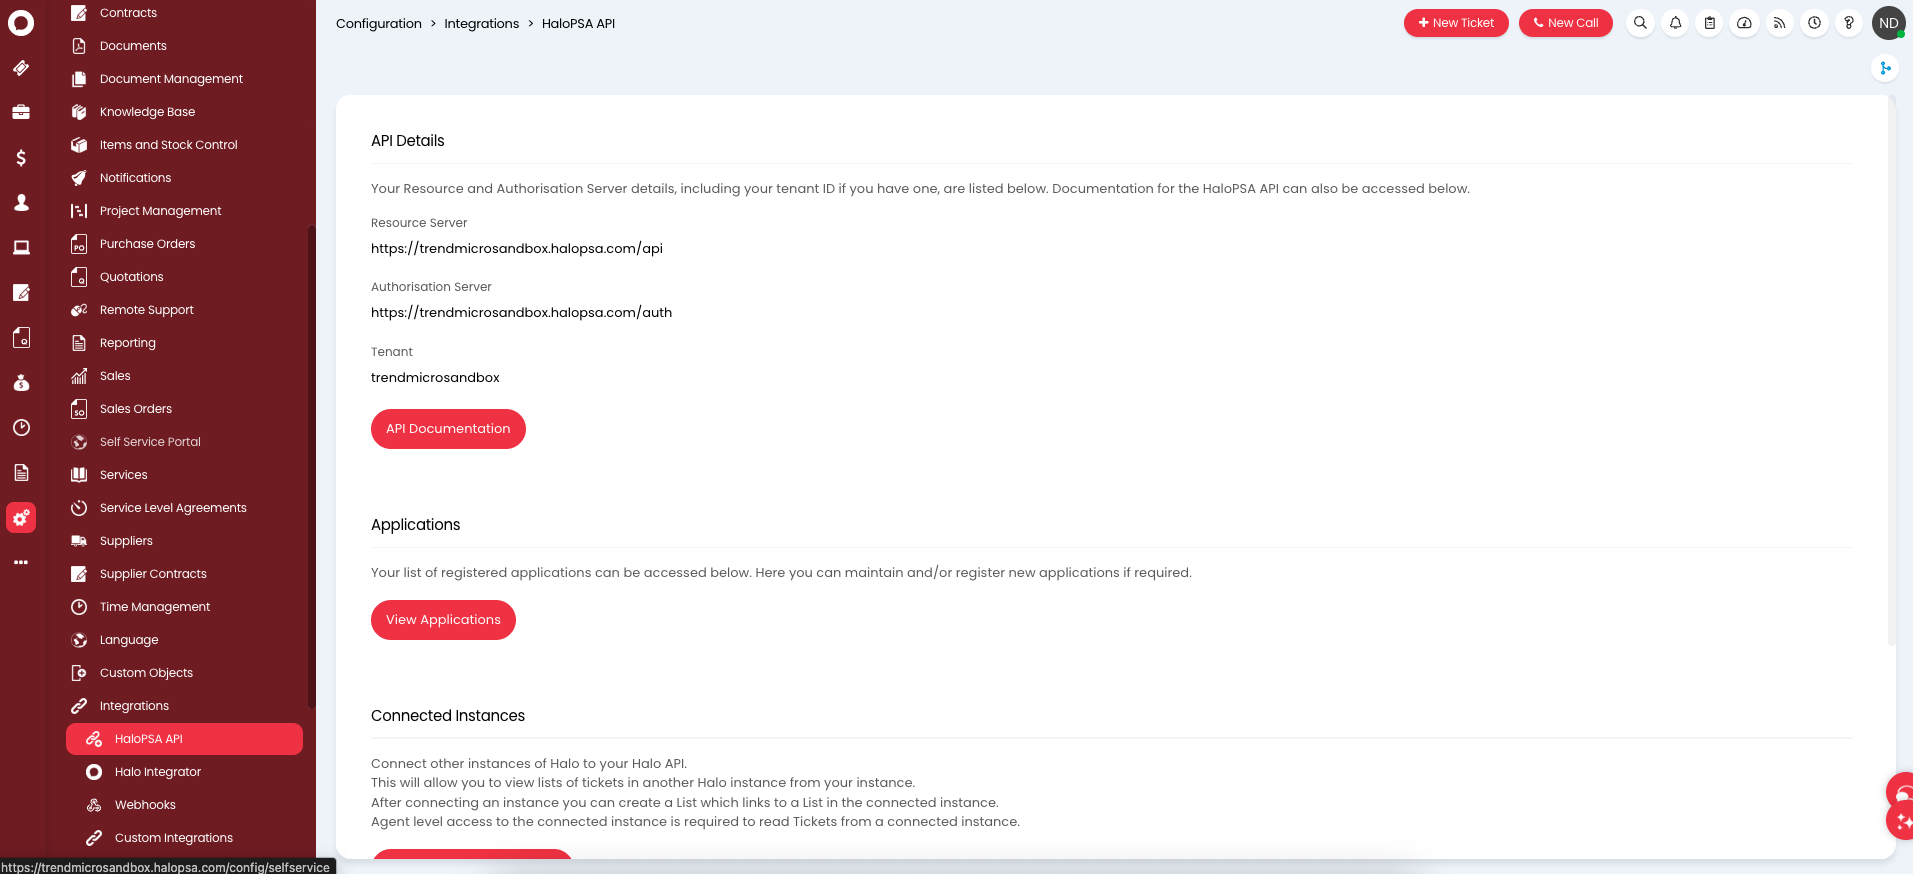
- Navigate to HaloPSA API settings.
- Sign into your HaloPSA instance with an Administrator account.
- Go to .

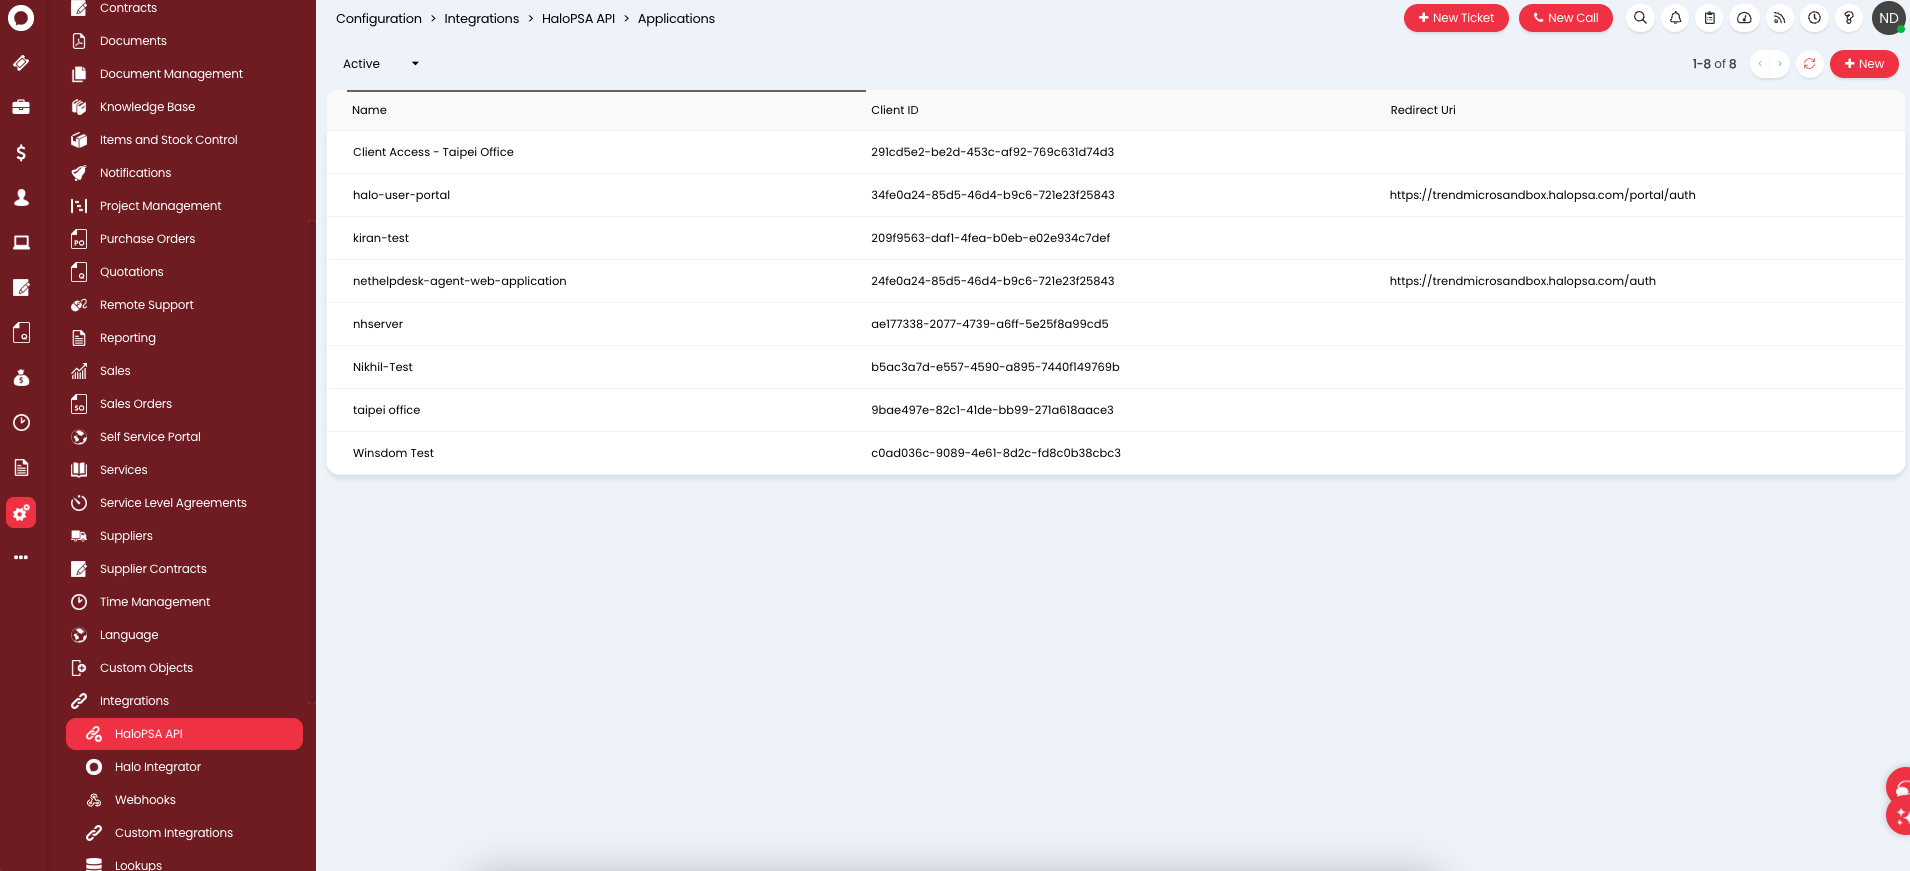
- Click View Applications to view any existing API applications.
- Create a new API application.
- Click New to create a new API application.
- Configure general settings for the application.
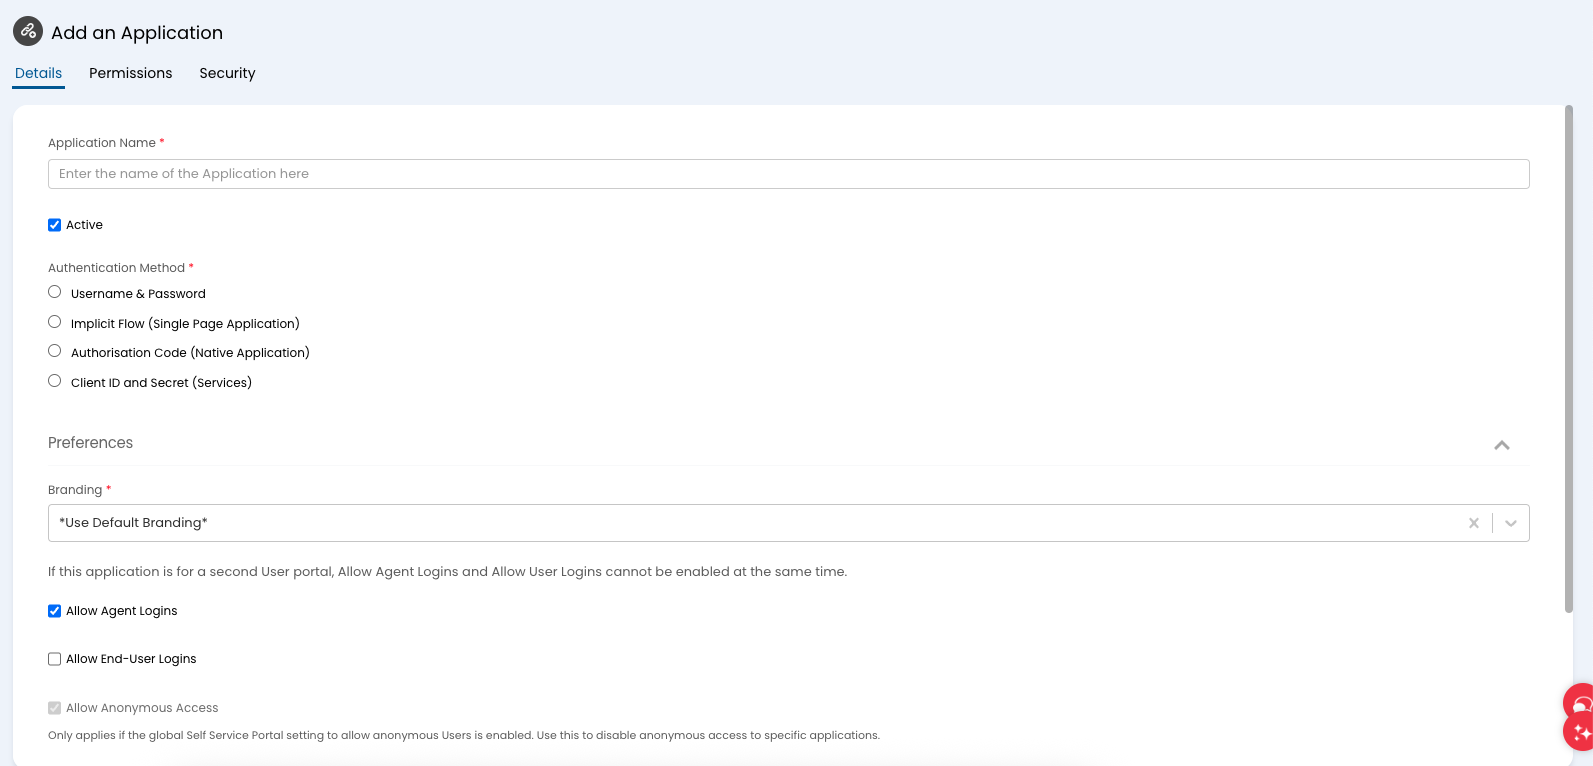 FieldSettingApplication NameProvide a descriptive name for your application.ActiveMake sure the Active check box is selected.Authentication MethodSelect Client ID and Secret (Services).Login TypeSelect Agent.Agent to log in asSelect the agent account you created for this integration.
Important
Note down the generated Client ID and Client Secret and store these credentials securely. These credentials are crucial for authentication and will not be visible again after saving.If you forget the Client Secret, you must generate a new one. Generating a new Client Secret stops the old one from working.
- Click New to create a new API application.
- Configure and assign necessary API permissions.
- Click the Permissions tab.
- Select all or select the necessary permissions for your integration based on the actions it
will perform (for example,
read:tickets,edit:tickets,read:customers,edit:customers,admin:webhooks).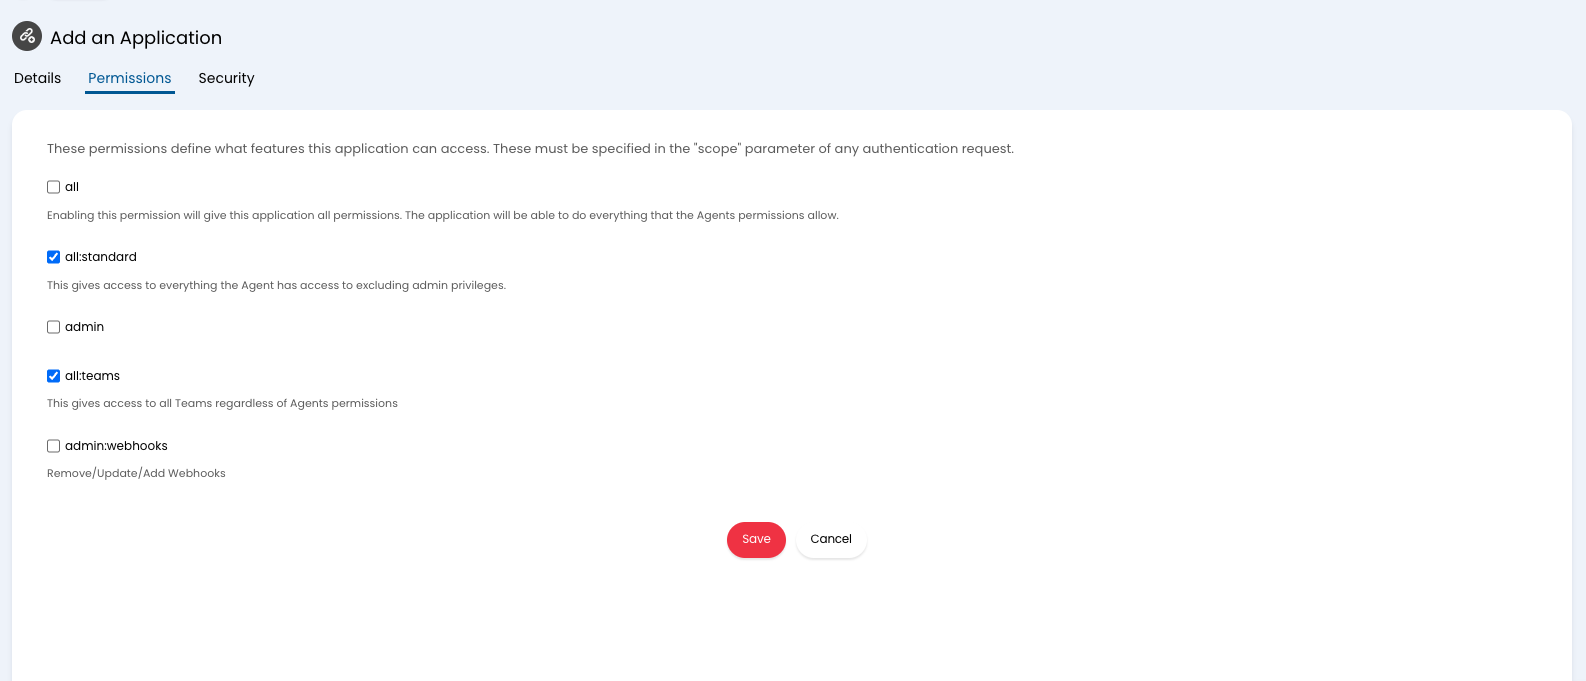
- Click Save.