

Configure network settings in VMware vCenter to allow Virtual Network Sensor to monitor data.
Important
|
Procedure
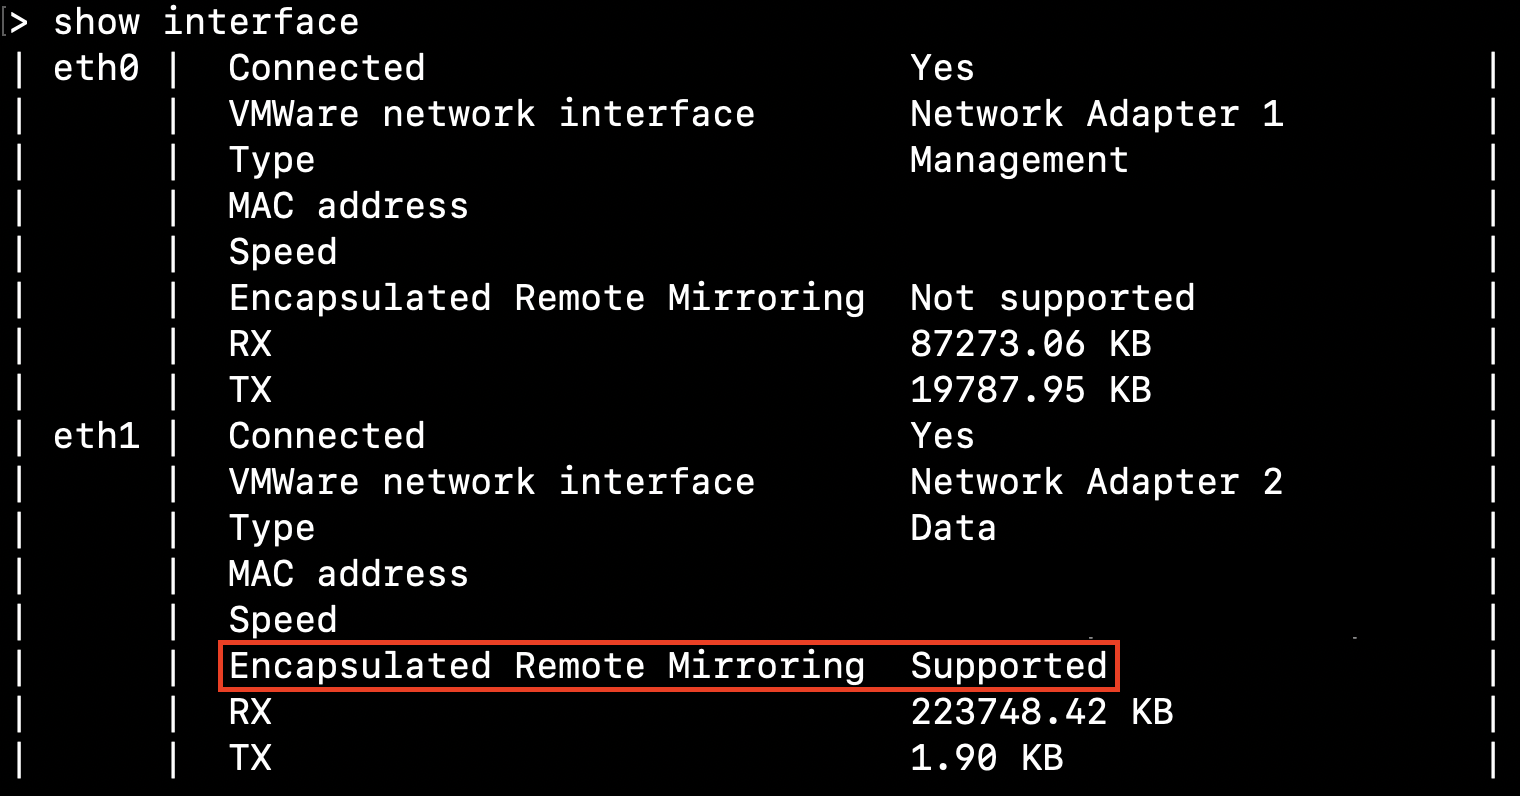
- On the Virtual Network Sensor CLI console, type show
interface and choose a network interface that shows "Supported"
for Encapsulated Remote Mirroring.
- Execute the enable command.

- Execute the configure interface <network_interface> command.
- Execute the ip-encap enable [xxx.xxx.xxx.xxx] command.
- Type # exit to return to basic commands and verify that
the IP address is shown next to Encapsulated Remote Mirroring.

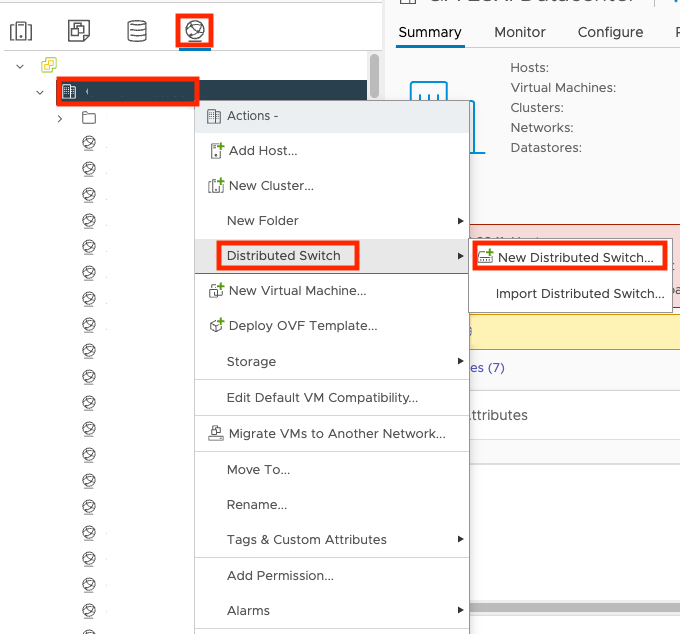
- On the VMware vCenter console, click the
 tab.
tab. - Right-click the name of your data center, and go to .
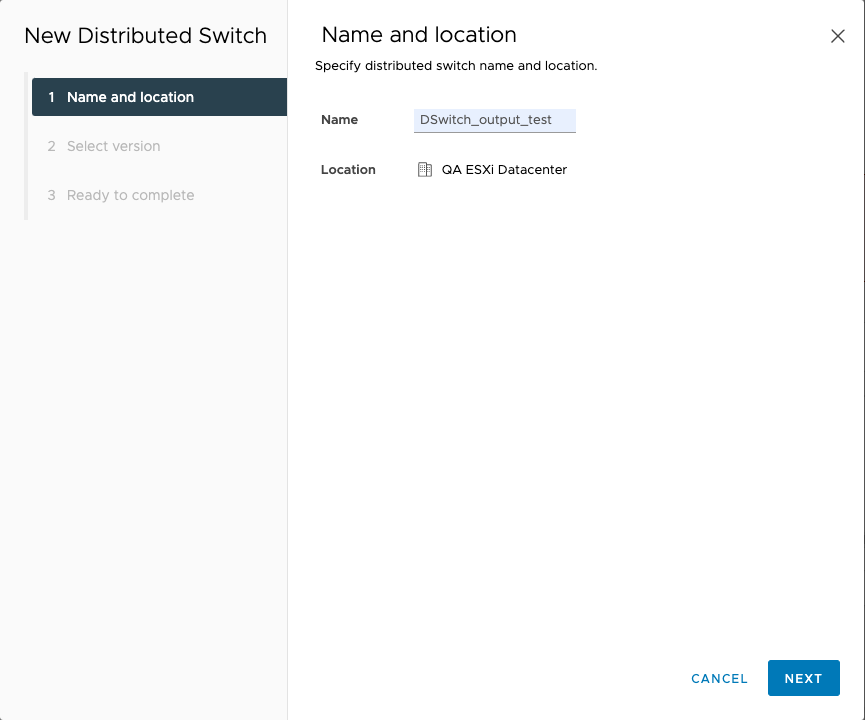
- On the Name and location screen, specify the distributed
switch name and location and click NEXT.
- On the Select version screen, select your distributed
switch version and click NEXT.

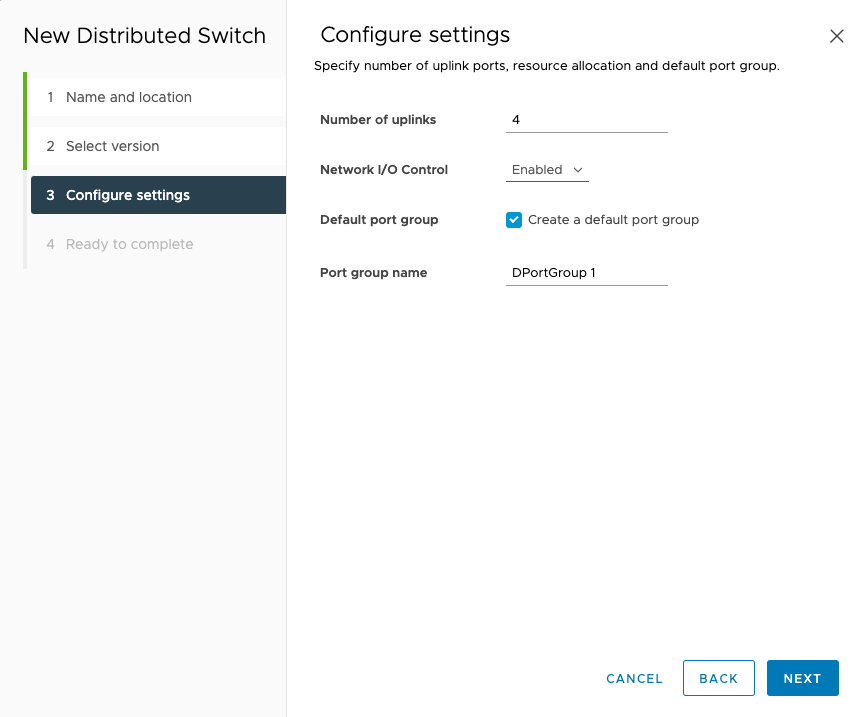
- On the Configure settings screen, specify the port group
name and the number of uplinks, and click NEXT.
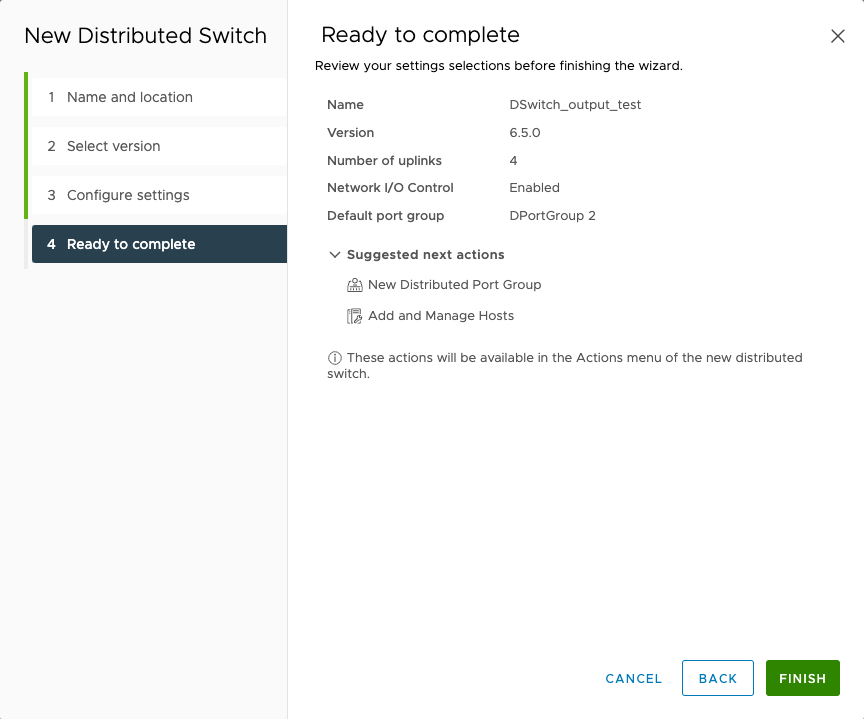
- On the Ready to complete screen, review the settings and
click FINISH.
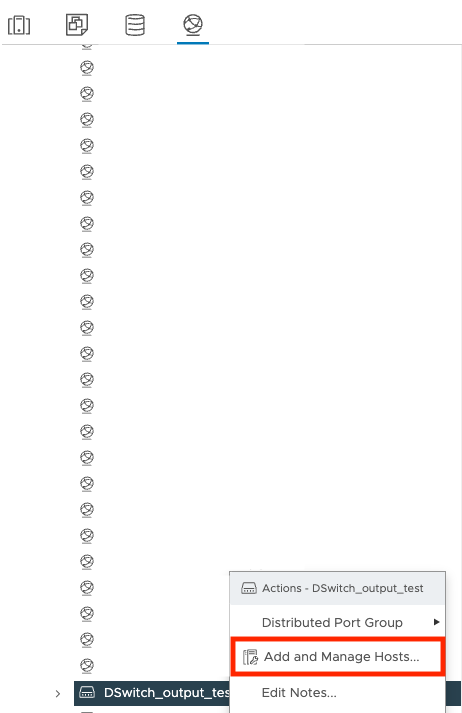
- Right-click the name of your switch and select Add and Manage
Hosts....
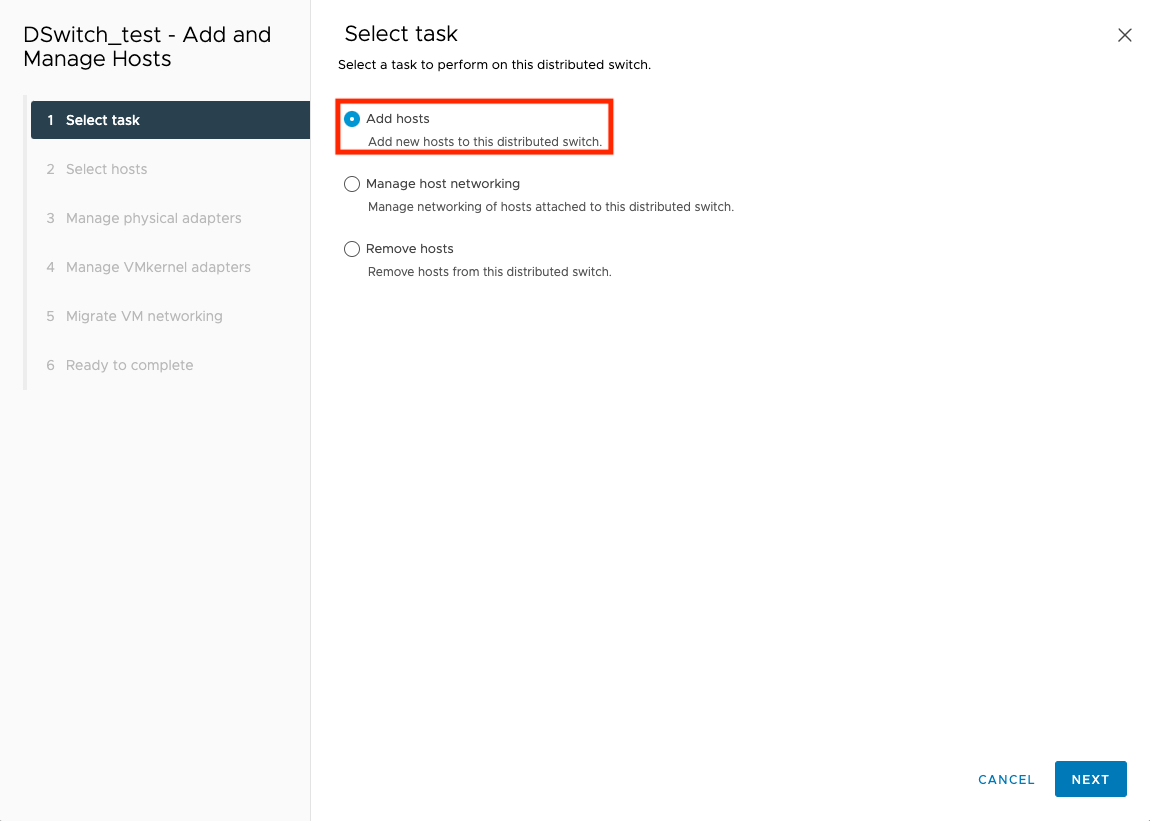
- On the Select task screen, select Add
hosts and click NEXT.
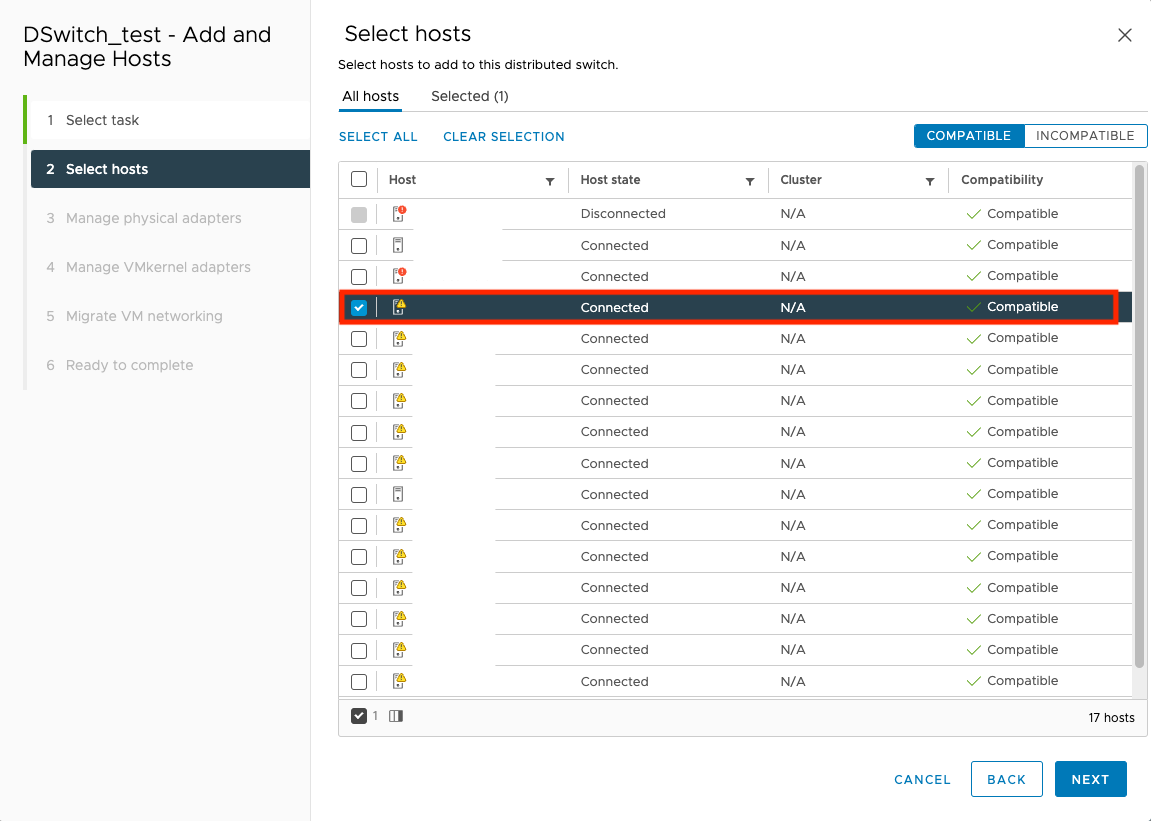
- On the Select hosts screen, select your virtual machine
and click NEXT.
- On the Manage physical adapters screen, right-click the
name of your NIC and select Uplink 1.
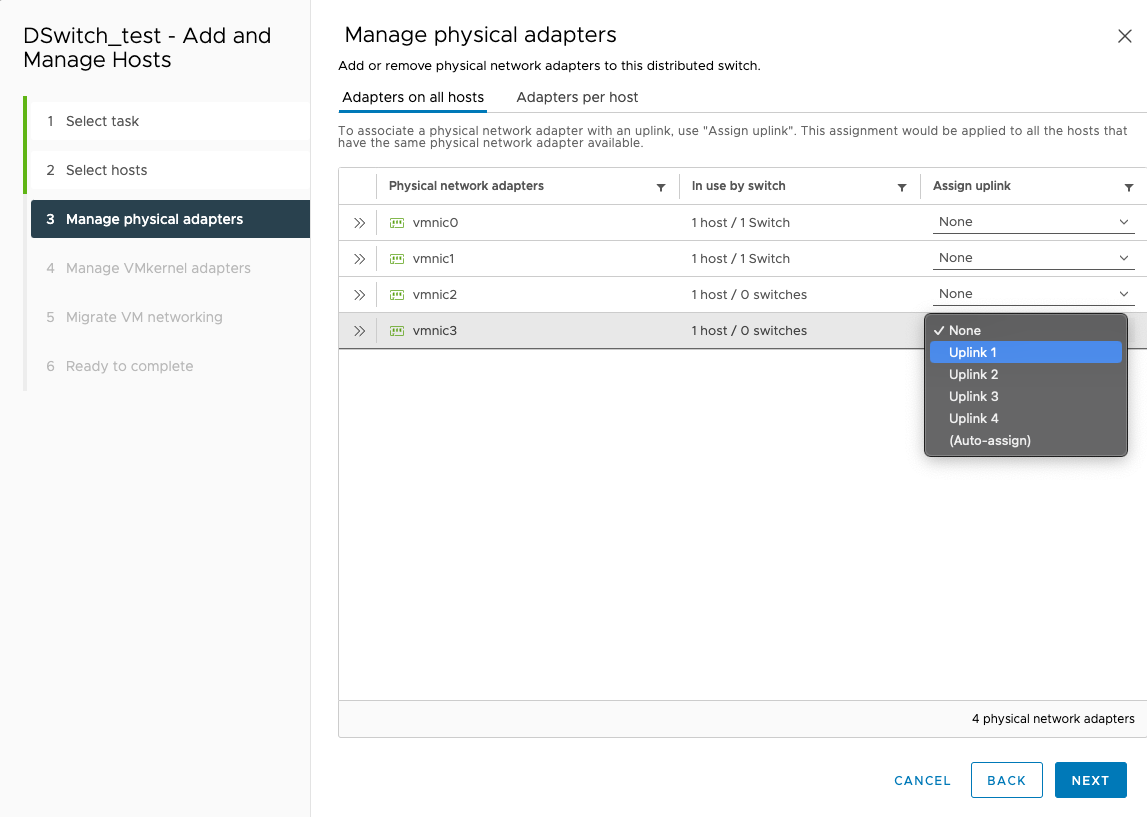

WARNING
If there are other virtual appliances using this network interface, the network settings need to be modified so that the appliances do not disconnect from the internet. - Click NEXT.
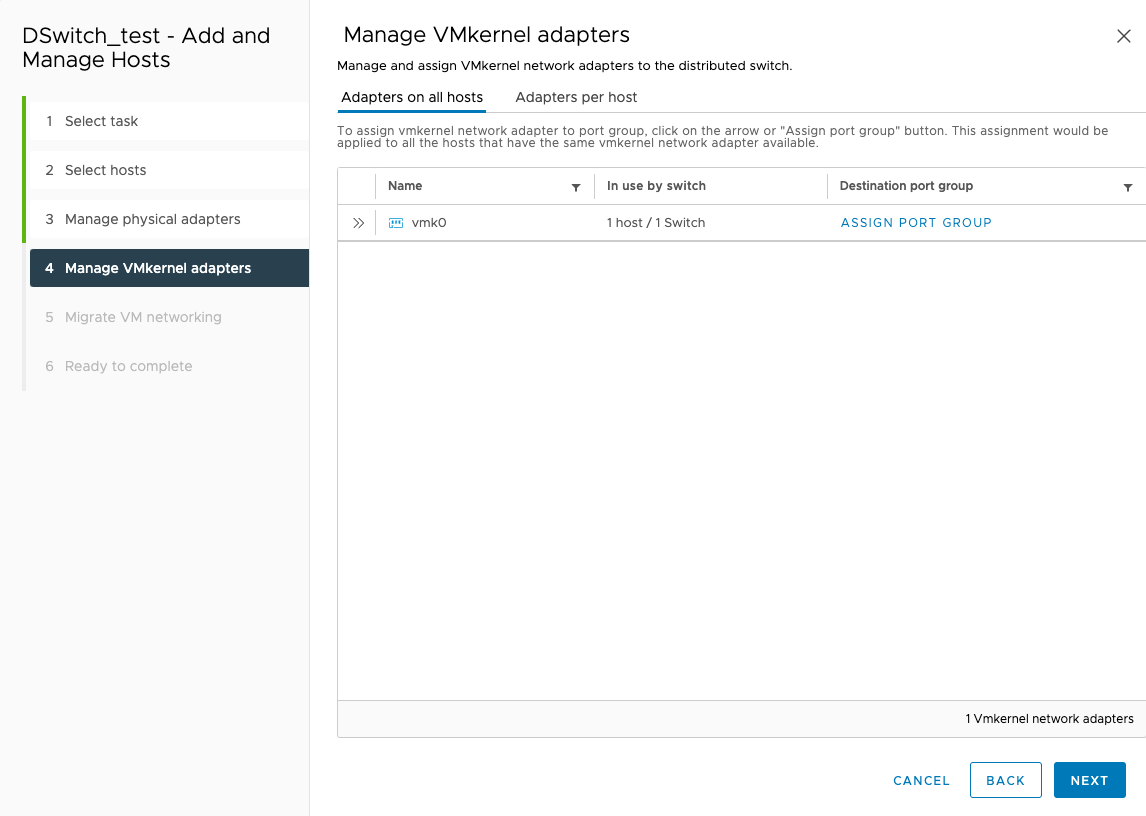
- On the Manage VMkernel adapters screen, click
NEXT.
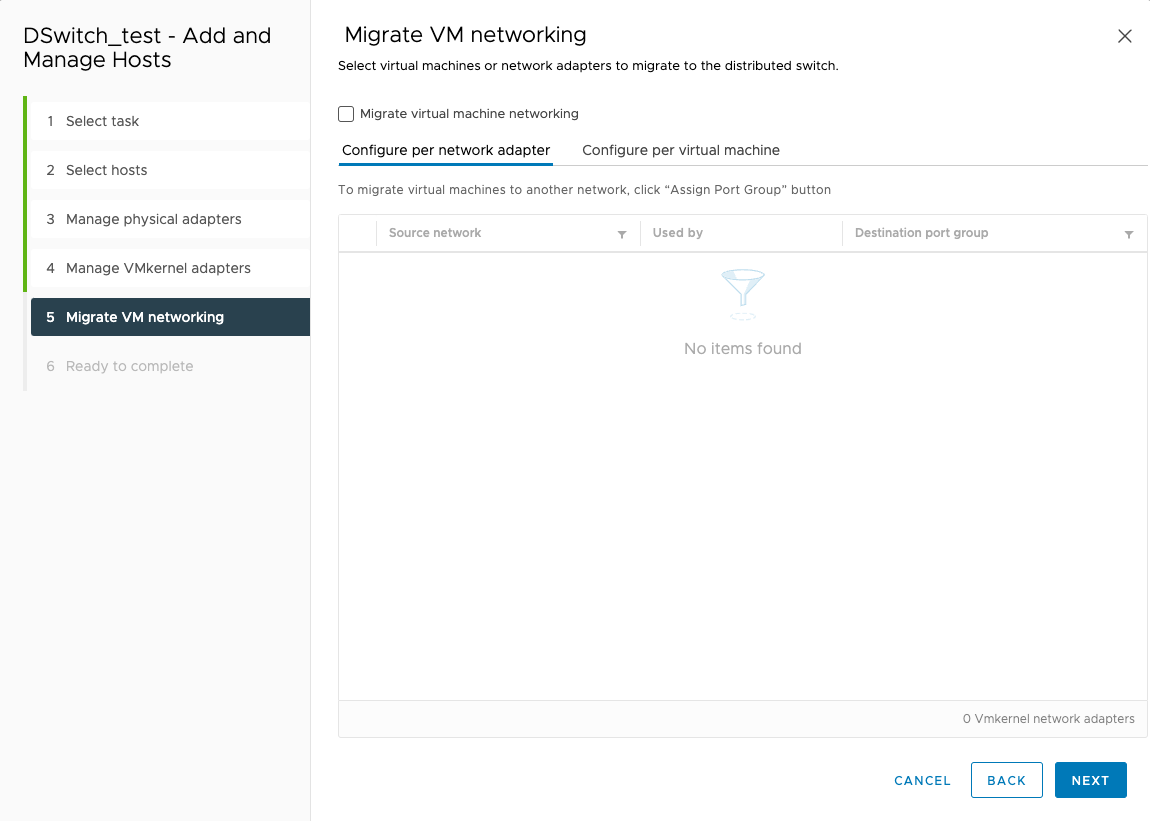
- On the Migrate VM networking screen, click
NEXT.
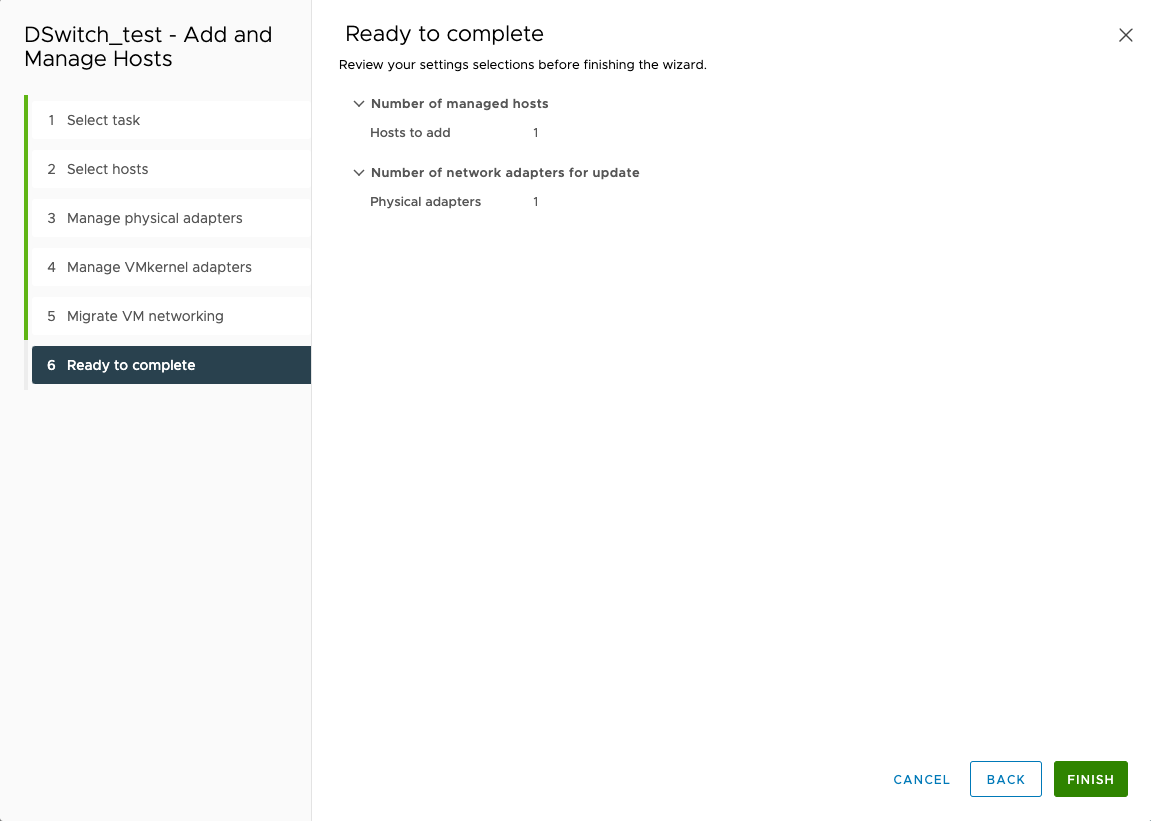
- On the Ready to complete screen, click
FINISH.
- Click the name of your switch and click Networks.
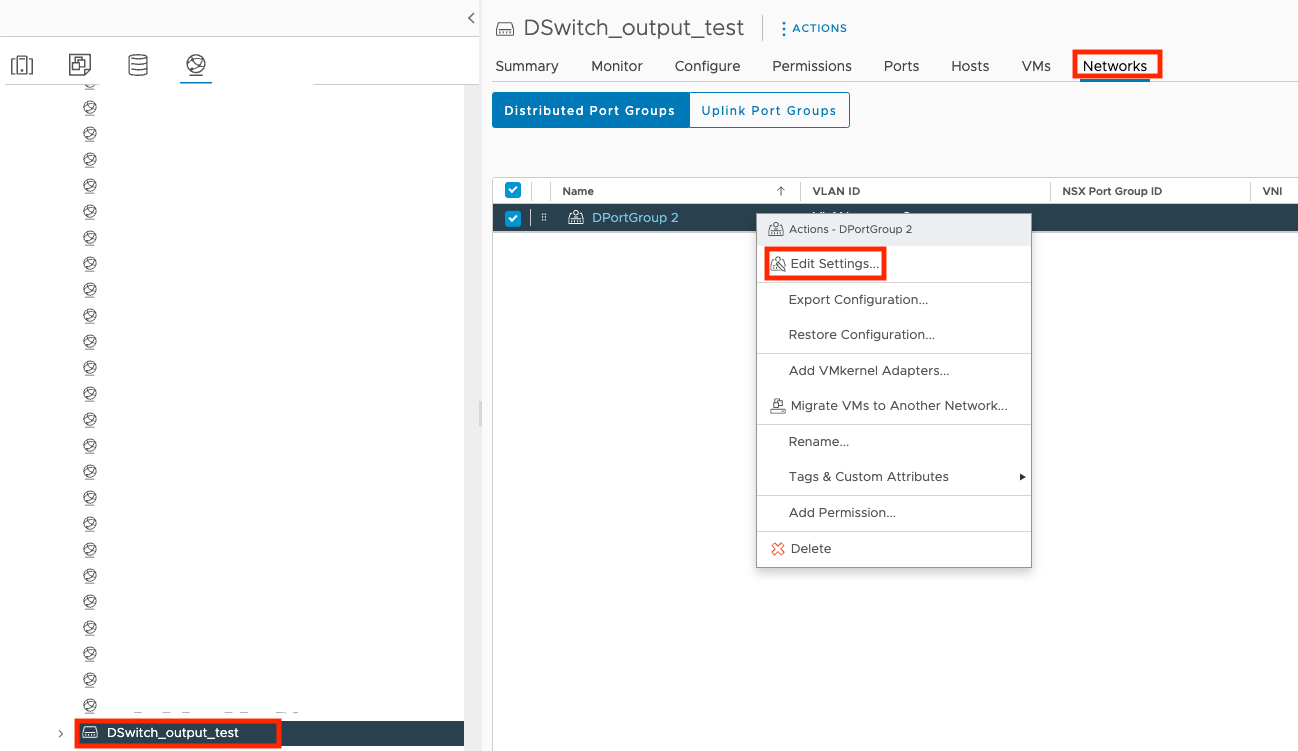
- Right-click the name of your port group and select Edit Settings....
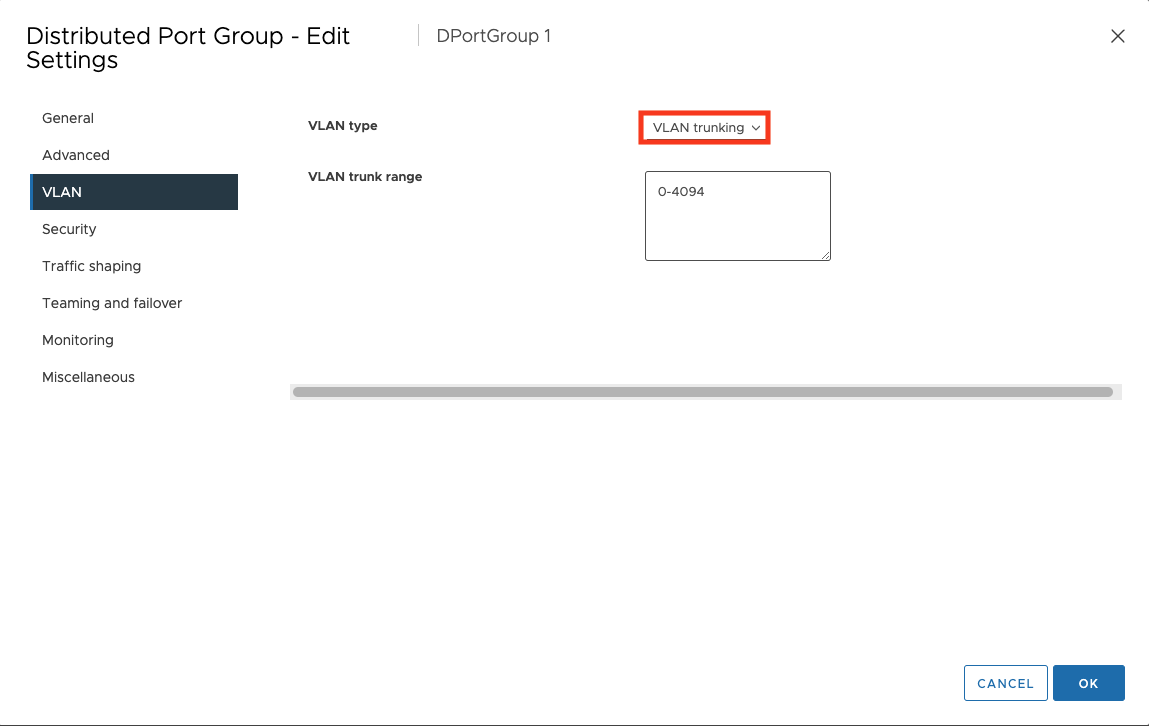
- Click VLAN, select VLAN trunking
for VLAN type, and click OK.
- Click the
 tab and then click the name of your
client.
tab and then click the name of your
client.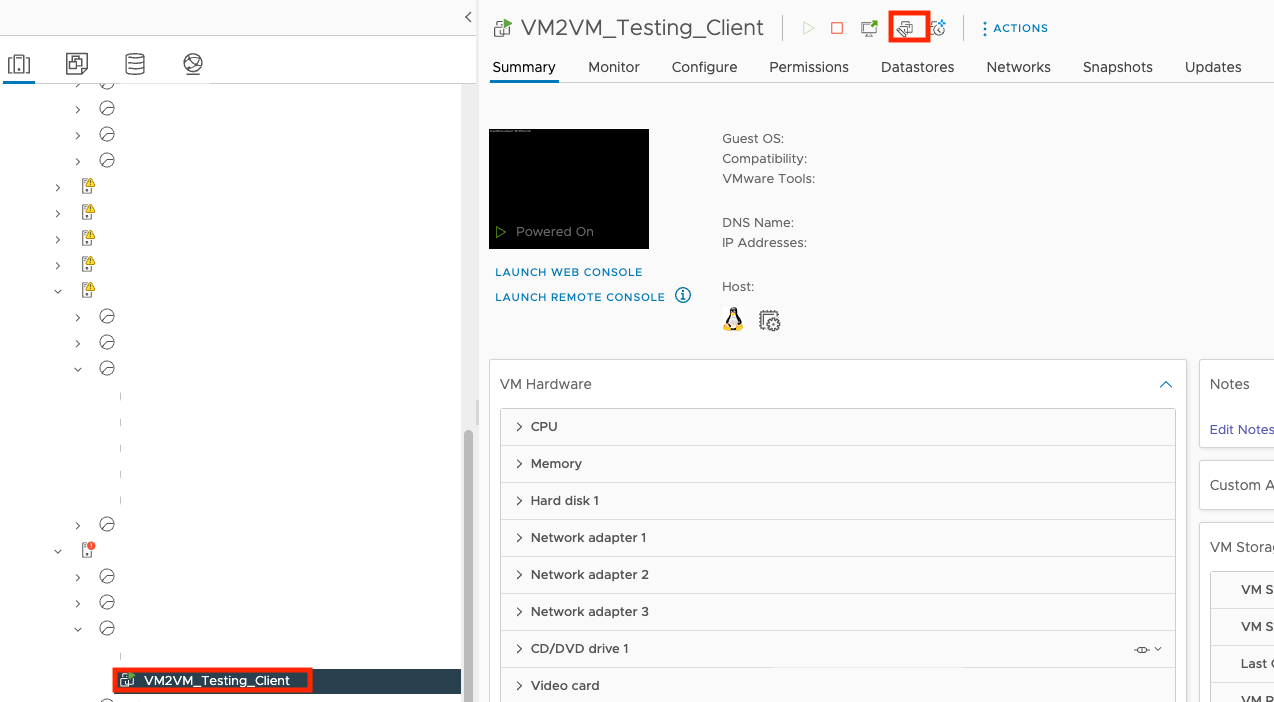
- Click
 .
. - On the Edit Settings screen, click Network
adapter 1 and select Browse....

- Click the name of your port group and click OK.
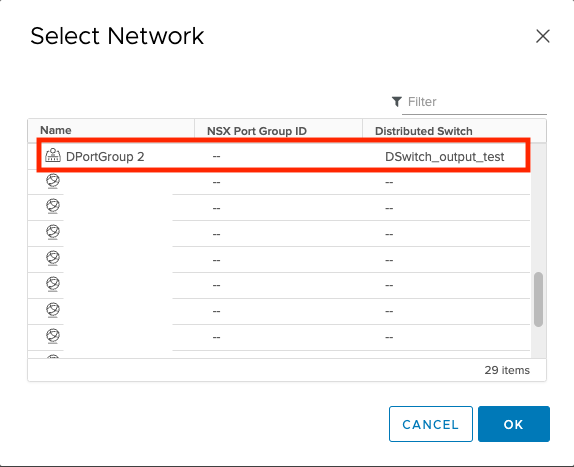
- Click OK.
- Click the tab and then click the name of your
switch.
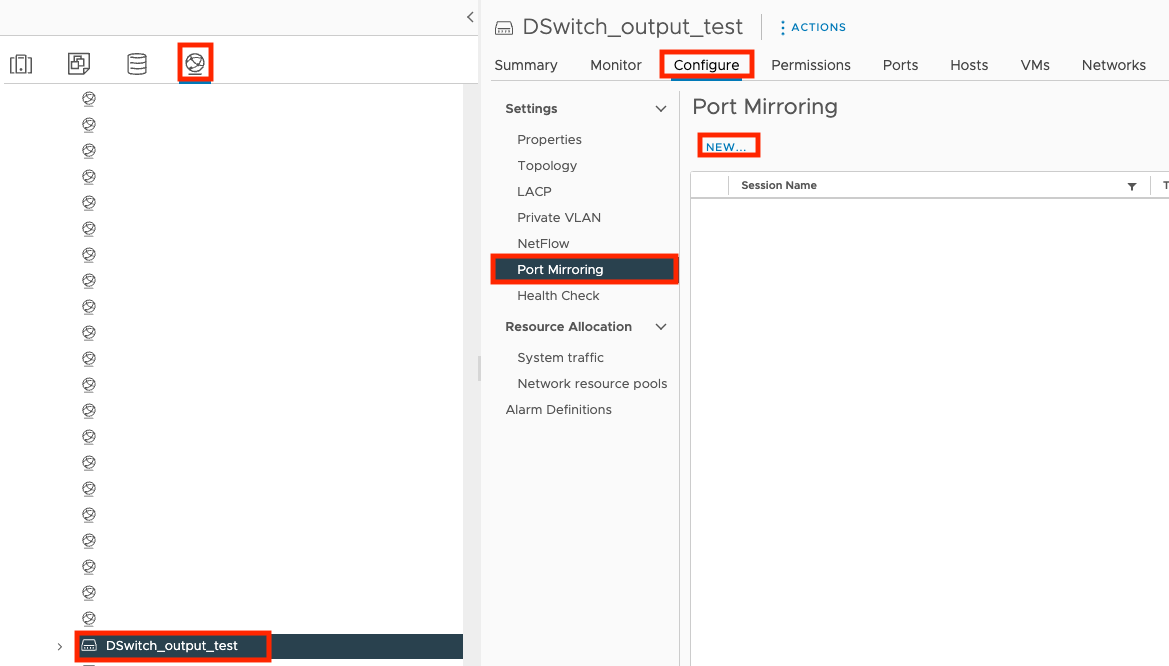
- Click Configure, click Port Mirroring, and click NEW....
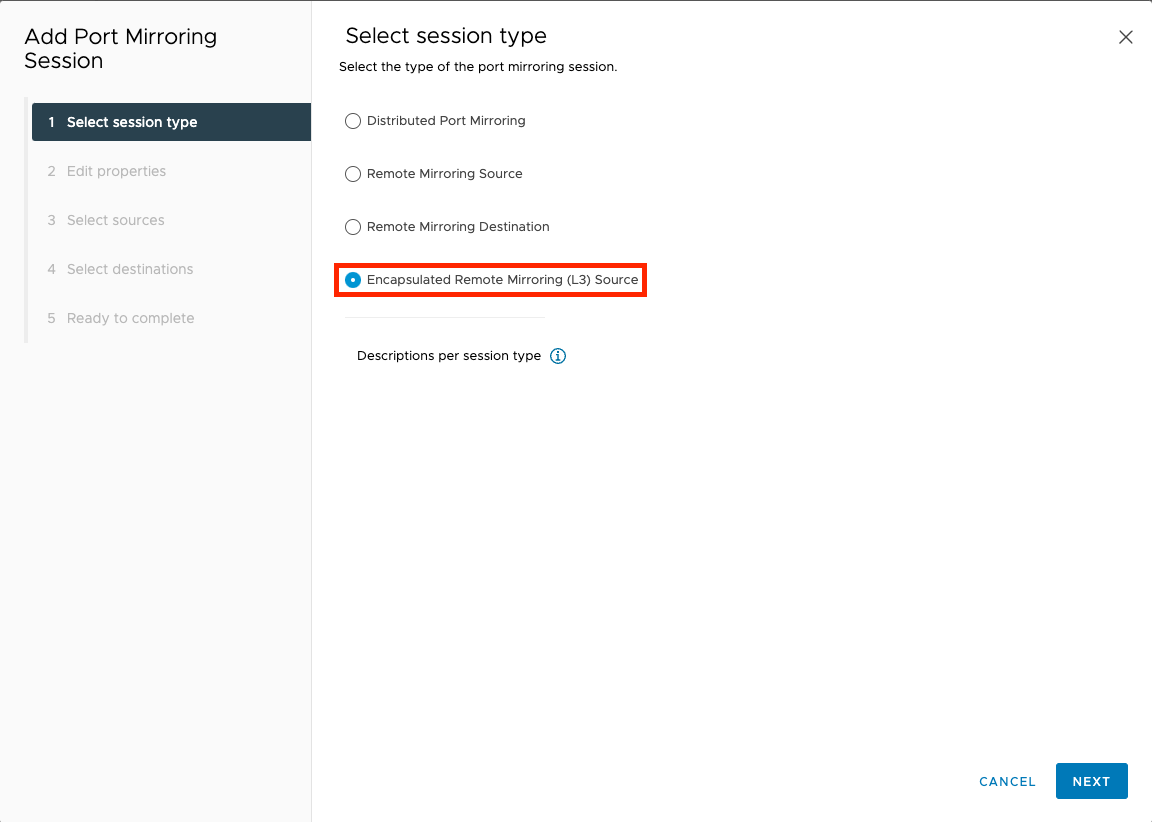
- On the Select session type screen, select
Encapsulated Remote Mirroring (L3) Source and click
NEXT.
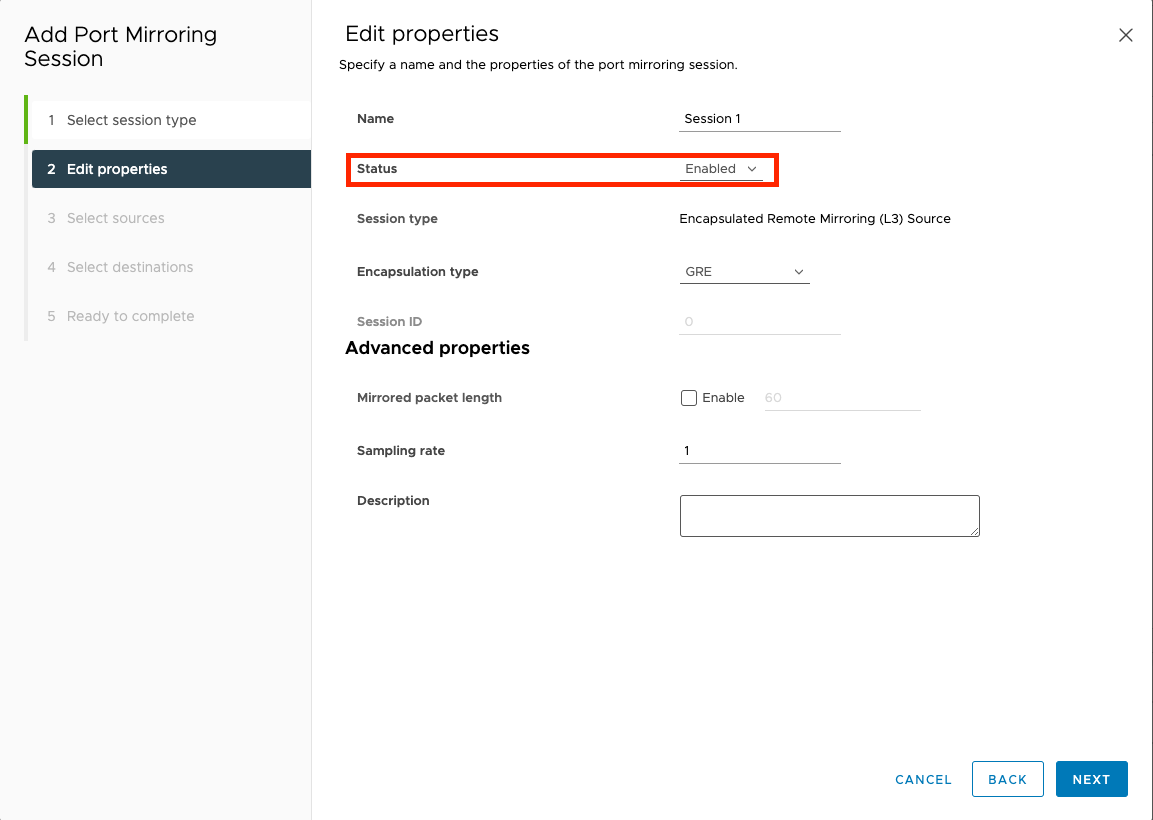
- On the Edit properties screen, select
Enabled for the status and click
NEXT.
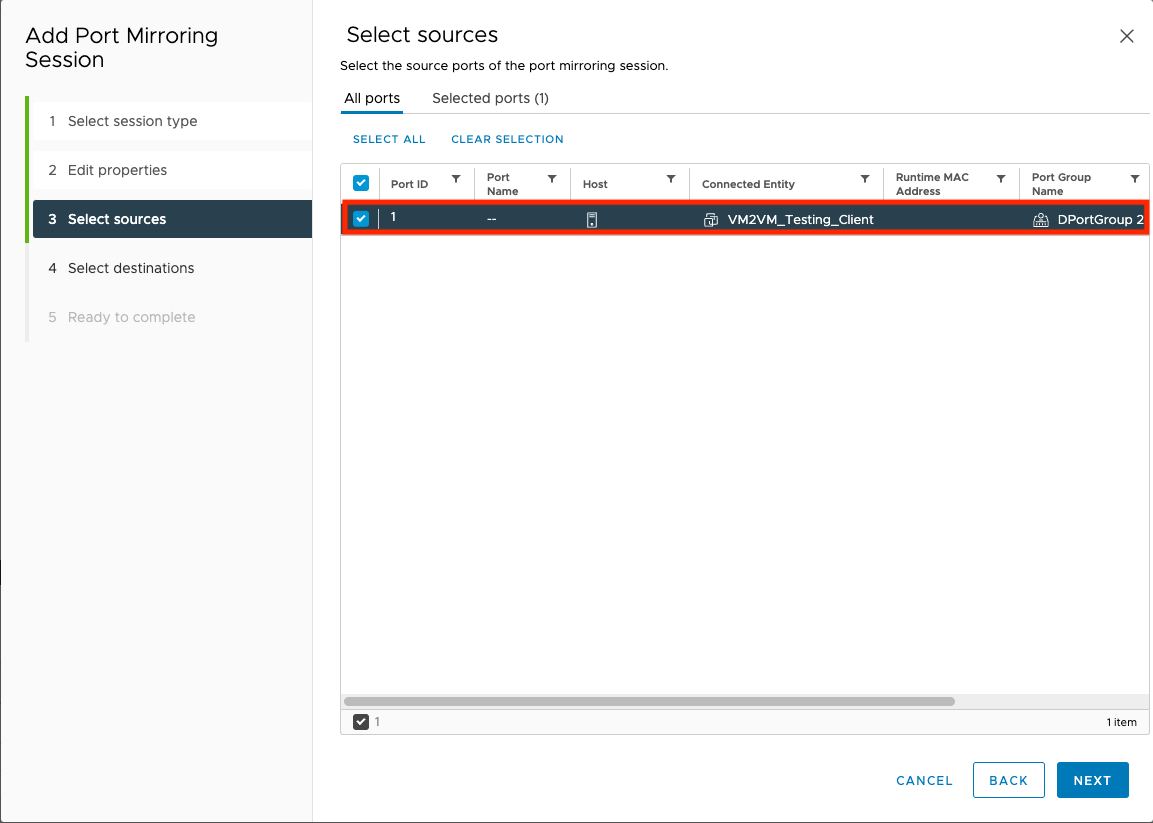
- On the Select sources screen, select the virtual
appliance you want to be monitored and click NEXT.
- On the Select destinations screen, click
ADD and type the Encapsulated Remote Mirroring IP you
specified for your Virtual Network Sensor.
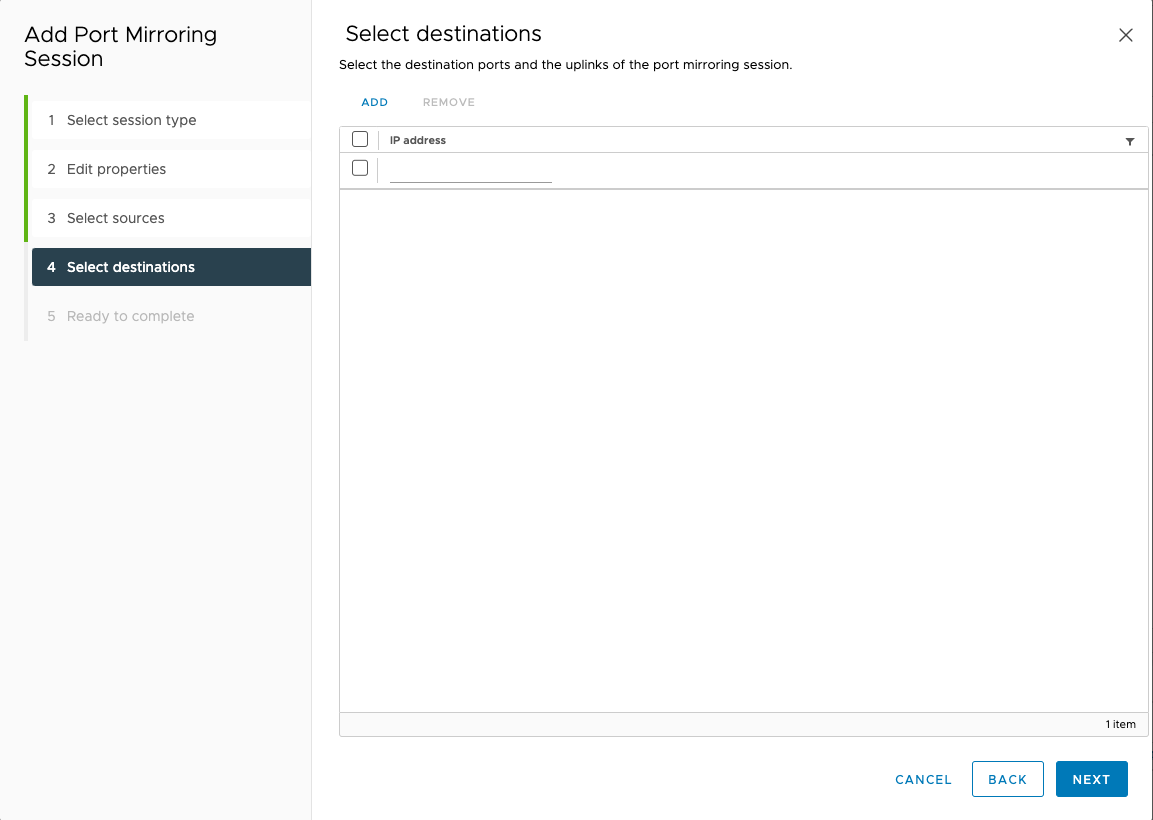
- Click NEXT.
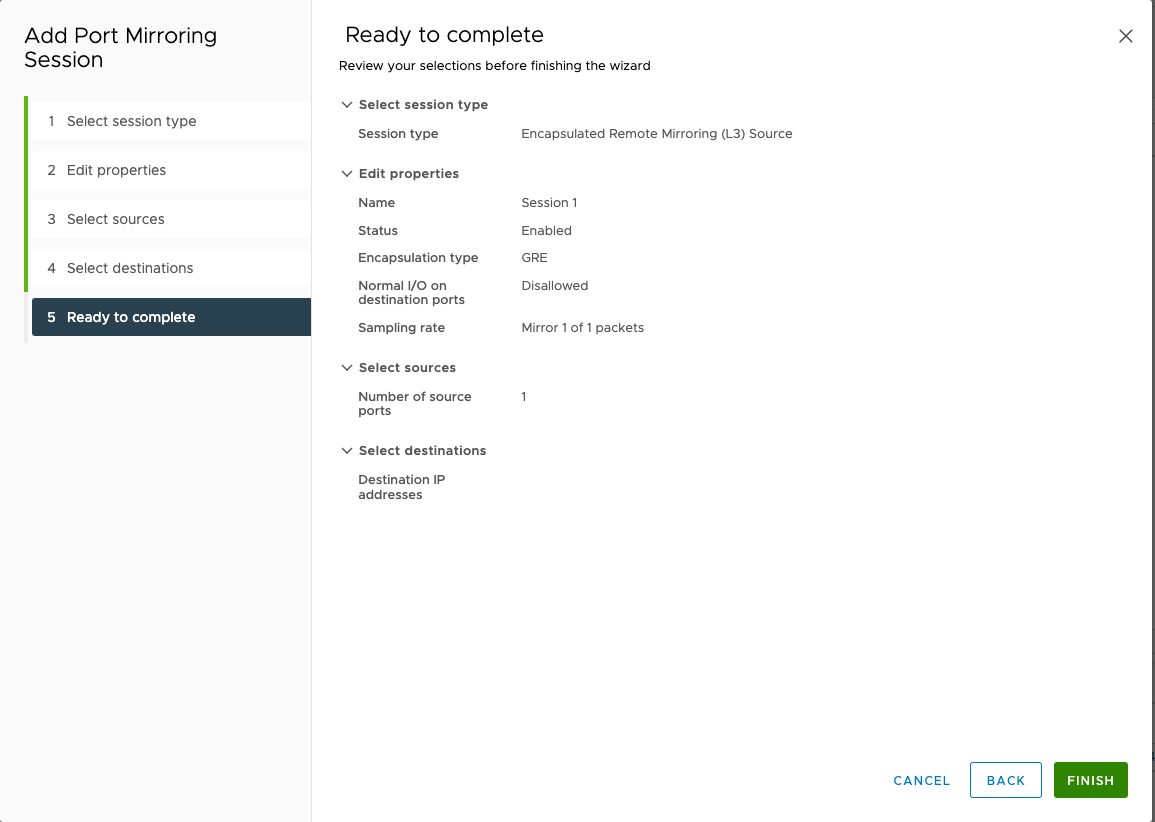
- On the Ready to complete screen, review the settings and
click FINISH.
 After configuring your network settings, access the Virtual Network Sensor console and use the command
show trafficto verify the Virtual Network Sensor is receiving traffic. For more information about troubleshooting, see Virtual Network Sensor FAQ and Virtual Network Sensor CLI commands.