The Sync Agent allows Control Manager to manage multiple Scanning Tool devices. Trend Micro recommends using the Sync Agent if you have a large number of Scanning Tools to manage.
Before installing the Sync Agent, verify that Control Manager is already installed and working in your network.
-
Connect the Scanning Tool USB device to the endpoint where you want to install
the Sync Agent.
Tip:
If you still need to use and access older versions of Portable Security and Scanning Tools, install the Portable Security 3 Sync Agent on a separate endpoint that does not have an older version of Portable Security installed to avoid issues.
-
When the autorun window opens, click Open folder to view
files.
Tip:
Alternatively, double-click the My Computer icon and open the TMPS3_SYS drive.
-
Open the MP folder in the TMPS3_SYS drive, and
double-click the MP_Install.exe file (
 ).
Note:
).
Note:For endpoints running Windows 7 and later, right-click the file and select Run as administrator (
 ).
). -
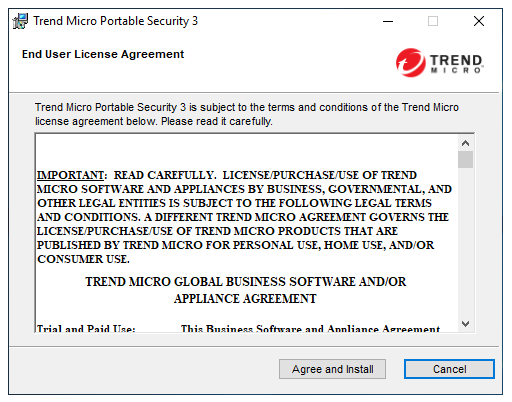
When the End User License Agreement window
appears, read the agreement and click Agree and
Install.
-
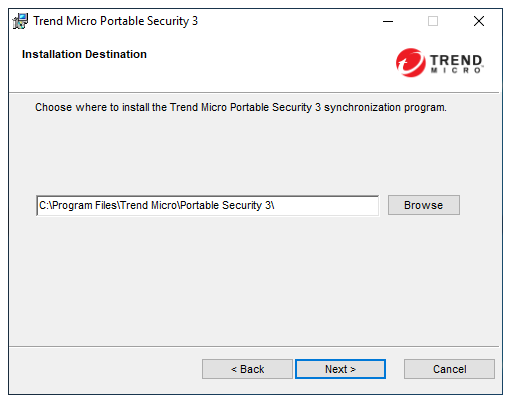
When the Select a Location window opens, click
Next to accept the default location, or
Browse to specify a different location.
-
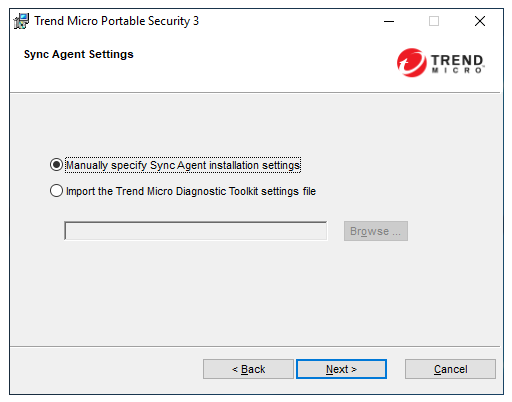
When the Sync Agent Settings window opens,
select a method to configure the Sync Agent.
-
Manually specify Sync Agent installation settings: Manually provide the settings required for installation
-
Import the Trend Micro Diagnostic Toolkit settings file: Use a Trend Micro Diagnostic Toolkit settings file to automatically fill in the settings required for installation
-
-
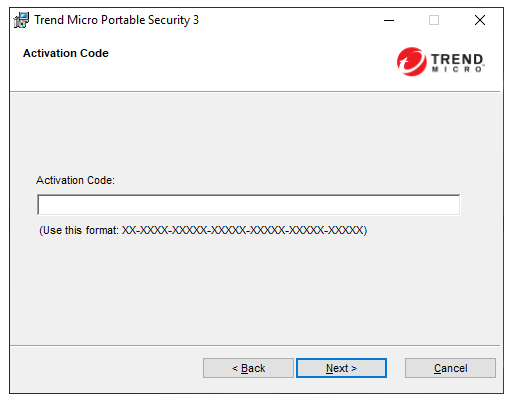
When the Activation Code window appears, type
your activation code, and then click Next.
-
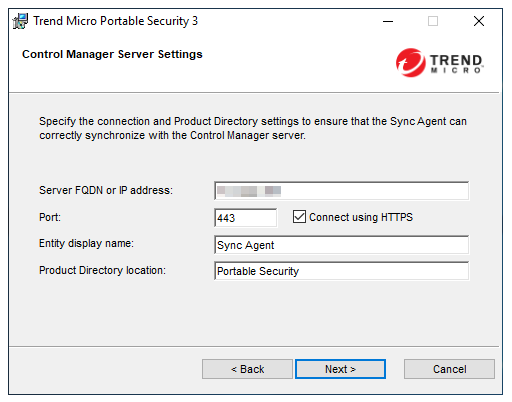
When the Control Manager Server Settings window opens,
specify the following information:
-
Server FQDN or IP address: Server FQDN or IP address of the Control Manager server
-
Port: Port used to connect to the Control Manager server
-
Sync Agent display name: Name that identifies this Sync Agent endpoint on the Control Manager server
-
Product Directory path: Location of the Sync Agent endpoint in the Control Manager directory tree
-
-
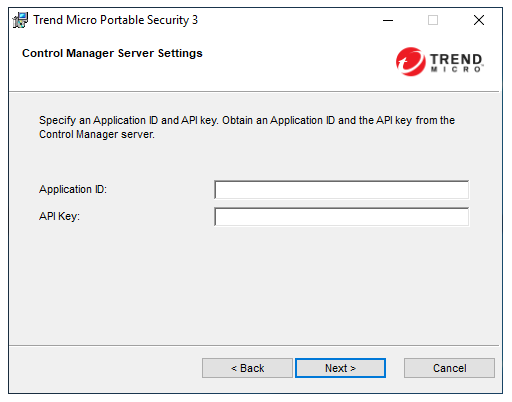
On the next screen, specify the Application ID and the API key required to
access to the Control Manager server.
To obtain the Application ID and API key, go to Administration > Settings > Automation API Access Settings on the Control Manager server.
-
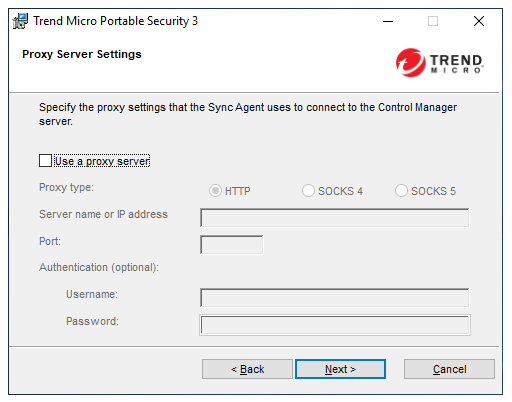
When the Proxy Server Settings window opens, select
Use a proxy server and specify the proxy settings, or
click Next if you do not use a proxy server.
-
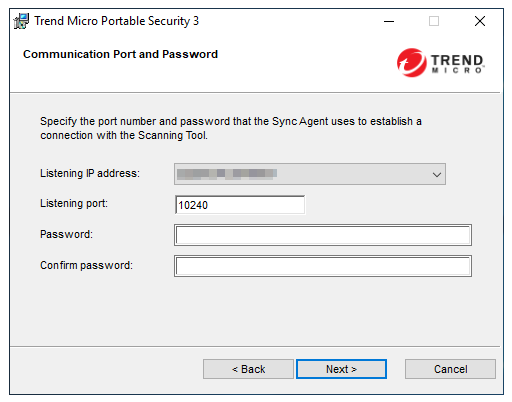
When the Port and Password window appears,
specify the IP address and port number of the Sync Agent endpoint, and then type
the password twice.
-
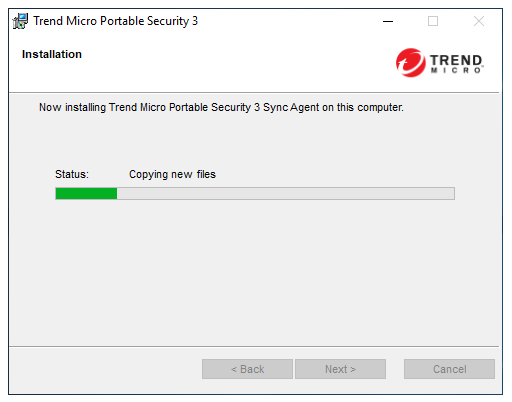
Wait for the installation to complete, and the click
Next.
-
When the Installation Done window appears,
click Close.
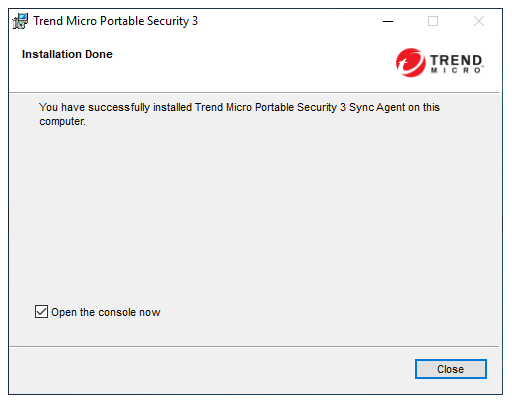
If you selected the Open the Console now option, the Sync Agent opens so that you can make changes to your settings.

