

Before installing the Edge Relay Server, ensure that the target server computer meets
the minimum system requirements.
For more information, see Edge Relay Server System Requirements.
Procedure
- Locate the <Server installation
folder>
\PCCSRV\Admin\Utility\EdgeServerfolder on the Apex One server computer, and copy the folder to the target Edge Relay Server computer. - On the target Edge Relay Server, open the
EdgeServerfolder and execute thesetup.exefile to start the installation process.The setup package checks the server for required components. - If any of the following components do not exist on the server, click
Install to allow the setup program to install the
missing components during the Edge Relay Server installation process.
-
Microsoft Visual C++ 2017 Update 3 Redistributable Package (x86)
-
Microsoft Visual C++ 2017 Update 3 Redistributable Package (x64)
-
Microsoft .NET Framework 4.6.1
-
Microsoft URL Rewrite Module 2.0 for IIS (x64)
-
Microsoft Application Request Routing 3.0 (x64)
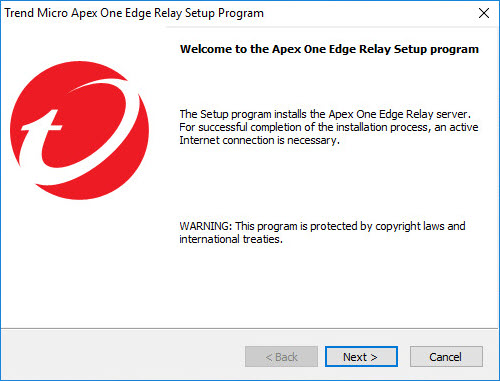
The Welcome screen appears. -
- Click Next.
 The Installation Path screen appears.
 - Accept the default installation directory or click
Change... to select a different location.

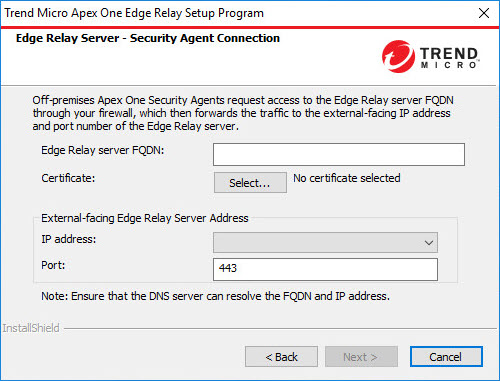
- Click Next >.The Edge Relay Server - Security Agent Connection screen appears.
- Specify the following settings that off-premises Security Agents use to connect to the Edge Relay
server:
-
Edge Relay server FQDN: Type the FQDN of the Edge Relay server
-
Certificate: Select the Webhost certificate for the Edge Relay Server or allow the system to create a self-signed certificate after you click Next >.

Note
You can change the self-signed certificate using the Edge Relay Server Registration Tool after installation completes if you do not have custom certificates readily available.For more information, see Binding Customer-Specific Certificates with the Edge Relay Server. -
IP address: Select the IP address of the server
-
Port: Accept the default port or specify a port

Important
You must configure your firewall and gateway to allow:-
Redirection of the Security Agent communication from the Internet to the Edge Relay server
-
Communication through the port specified
-
-
- Click Next >.The SSL Certificate screen appears.
- Specify and confirm the password used for the Edge Relay Server certificate
(OsceOPA certificate).
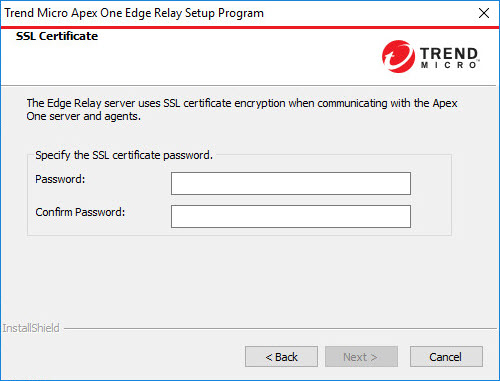
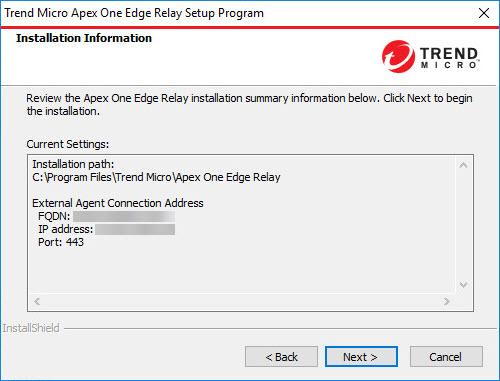
- Click Next >.The Installation Information screen appears.
- Click Next > to begin the installation.
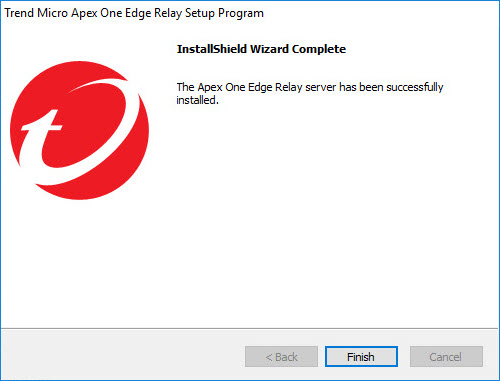
 After the installation completes, the InstallShield Wizard Complete screen appears.
 - Click Finish.
 The Edge Relay Server is ready for use. You can configure which Apex One servers the Edge Relay Server supports.For more information, see Edge Relay Server Registration Tool.
Note
-
Configure the firewall or security router to allow ports and protocols that Apex One uses. For the list of ports and protocols, go to https://success.trendmicro.com/solution/1054836.
-
Check DNS name resolution on the Edge Relay Server. Verify that the hostname and FQDN of the Apex One server as used by the Security Agents can be resolved by the Edge Relay Server.
-