

Procedure
- If this is the first time you install the Security Agent on an endpoint running a supported macOS™ version, the system displays the setup wizard that
prompts you to allow the required permissions for the Security Agent to function. Follow the on-screen
instruction to complete the settings.The following describes the complete procedure. The setup wizard automatically skips the permission settings that are not required for your macOS™ version.For macOS 13 and above:
- Click Open Privacy & Security or access the Apple menu and go to .
- Scroll to the Security section and click Details.
- Provide your macOS administrator password and click Unlock or Modify Settings to make changes.
- Click the toggle switch to turn on all iCore Service entries and click OK.
- Click Allow to allow the Security Agent to filter network content.
- Click Continue.
- Click Open Full Disk Access or access the Apple menu and go to .
- Click Open File Location and locate the
com.trendmicro.icore.es.systemextensionfile; then, drag and drop the file into the Full Disk Access table. - Click Open File Location and drag and drop
Apex One (Mac) Security Agentfrom the Applications folder into the Full Disk Access table, click Later on the screen that appears. - Click Open File Location and locate the
iCore Servicefile; then, drag and drop the file into the Full Disk Access table. - Click the toggle switch to turn on the following apps:
-
iCore Service
-
Apex One (Mac) Security Agent
-
Trend Micro Extension (if available)
-
- Click Continue.
- Restart the computer to make the changes take effect.
For macOS 10.14, 10.15, 11, and 12:- Click Open Security & Privacy or access the Apple menu and go to .
- Click the lock icon in the bottom left corner and provide your macOS administrator password to make changes.
- Click Allow to install the Trend Micro certificate.
- Click Continue.
- On the Security & Privacy screen, click Allow.
- Select all Trend Micro Inc. options and click OK.
- Click Allow to allow the Security Agent to filter network content.
- Click Continue.
- On the Security & Privacy screen, select Full Disk Access from the list of services.
- Click Open File Location
and locate the
iCore Servicefile; then, drag and drop the file into the Full Disk Access table. - Click Open File Location and
drag and drop
Apex One (Mac) Security Agentfrom the Applications folder into the Full Disk Access table. - Make sure the following apps are selected:
-
iCore Service
-
Apex One (Mac) Security Agent
-
Trend Micro Extension (if available)
-
- Click Continue.
- Restart the computer to make the changes take effect.
- The system displays an alert notification prompting you to
install and enable the Trend Micro Toolbar for Mac extension. Complete the
following steps for your web browser:
-
Safari 17 and above:
-
On the alert notification window, click Enable Extension.The configuration overview screen appears.
-
Click Open Safari Extensions.
-
Select the Trend Micro Toolbar for Mac option to enable the extension.
-
In the Permissions section, click Always Allow on Every Website….
-
When asked whether to allow the extension on every website, click Always Allow on Every Website.
-
-
Safari 16 and lower:
-
On the alert notification window, click Enable Extension.The configuration overview screen appears.
-
Click Open Safari Extensions.
-
Select the Trend Micro Toolbar for Mac option to enable the extension.
-
-
Firefox:
-
On the alert notification window, click Enable Extension.The configuration overview screen appears.
-
Click Open File Location to locate
Trend
                                          Micro Toolbar for Mac extension.xpi
file; then, drag and drop the file into the Firefox window to install the file. -
Click Add to install the Trend Micro Toolbar for Mac extension.
-
-
(Required for macOS 11.0 and above) Google Chrome:
-
On the alert notification window, click Enable Extension.The configuration overview screen appears.
-
Click Open File Location to locate and double-click
Trend Micro Toolbar For Mac
                                          (Chrome).mobileconfig
file. -
Click Open Profiles.
-
On the Profiles screen, select
Trend Micro Toolbar for Mac
                                          (Chrome)
and click Install .... -
Click Install.
-
When prompted, type the macOS administrator password and click OK.
-
Restart Google Chrome to make the changes take effect.
-
-
- Verify the following:
-
The Security Agent icon (
 ) displays on
the menu bar of the endpoint.
) displays on
the menu bar of the endpoint. -
The Security Agent appears on the web console’s agent tree. To access the agent tree, click Agent Management on the main menu.
-
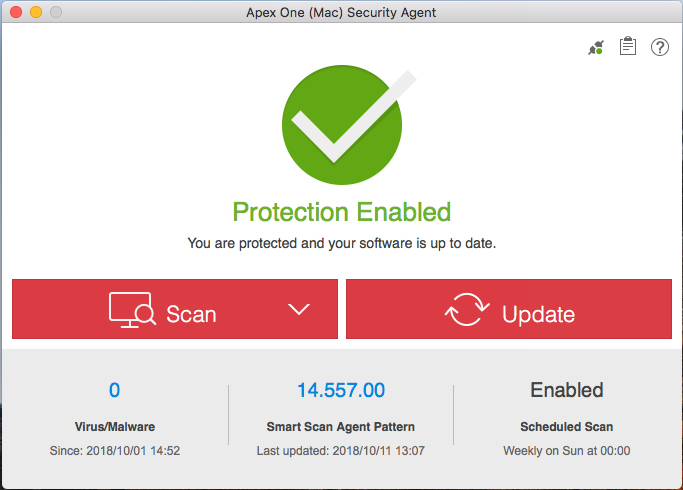
- Update Apex One (Mac) components
by clicking Update on the agent console. The Security Agent downloads components from the Apex One (Mac) server. See Agent Updates for details.
 If the Security Agent cannot connect to the server, it downloads directly from the Trend Micro ActiveUpdate server. Internet connection is required to connect to the ActiveUpdate server.
 - To start a manual scan on the endpoint, click Scan and
choose one of the following scan options:
-
Quick Scan: Scans areas of the endpoint typically targeted by security risks. The pattern files on the Security Agent contain information on the endpoint areas to scan.
-
Custom Scan: Scans the files or folders of your choice. Run custom scan on files or folders that you suspect to be infected.
-
Full Scan: Scans all files, except encrypted and password-protected files.
-
What to do next
If there are problems with the
Security Agent
after installation, try uninstalling and then
reinstalling the
Security Agent
.