Views:

Perform the following tasks after installation.

Important:

If you are migrating from Smart Protection Server 3.1, execute the Smart Protection Server Migration Tool (Migration.py) to transfer all of your settings to Smart Protection Server 3.3 before continuing.

For more information, refer to Migrating Settings from Smart Protection Server 3.1 on the Installation Guide.

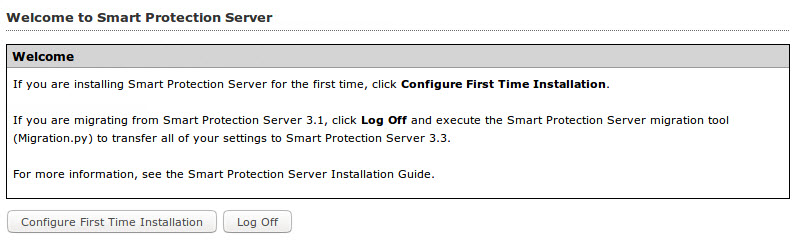
  1. Log on to the web console.

    The Welcome screen appears.

  2. Click Configure First Time Installation.

    The first time installation wizard appears.

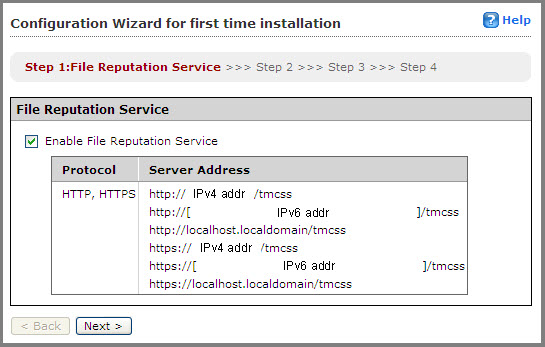
  3. Select the Enable File Reputation Service check box.
  4. Click Next.

    The Web Reputation Service screen appears.

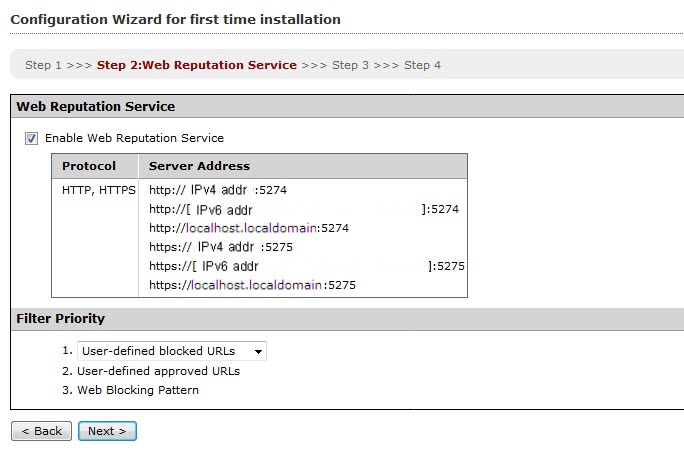
  5. Select the Enable Web Reputation Service check box.
  6. (Optional) The filter priority settings allow you to specify the filter order for URL queries.
  7. Click Next.

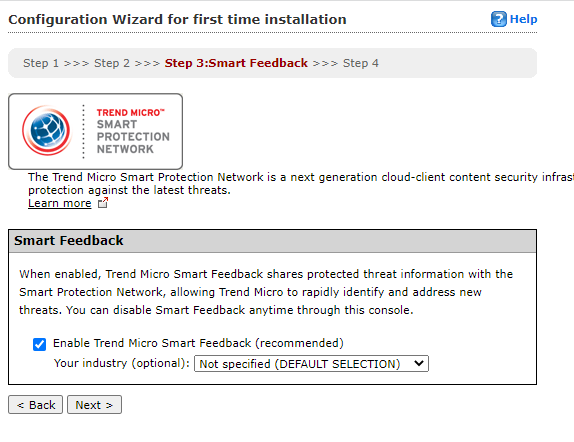
    The Smart Feedback screen appears.
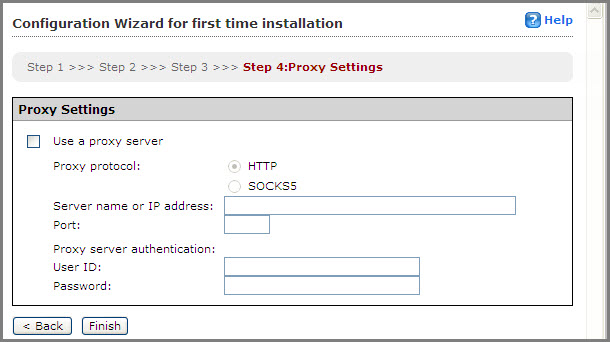


  8. Select to use Smart Feedback to help Trend Micro provide faster solutions for new threats.
  9. Click Next.

    The Proxy Settings screen appears.

  10. Specify proxy settings if your network uses a proxy server.
  11. Click Finish to complete the initial configuration of Smart Protection Server.

    The Summary screen of the web console displays.

    Note:

    Smart Protection Server will automatically update pattern files after initial configuration.