

To upgrade SMD from a graphical user interface:
-
To navigate to the Setup program, do one of the following:
-
If you are installing from the Trend Micro Enterprise Protection CD, go to the SMD folder on the CD.
-
If you downloaded the software from the Trend Micro Web site, navigate to the relevant folder on your server.
-
-
Double-click setup.exe.The InstallAnywhere screen appears, followed by the SMD install screen.
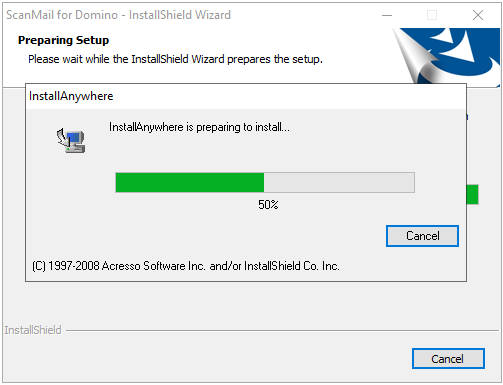 After the SMD InstallAnywhere screen completes its progress, the SMD Welcome screen appears.
-
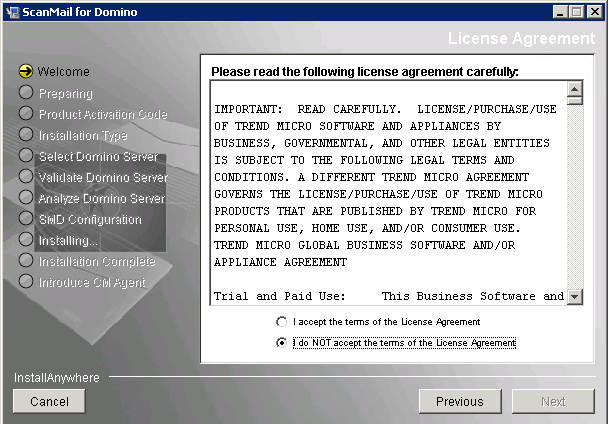
Click Next. The License Agreement screen appears.
-
Select I accept the terms of the license agreement to continue with the SMD installation. If you do not agree with the terms of the license, click I do NOT accept the terms of the license agreement; the installation then stops.
-
Click Next. The Select Domino Server screen then appears. Select the
notes.iniserver where you want to install SMD.
Note
If you have a partitioned server, install SMD on the partitions you want to protect.Also, if you are upgrading from SMD 5.8, the existingnotes.iniserver file will display. This file cannot be removed, but you can Add other locations.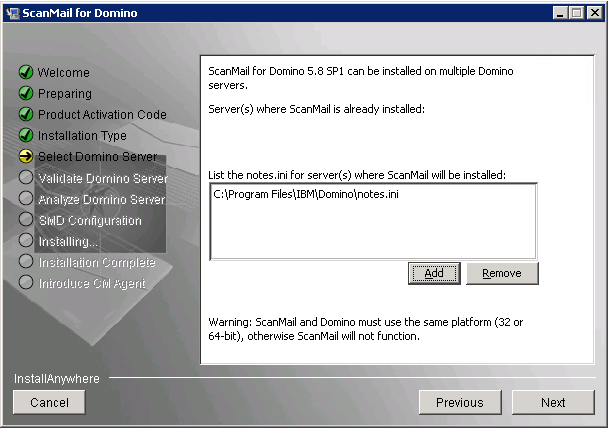
-
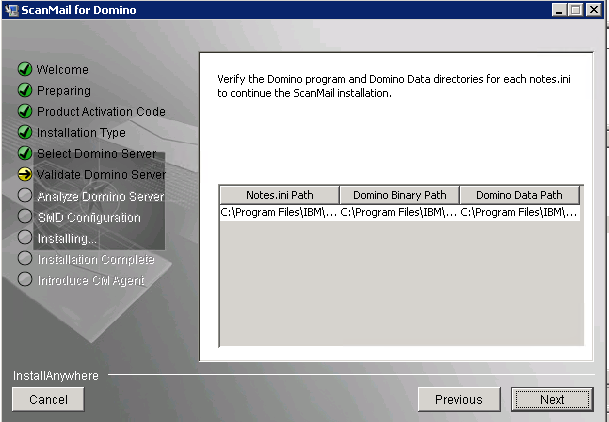
After selecting the
notes.inipath, click . The Validate Domino Server screen displays. -
From the Validate Domino Server screen, verify the domino and data directories path.
-
Click Next. The Analyze Domino Server screen displays.
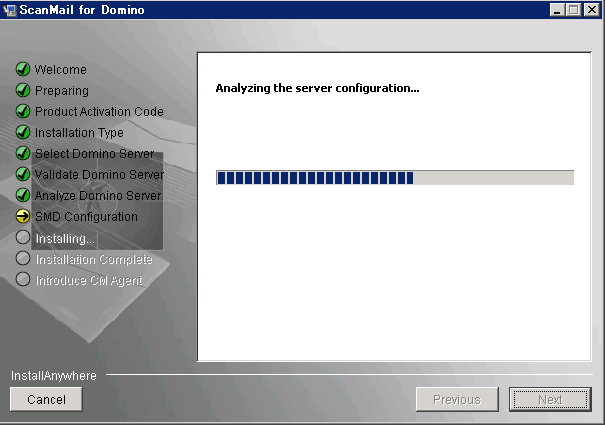
-
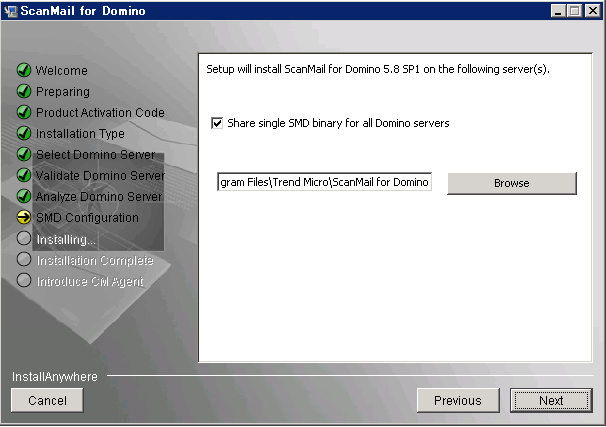
After the configuration analysis screen progress completes, click Next. The SMD Configuration screen displays.
-
From the SMD Configuration screen, type or Browse for the location to install ScanMail for Domino.
Note
Trend Micro recommends that you do not install SMD product binaries in the Domino Data folder. Otherwise, SMD may generate extra logs. -
Click Next. The Database Replication Selection screen appears. By default, Setup enables replicating all databases except the Quarantine database. If you want to change the default settings, select or deselect the SMD databases you want Setup to replicate.
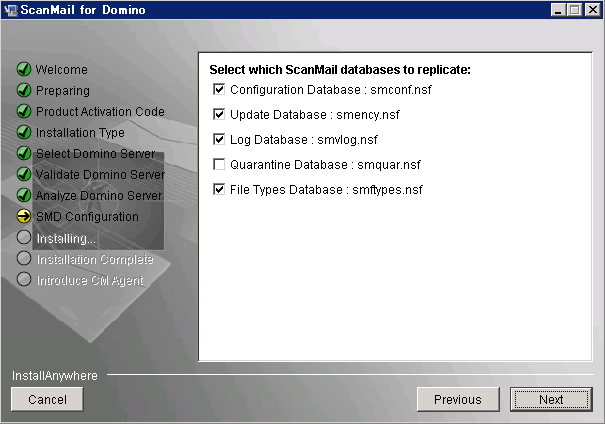 If you plan to install SMD on several servers and replicate databases, you may want to disable replication of the Configuration database on subsequent servers. Select one server as the primary or administrative server to replicate to all other servers.
Note
Remember to schedule the replication of the Configuration database after installing SMD so that all servers receive the default policy. -
Click Next. The Default Policy Selection screen appears. Select which server(s) should get the default policy. If there are server(s) with SMD installed and the Configuration database is being replicated, you may skip this option on subsequent installations.A single SMD server, central (hub) server, or the first server from a group of partitioned servers should always receive the default policy. If the default policy is not installed on a server, reload
SMDRealon that server after you create a new policy.Note
All servers must have a policy present for SMDReal to operate properly. Upon completion of installation, schedule replication of the Configuration database so that all servers will receive the default or other policy that you specify.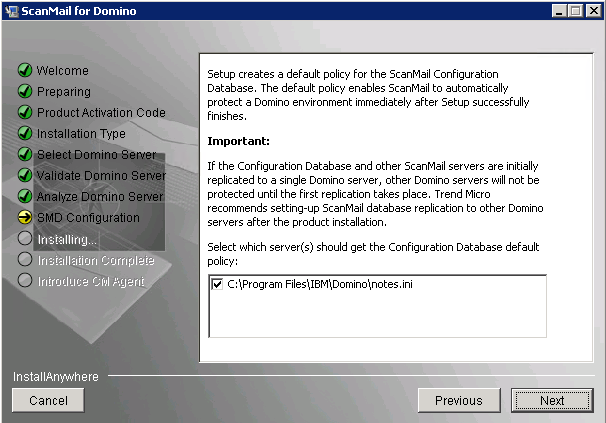
-
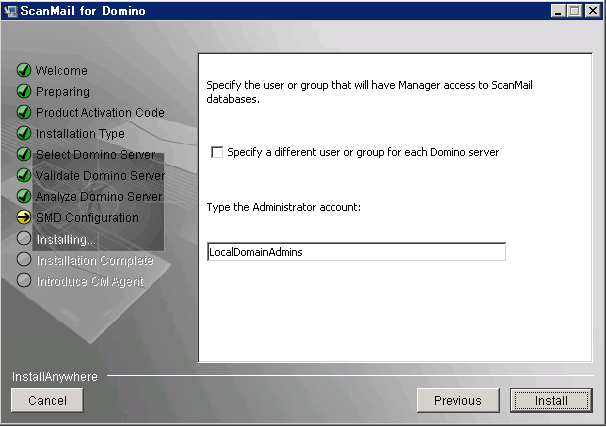
Click Next. The ScanMail Administrator screen appears.
-
Do one of the following:
-
Type a single administrator account / group that will have Manager access to all SMD databases.
-
If the target servers are partitioned servers and you have different administrator groups for each partition, specify different users or user groups for each partitioned server and then type the administrator account for each server in the Type the Administrator account field.
Note
If the account you specify does not exist, then create it when you complete the installation. Ensure that the account has administrator authority. -
-
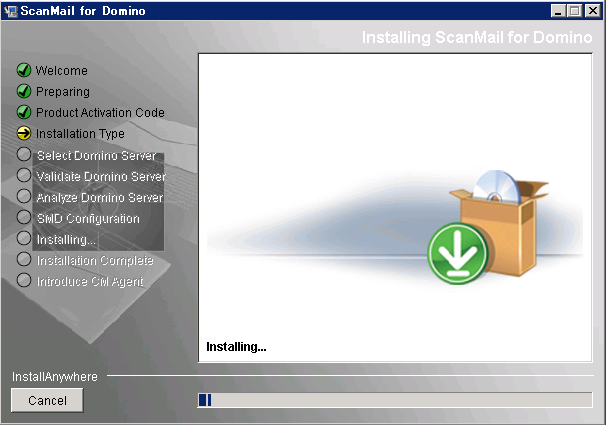
Click Install. The installation begins.
-
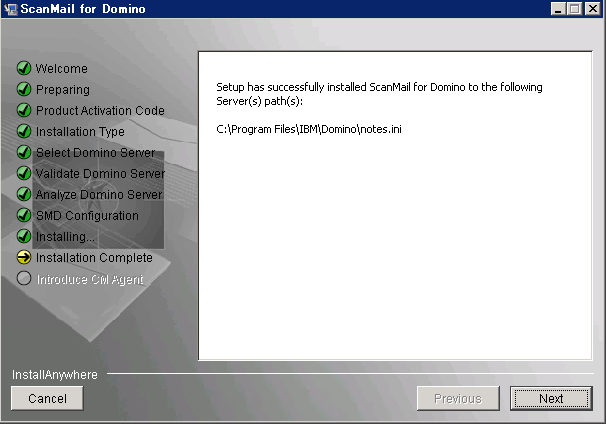
After the installation completes, the Installation Complete screen displays.
-
Click Next. The Introduce Control Manager Agent screen displays.

-
Click Done to close the Setup screen.