

The following explains the steps required to specify a backup folder for scheduled
scan:
Procedure
- On the left menu, click Scheduled Scan. The Scheduled Scan screen then appears.
- Add a new scheduled scan, or click an existing scheduled scan in the Task Name column.
- Depending on your previous selection, the Scheduled
Scan: Add Scan Task or Scheduled Scan: Edit
Scan Task screen appears.
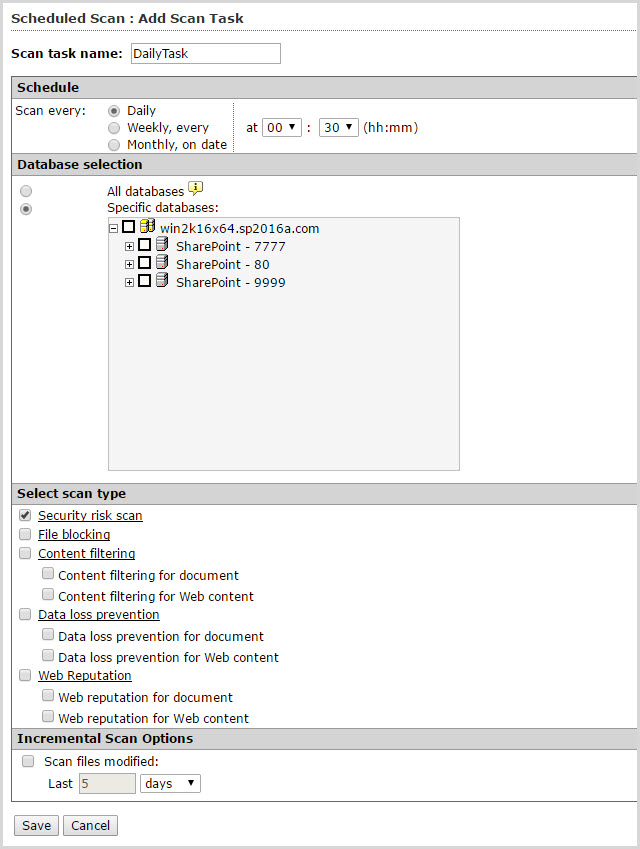
Scheduled Scan: Add Scan Task screen - Under Select scan type, click the Security risk scan link. The screen then appears.
- Click the Action tab, and then expand Backup Setting at the bottom of the screen.
- In the Backup directory field, type the full path in which to save backup files. If the directory path does not exist, PortalProtect will create a folder for the specified path.
- Click Save to accept and save the current setting.