There are two methods to remove PortalProtect:
-
From the Windows Control Panel—Add/Remove Programs (recommended)
-
Using
Setup.exeprogram
Removing PortalProtect both
locally and remotely is performed with a user-friendly uninstallation program. This
program allows you to easily remove PortalProtect from one or many servers.
The servers must be part of your network and you must have access with administrator
privileges.
NoteFor a local server, you can also use the program removal function located in the
Windows Control Panel. However, to remotely remove PortalProtect from a
server you need to use the
Setup.exe program. |
Procedure
- Navigate to
Setup.exeand open it.The Trend Micro PortalProtect setup program screen displays.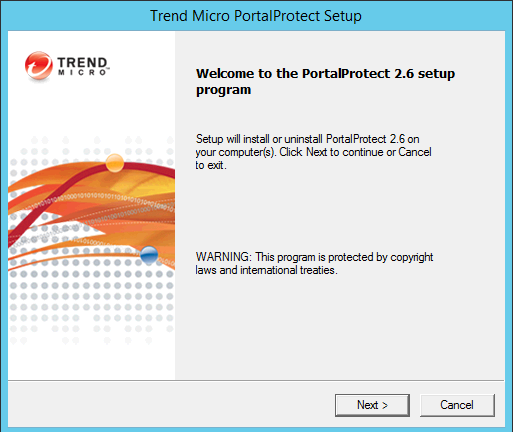
Trend Micro PortalProtect setup program screen - Click Next >.The License Agreement screen appears.
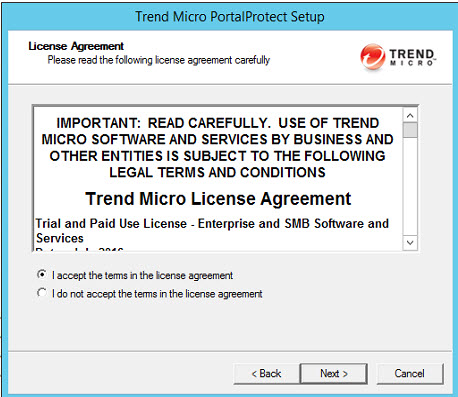
License Agreement screen - Select I accept the terms in the license agreement and
click Next >.The Select an Action screen (1) appears.
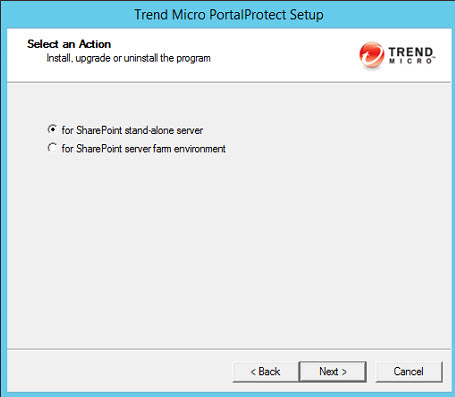
Select an Action screen (1) - Choose one of the following installation options:
-
for SharePoint stand-alone server
-
for SharePoint server farm environment
-
- After selecting the appropriate options, click Next
>.The Select an Action - Install, upgrade or uninstall PortalProtect screen appears.
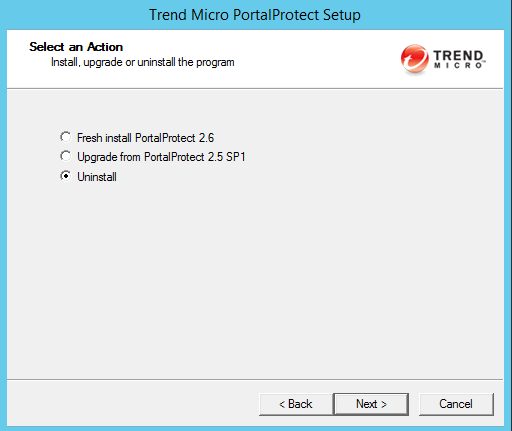
Select an Action screen (2) - Select Uninstall and click
Next.The Select Target Server(s) screen displays.
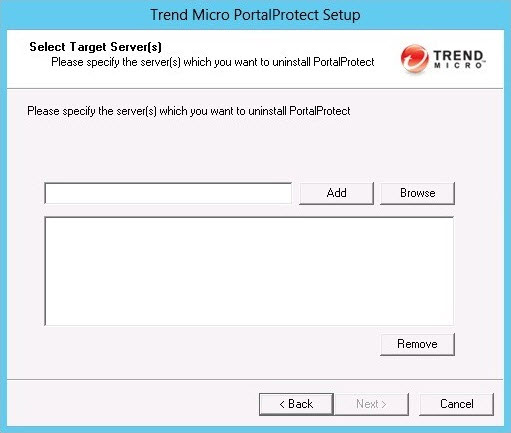
Select Target Server(s) screen - Add / Browse for the Computer
name(s) where you want to uninstall PortalProtect; then,
select the added server(s) and click Next >.The Select Computers dialog appears.
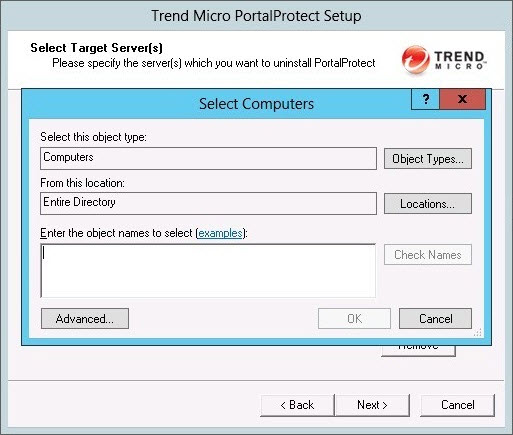
Select Computers dialog - Select the computers from which you want to uninstall PortalProtect and click
OK.The Select Target Servers screen appears.
- Add / Browse to select additional servers as required
and click Next>.The Logon screen displays.
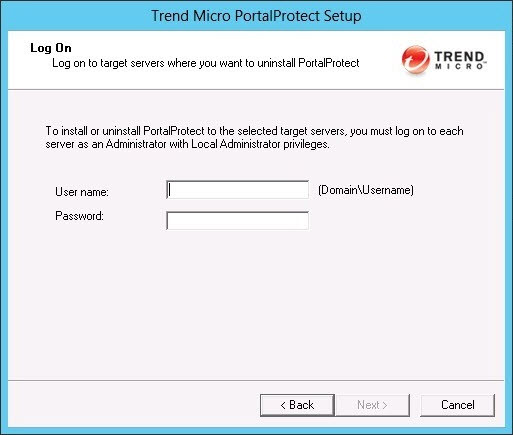
Logon screen - Type the server User name [Domain\Username] and
Password and click Next
>.The Configure Shared Directory screen displays.
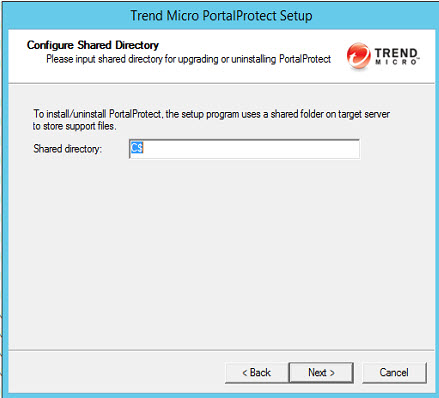
Configure Shared Directory screen - Verify the Shared directory and click Next
>.The Checking Target Server System Requirements screen displays.
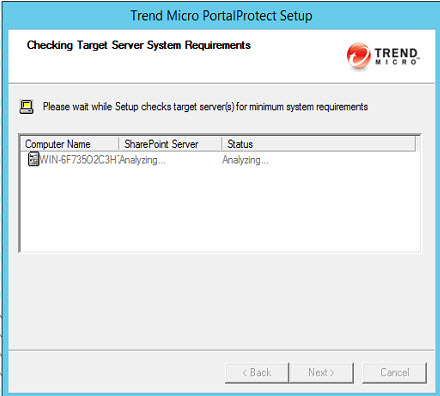
Checking Target Server System Requirements screen - Verify the Computer Name and SharePoint
Server. Also, ensure the Status reads
Uninstall and click Next
>.The Uninstall Notice screen displays.
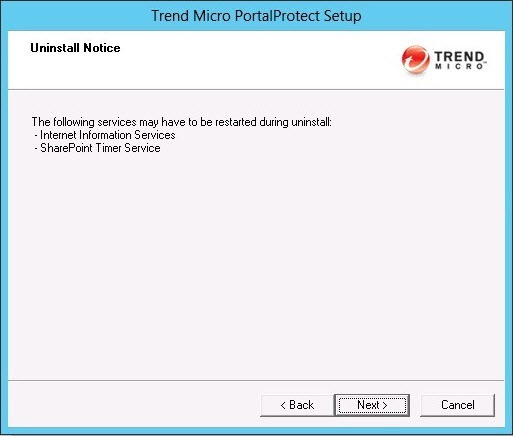
Uninstall Notice screen - Click Next >.The Review Settings screen displays.
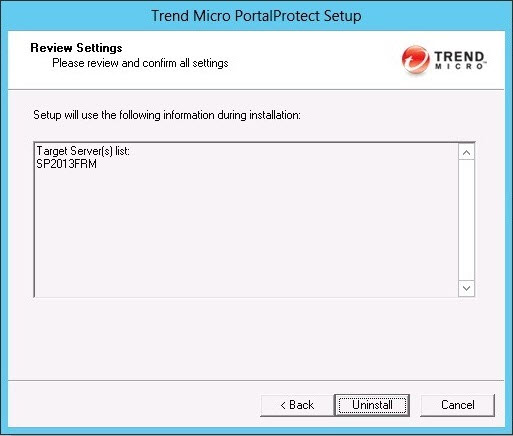
Review Settings screen - Review the settings displayed on screen. Go Back to make
changes if needed. Click Next > when you are satisfied
with the settings.The Uninstallation Progress screen displays.
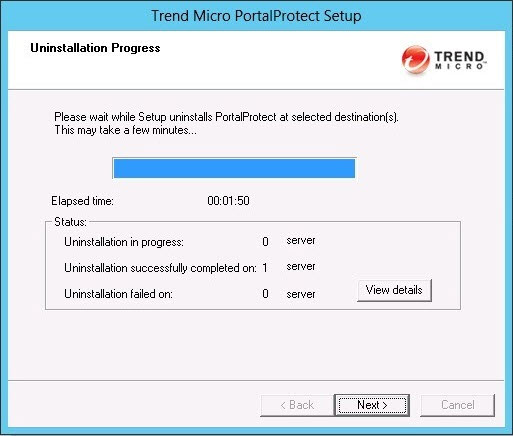
Uninstallation Progress screen - Click View Details to observe the uninstallation
progress.
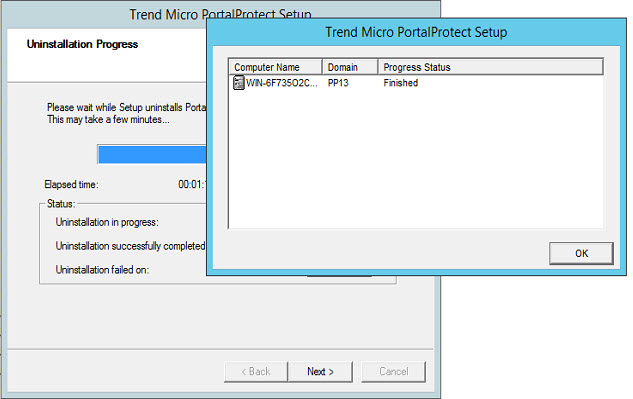
Uninstallation Progress Status - When the Progress Status displays
Finished, click OK > Next
>.The Uninstallation Complete screen displays.
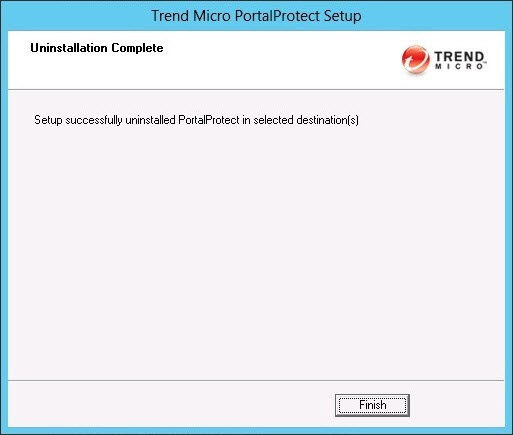
Uninstallation Complete screen

