

This section shows you how to create a virtual machine on Nutanix AHV.
Procedure
- Access the Nutanix Prism Element web console to upload the Deep Discovery Email
Inspector installation ISO image. Do the following:
- On the Settings dashboard, select Image Configuration and click Upload Image.
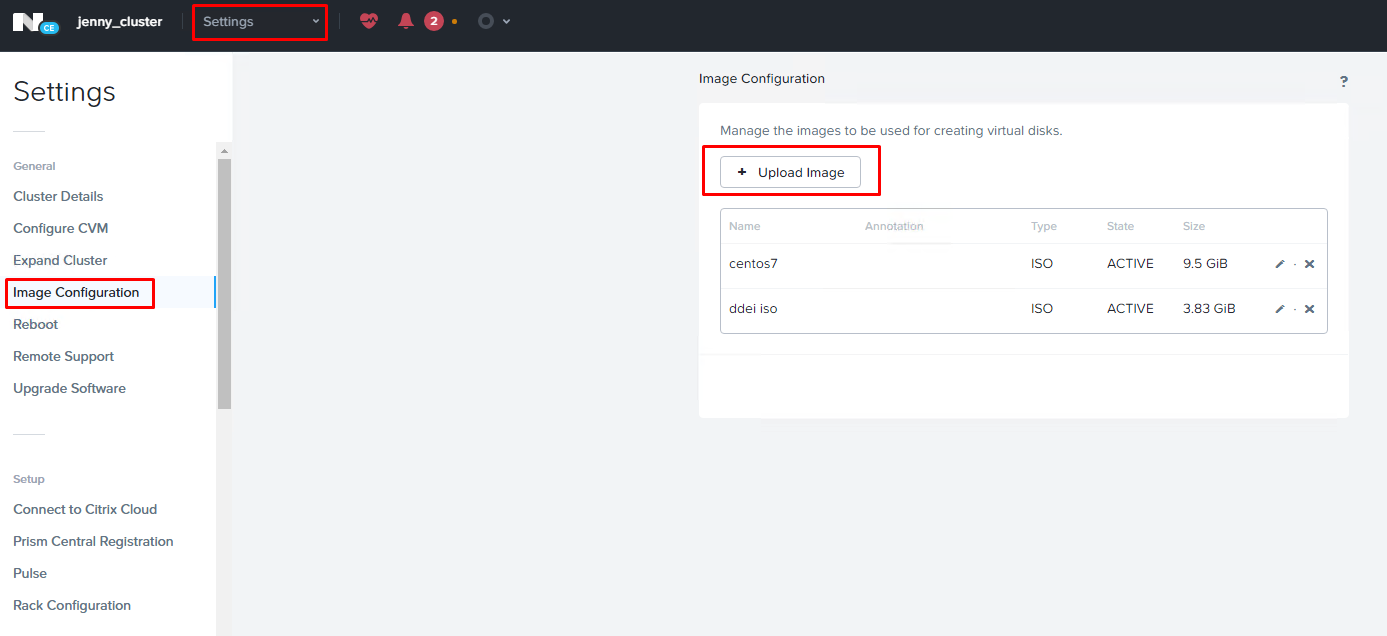 The Create Image screen appears.
 - Type a descriptive name (for example, "Deep Discovery Email
Inspector").
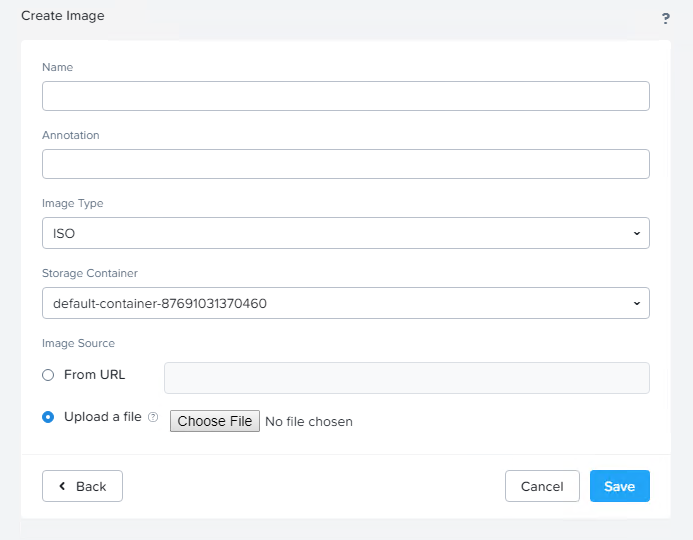
- Select ISO from the Image Type drop-down list.
- Select Upload a file and click Choose File to select the Deep Discovery Email Inspector installation ISO image.
- Click Save.
- On the Settings dashboard, select Image Configuration and click Upload Image.
- Create a new subnet. Do the following:
- On the Settings dashboard, select Network Configuration and click Subnets.
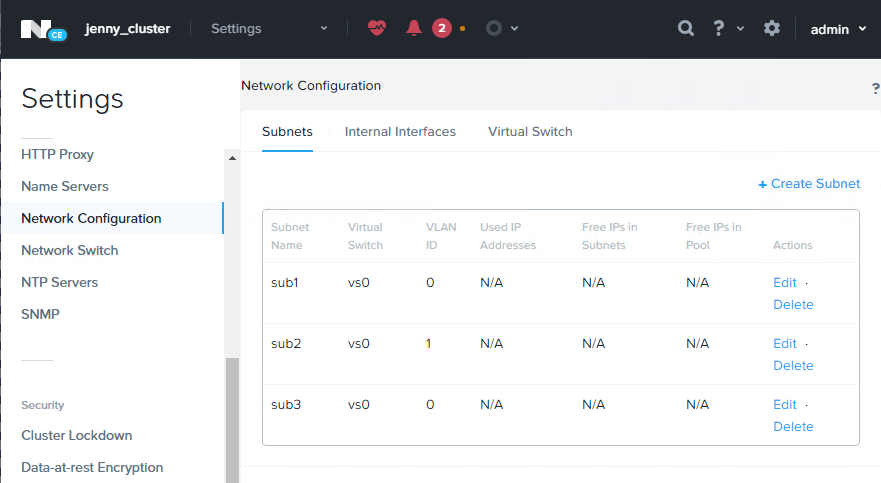
- Click Create Subnet.
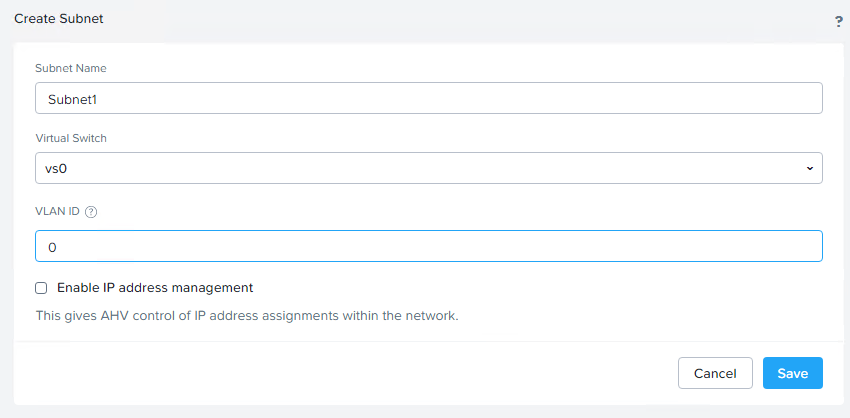
- On the Create Subnet screen, type a descriptive name and type "0" for the VLAN ID; then, click Save.
- On the Settings dashboard, select Network Configuration and click Subnets.
- Go to the VM dashboard and click Create VM.
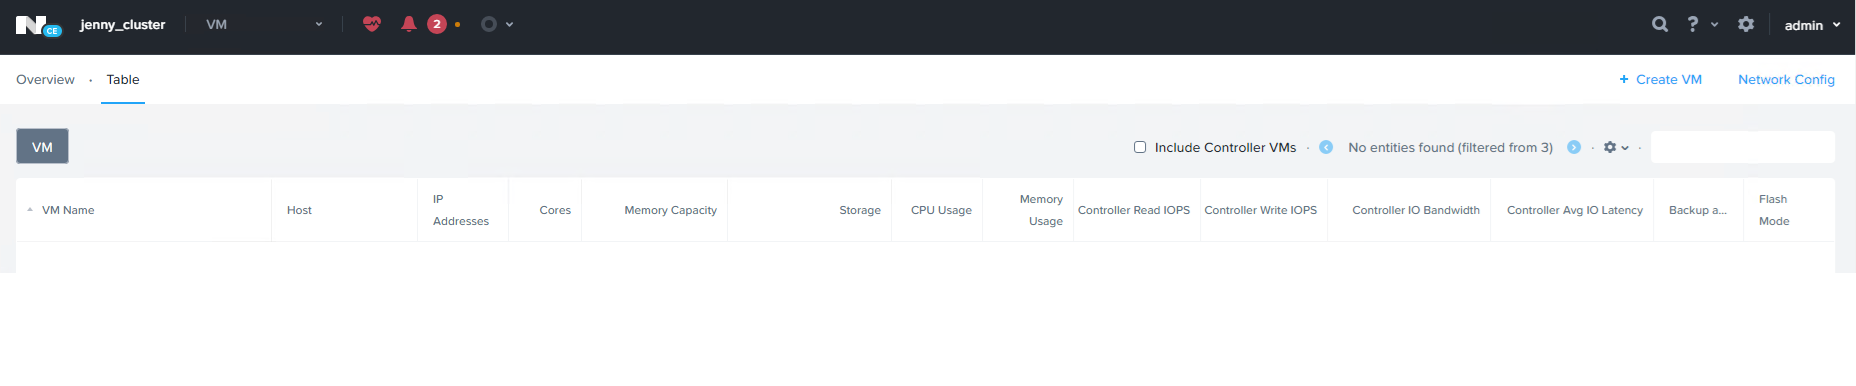
- On the Create VM screen, do the following:
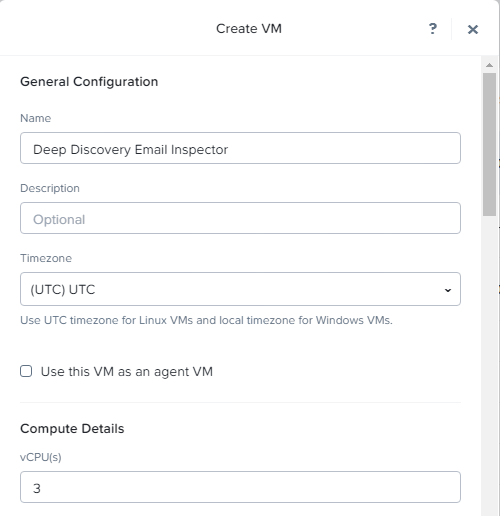
- Type a descriptive name (for example, "Deep Discovery Email Inspector").
- Allocate 3 or more vCPUs for the virtual machine.
- Allocate 10G or more memory for the virtual machine.
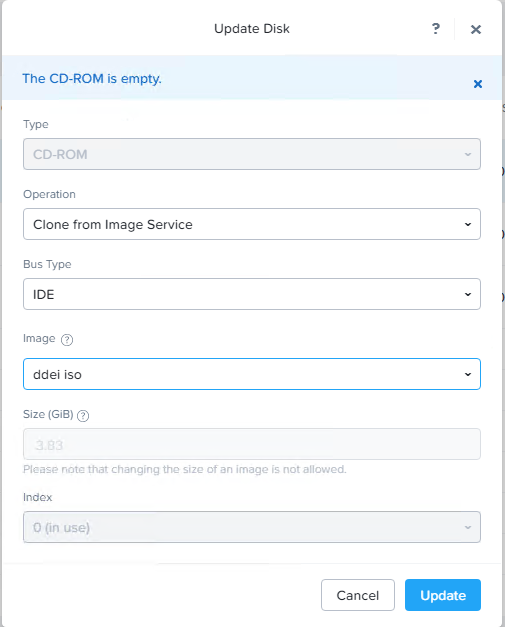
- Under Disk, click the edit button to update the CD-ROM settings.
- On the Update Disk screen, select the Clone from Image Service operation and select an image; then, click Update.
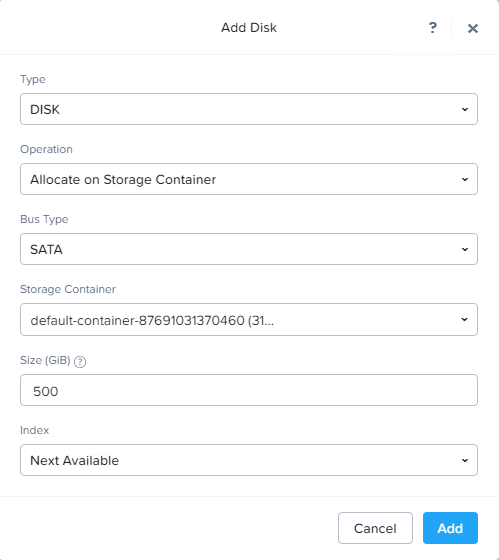
- Click Add New Disk, select the SATA bus type and allocate at least 500GB disk size; then click Add.
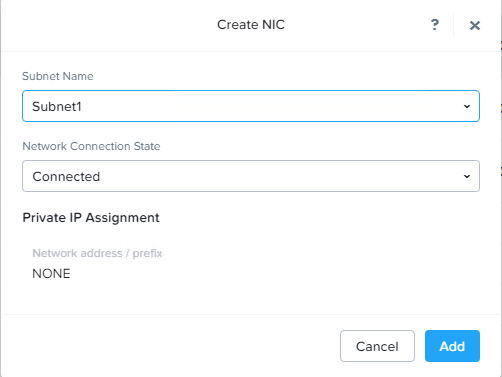
- Under Network Adapters (NIC), Click Add New NIC and select the subnet you have created; then click Add.
- Click Save.The VM dashboard displays an entry for the new virtual machine.
- Install Deep Discovery Email
Inspector on the new virtual machine. Eject the CD-ROM and reboot.For more information, see the Nutanix documentation.