

Procedure
- Create virtual management and data switches.
- In Hyper-V Manager, go to .The Virtual Switch Manager window appears.
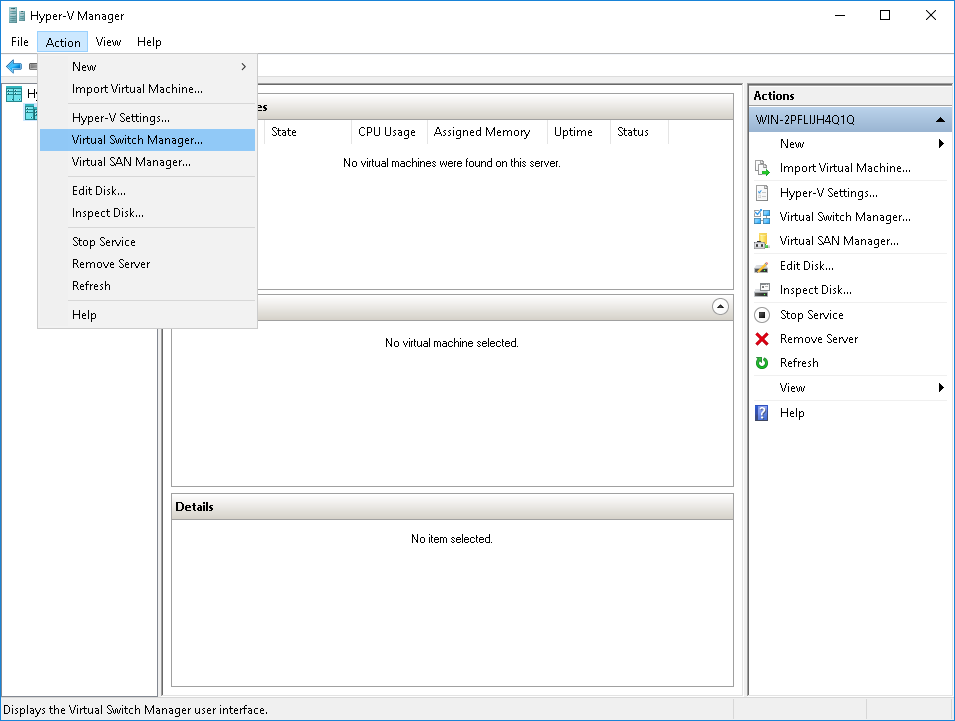
- In the left column, click New Virtual network
switch.The Create virtual switch screen appears.
- For the switch type to create, select
External.
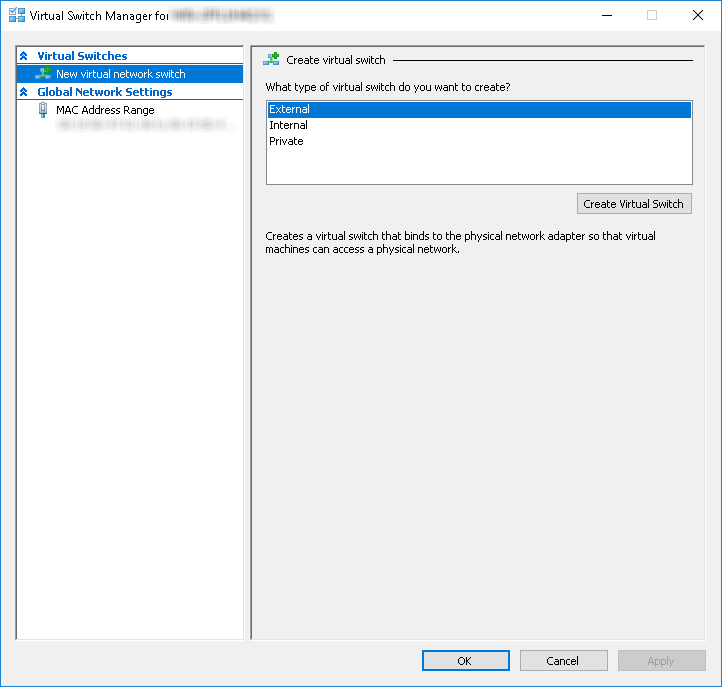
- Click Create Virtual Switch.The Virtual Switch Properties screen appears.
- For Name, type Management Switch.
- For Connection type, select External
Network and then select a NIC card to use for the
management network.
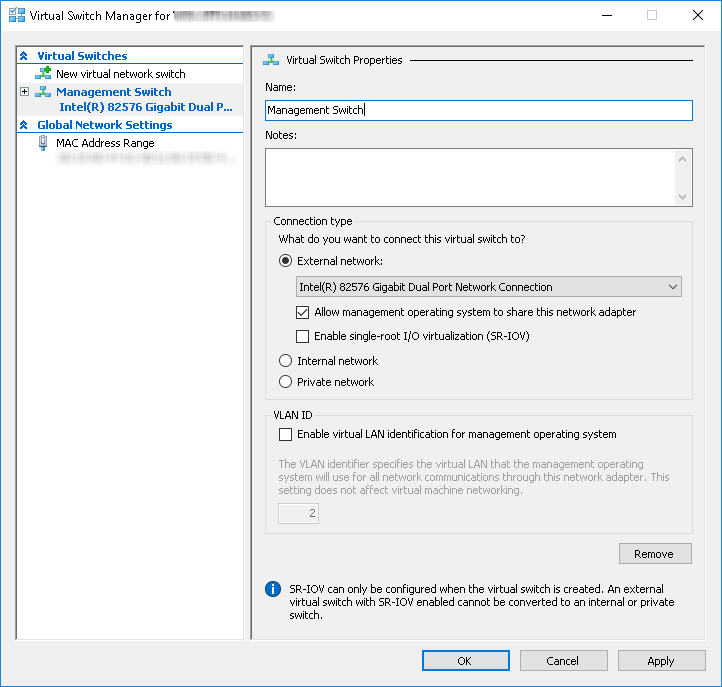
- Click Apply.The Apply Networking Changes confirmation window appears.
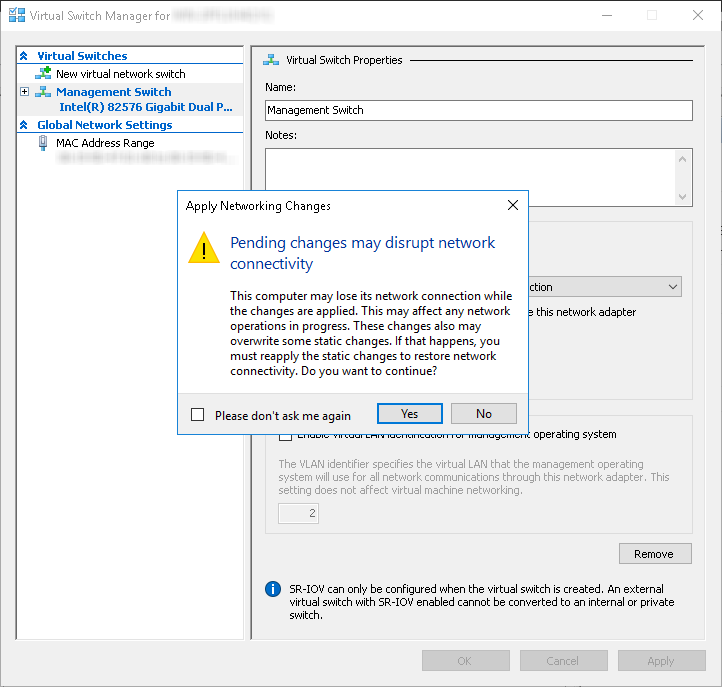
- Read the warning and then click Yes.
- In the left column, click New Virtual network
switch.The Create virtual switch screen appears.
- For the switch type to create, select External.
- Click Create Virtual Switch.The Virtual Switch Properties screen appears.
- For Name, type Data Switch.
- For Connection type, select External Network and then select a NIC card to use for the data network.
- Click Apply.The Apply Networking Changes confirmation window appears.
- Read the warning and then click Yes.The confirmation window closes.
- Click OK.
- In Hyper-V Manager, go to .
- Create a virtual machine.
- In Hyper-V Manager, go to .
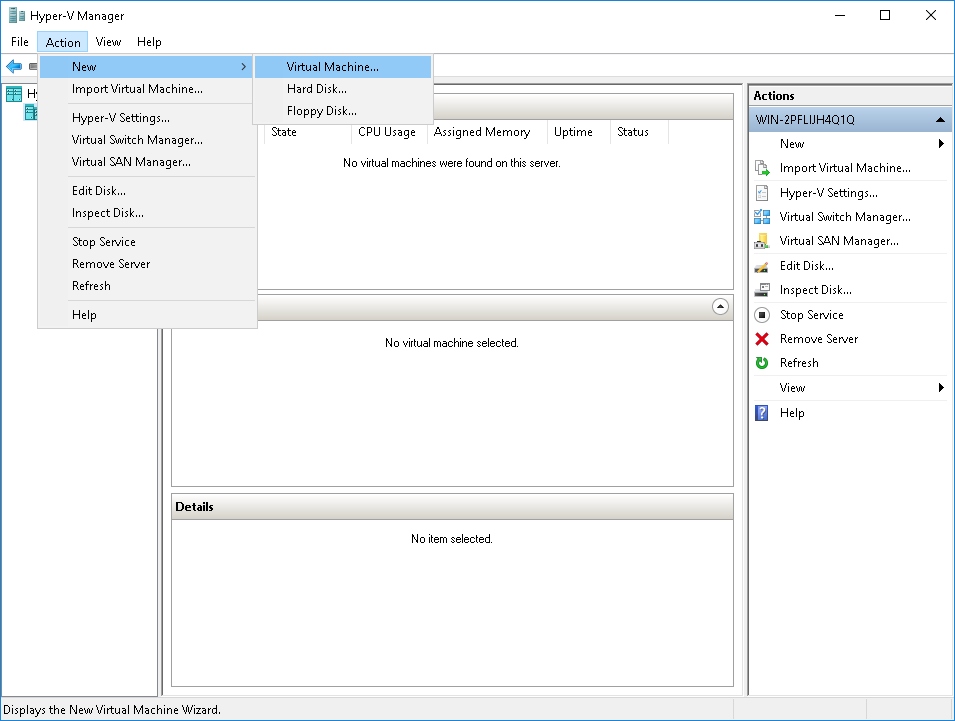 The New Virtual Machine Wizard window with the Before You Begin screen appears.
 - Click Next.The Specify Name and Location screen appears.
- For Name, type Deep Discovery Email
Inspector.
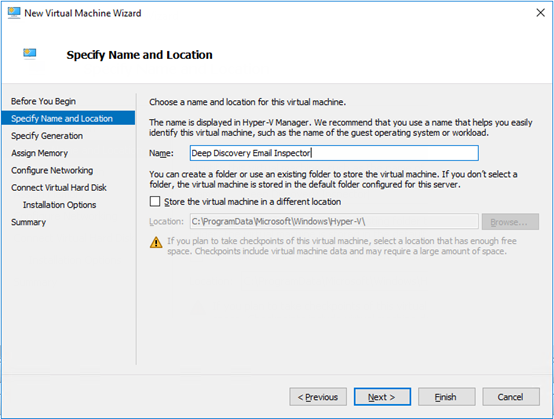
- Click Next.The Specify Generation screen appears.
- Select Generation 1.

- Click Next.The Assign Memory screen appears.
- For Startup memory, assign at least
10240 MB (10 GB).
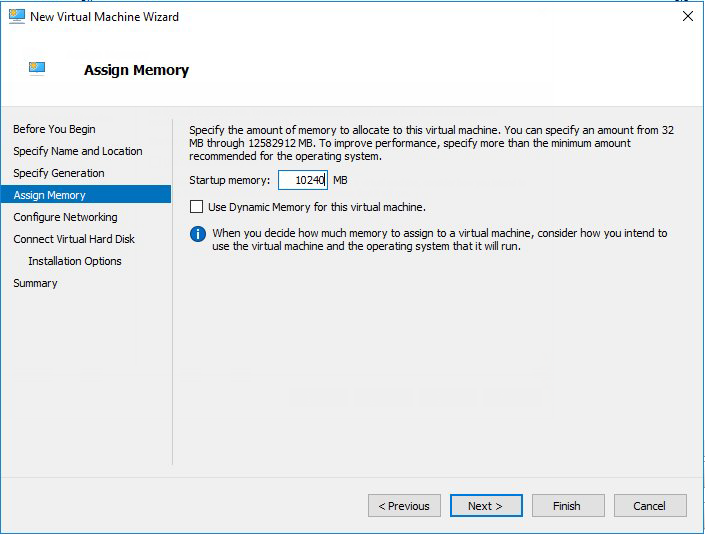
- Click Next.The Configure Networking screen appears.
- For Connection, select Management
Switch.
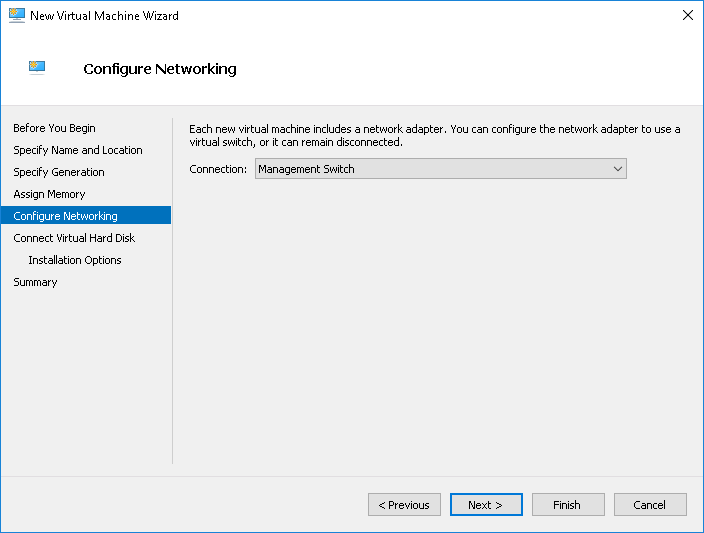
- Click Next.The Connect Virtual Hard Disk screen appears.
- Select Attach a virtual hard disk later.
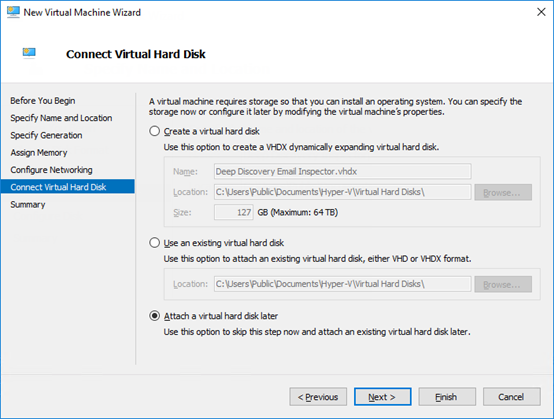
- Click Next.The Completing the New Virtual Machine Wizard screen appears.
- Verify that the virtual machine configuration is correct and then click Finish.
- In Hyper-V Manager, go to .
- Create a virtual hard disk.
- In Hyper-V Manager, select the Deep Discovery Email
Inspector virtual
machine and then go to .
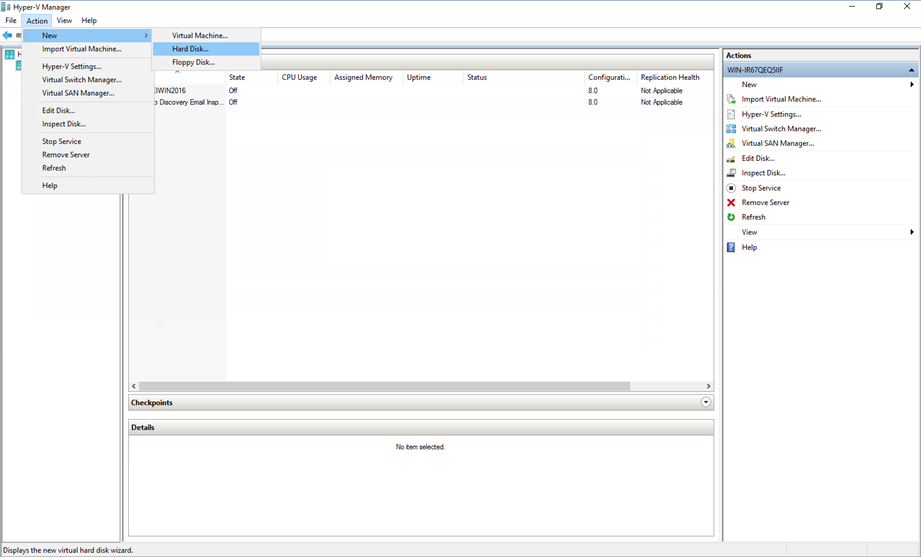 The New Virtual Hard Disk Wizard window with the Before You Begin screen appears.
 - Click Next.The Choose Disk Format screen appears.
- Select VHDX.
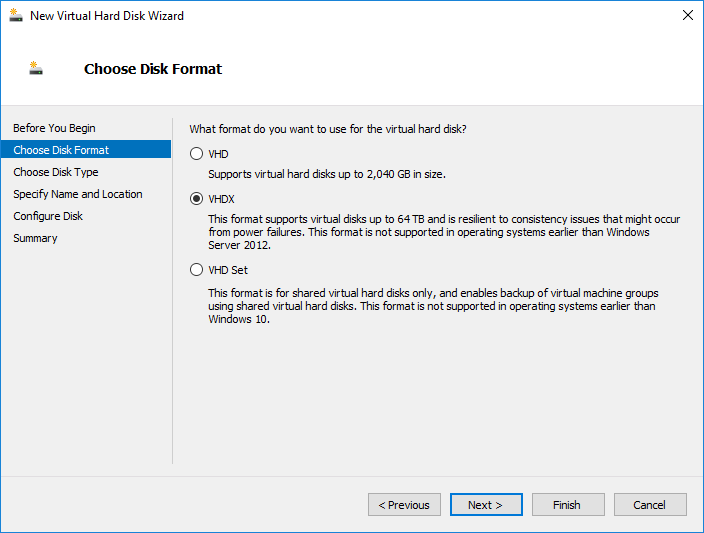
- Click Next.The Choose Disk Type screen appears.
- Select Fixed size.
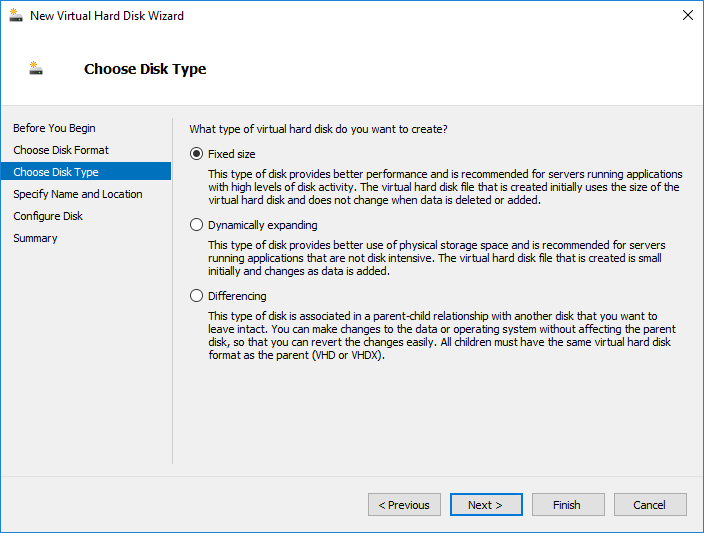
- Click Next.The Specify Name and Location screen appears.
- For Name, type Deep Discovery Email
Inspector.vhdx.
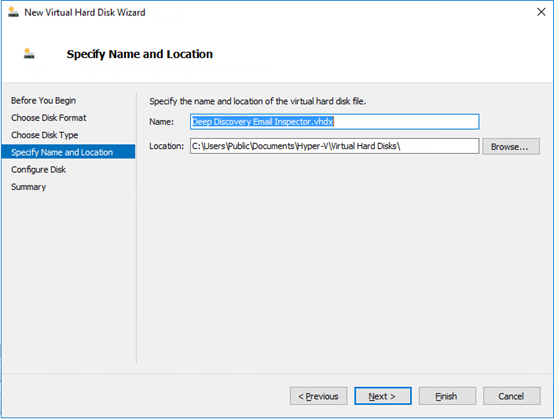
- Click Next.The Configure Disk screen appears.
- Select Create a New blank virtual hard disk.
- For Size, specify at least
500 GB.
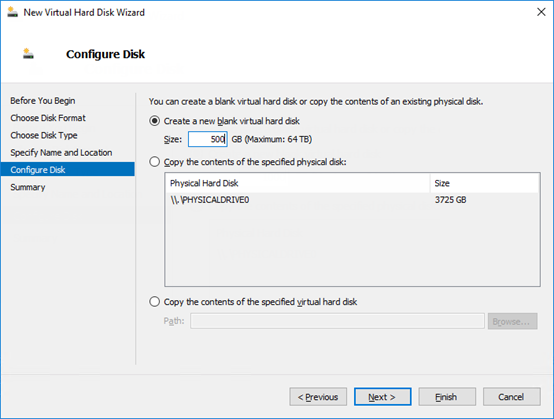
- Click Next.The Completing the New Virtual Hard Disk Wizard screen appears.
- Verify that the hard disk configuration is correct and then click
Finish.

Note
Finishing may take a few minutes. Wait for the process to complete before continuing.
- In Hyper-V Manager, select the Deep Discovery Email
Inspector virtual
machine and then go to .
- Configure the virtual machine.
- In Hyper-V Manager, select the Deep Discovery Email
Inspector virtual
machine and then go to .
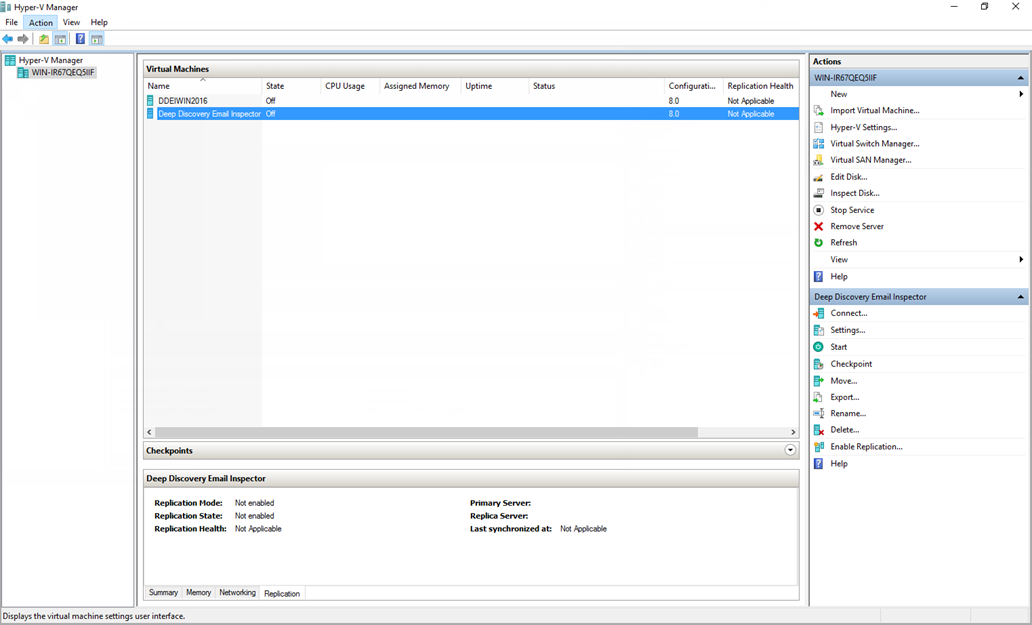 The settings window appears.
 - In the left column, click Processor.The Processor settings appear.
- For Number of virtual processors, specify at least
3 virtual processors.
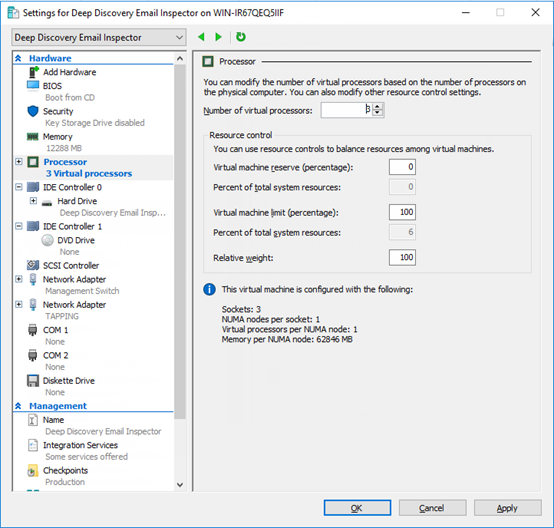
- Click Apply.
- In the left column, click IDE Controller
0.The IDE Controller settings appear.
- For the type of hard drive to attach to the controller, select
Hard Drive.
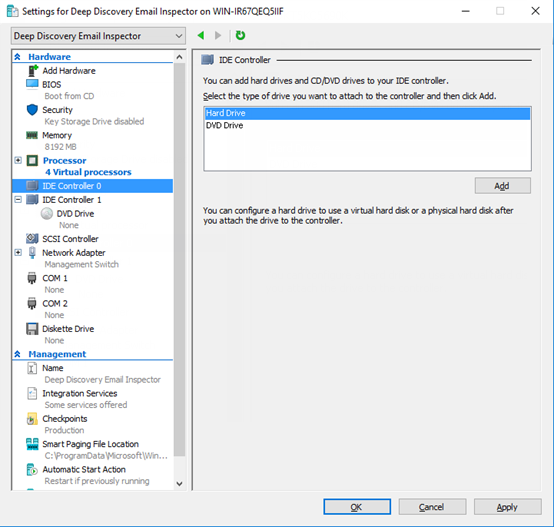
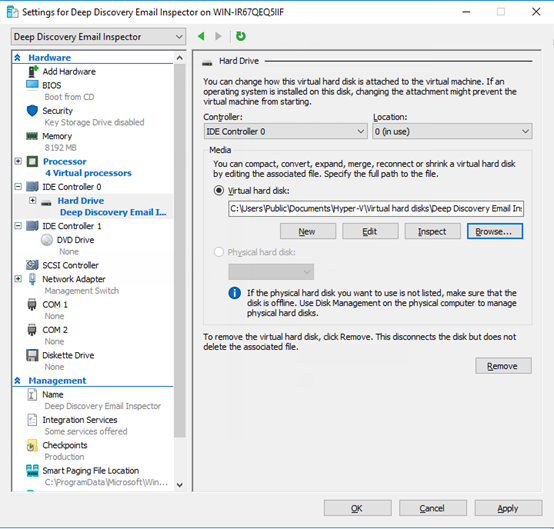
- Click Add.The Hard Drive settings appear.
- For Virtual hard disk, specify the location of
Deep Discovery Email Inspector.vhdx.
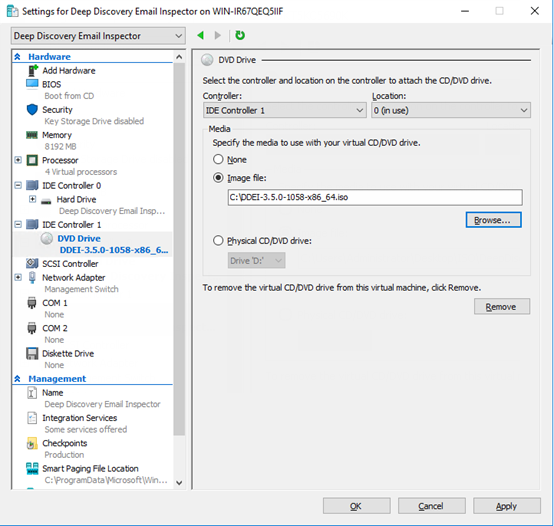
- In the left column, click IDE Controller 1 and
then click on DVD Drive.The DVD Drive settings appear.
- For Media, select Image
file and then specify the location of the Deep Discovery Email
Inspector ISO
file.
- In the left column, click Add Hardware.The Add Hardware settings appear.
- For the devices you want to add, select Network
Adapter.
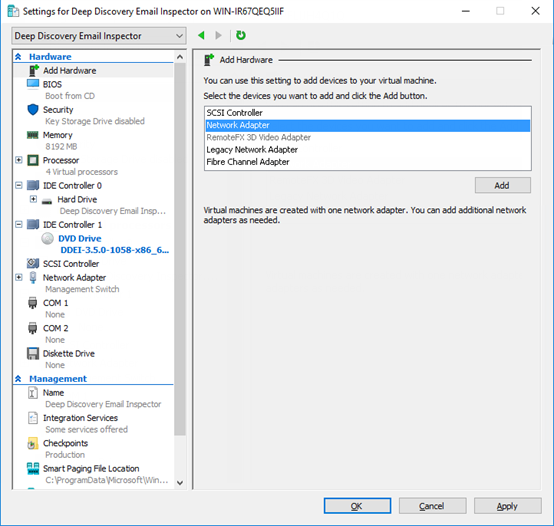
- Click Add.The Network Adapter settings appear.
- For Virtual switch, select Data
Switch.

- Click Apply.
- Click OK.
- In Hyper-V Manager, select the Deep Discovery Email
Inspector virtual
machine and then go to .