ImportantDeep Discovery Director (Internal
Network Analytics Version) supports installation under either legacy Basic
Input/Output System (BIOS) or Unified Extensible Firmware Interface (UEFI).
|
Procedure
- Create a custom virtual machine with the following minimum specifications:
-
Virtual machine hardware version: 8
-
Guest operating system: CentOS Linux 6/7 (64-bit) or Red Hat Enterprise Linux 7 (64-bit)
-
CPU: 1 virtual socket with 8 cores
-
Memory: 24GB
-
Network interface card: 1 with E1000 or VMXNET 3 adapter

Important
-
Deep Discovery Director (Internal Network Analytics Version) does not support the VMXNET 2 (Enhanced) adapter type.
-
For port binding, specify the same adapter type to use for all network interface cards.
-
-
SCSI Controller: LSI Logic Parallel
-
Hard disk: 300GB
-
- Open the virtual machine console, and then power on the virtual machine.
- Connect the CD/DVD device of the virtual machine to the Deep Discovery Director (Internal
Network Analytics Version) ISO image file, and then boot the virtual machine from the CD/DVD drive.The Deep Discovery Director (Internal Network Analytics Version) Installation screen appears.

Deep Discovery Director Installation Screen - Select Install internal Network Analytics (NA)
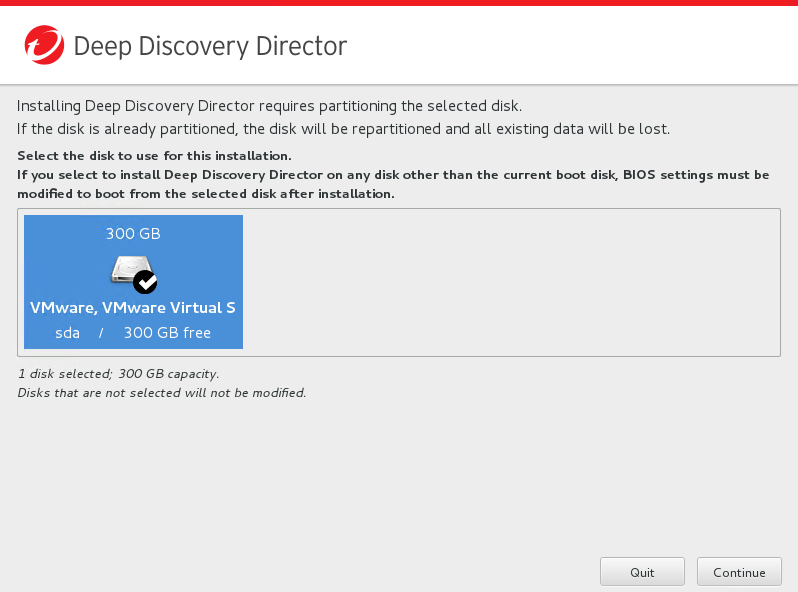
version.The Disk Selection screen appears.

Disk Selection Screen - Click Continue.The Hardware Profile screen appears.
- Click Continue.The Disk Space Configuration screen appears.
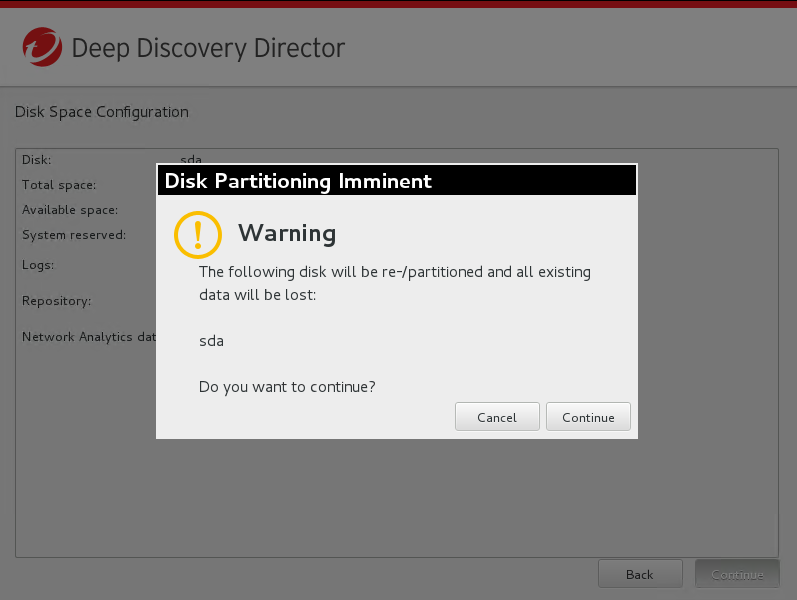
- (Optional) Modify the disk space configuration, and then click Continue.The Repartition Disks confirmation message appears.

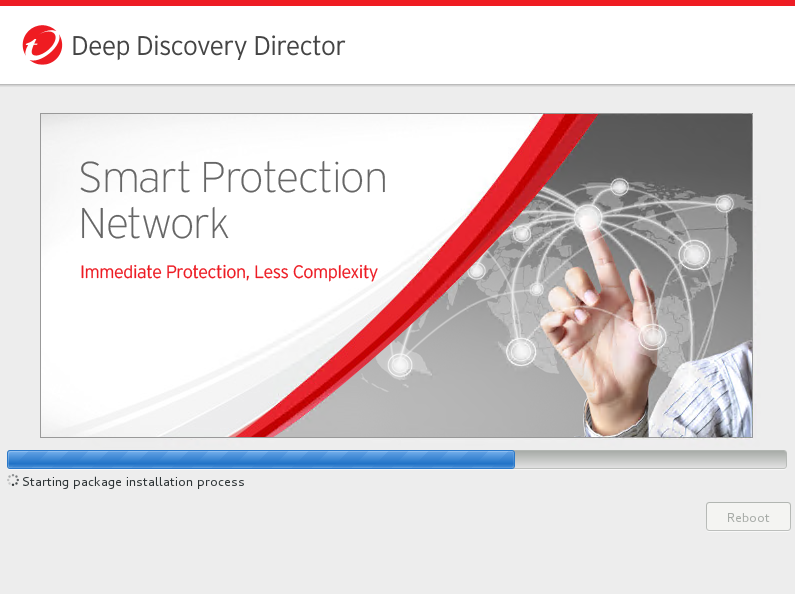
Repartition Disk Screen - Click Continue.The installation starts.

Installation Screen

