WARNINGBack up any pre-existing data on the target hard disk before installing Deep Discovery Director (Internal
Network Analytics Version). The
installation process formats and repartitions the hard disk and removes all
existing data.
|
Procedure
- Using a VGA cable, connect a monitor to the Deep Discovery Director (Internal Network Analytics Version) appliance VGA port.
- Insert the Deep Discovery Director (Internal Network Analytics Version) DVD into the CD/DVD drive.
- Power on the appliance.The BIOS screen appears.
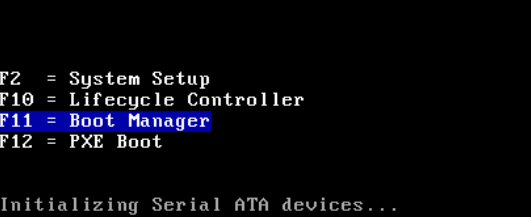
BIOS Screen - Press F11 to access the Boot Manager.The Boot Manager Main Menu screen appears.
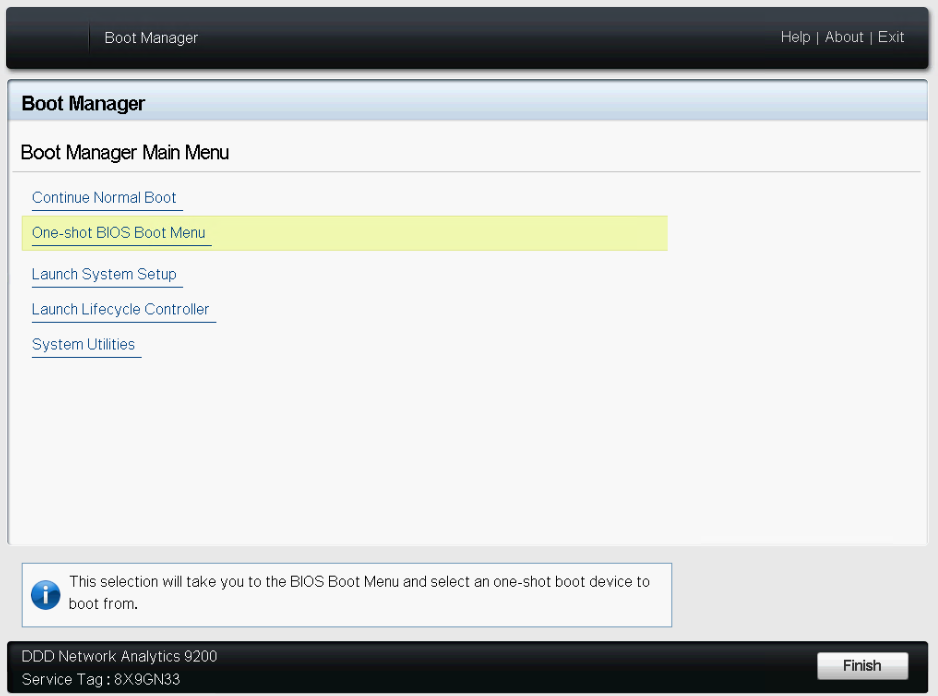
Boot Manager Main Menu Screen - Select One-shot BIOS Boot Menu.The Boot Menu screen appears.
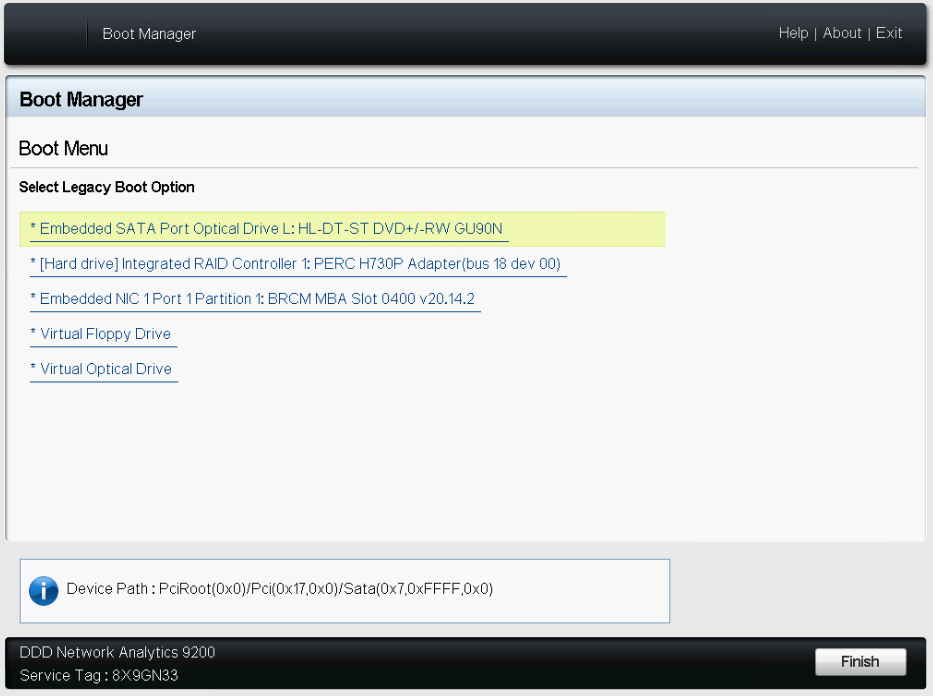
Boot Menu Screen - Select Embedded SATA port Optical Drive L:HL-DT-ST DVD+/-RW
GU90N.The Deep Discovery Director Installation screen appears.

Deep Discovery Director Installation Screen - Select Install internal Network Analytics (NA)
version.The Disk Selection screen appears.
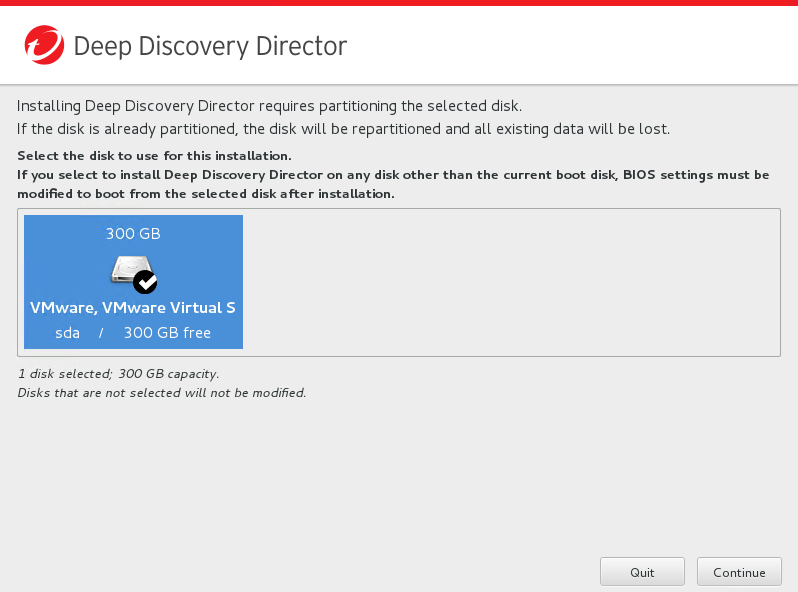
Disk Selection Screen - Click Continue.The Hardware Profile screen appears.
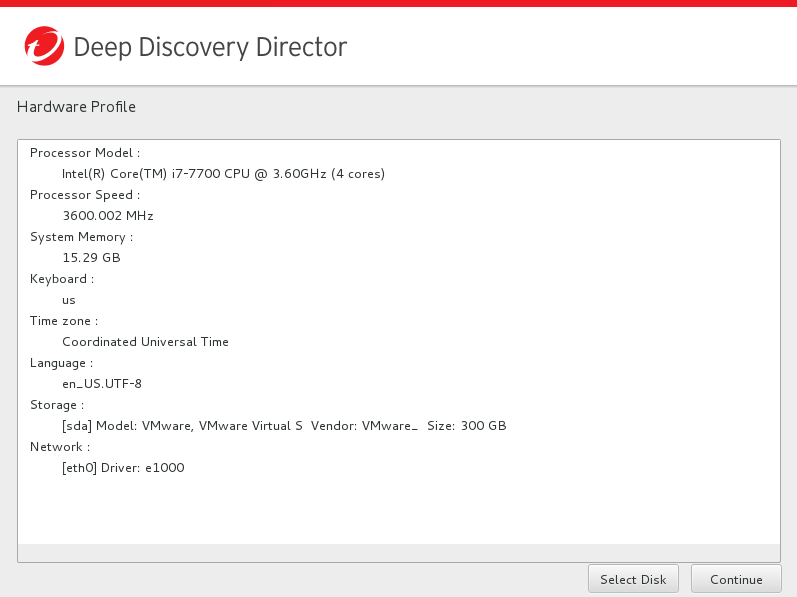
Hardware Profile Screen - Click Continue.The Disk Space Configuration screen appears.
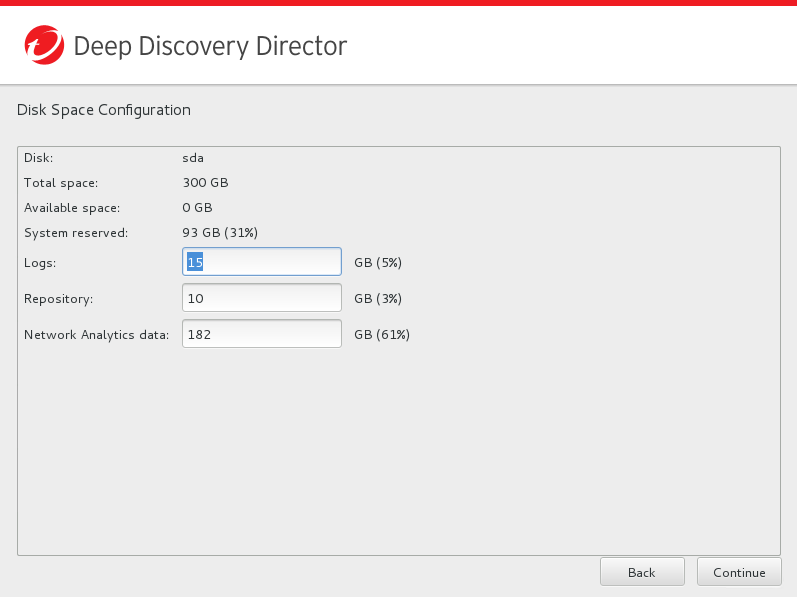
Disk Space Configuration Screen - (Optional) Modify the disk space configuration, and then click Continue.The Repartition Disks confirmation message appears.
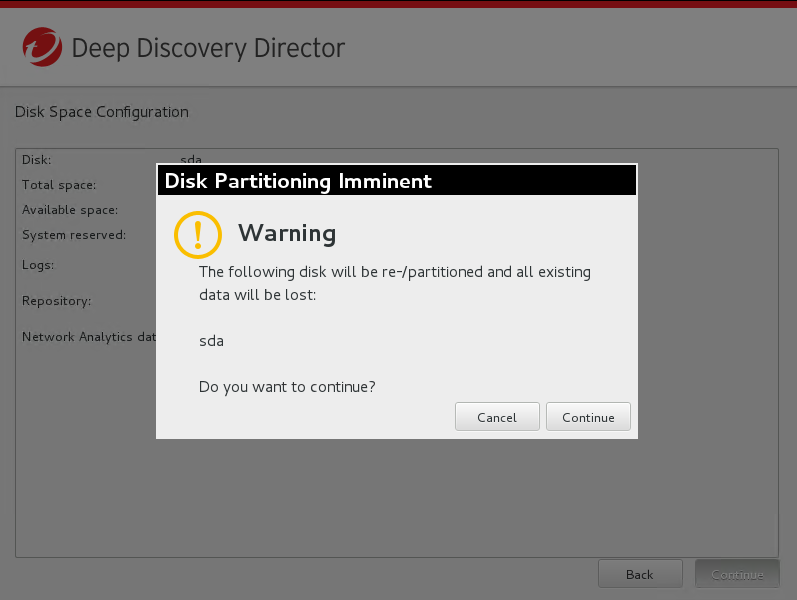
Repartition Disk Screen - Click Continue.The installation starts.
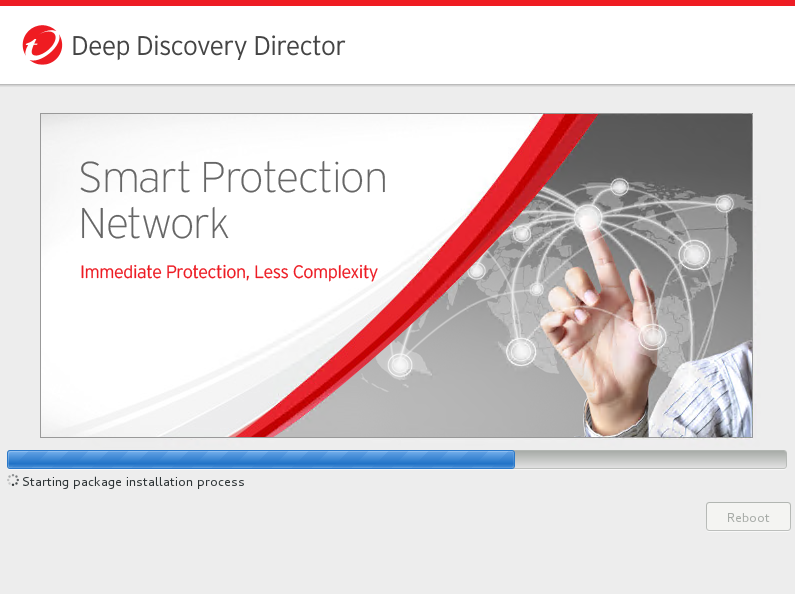
Installation Screen

