The process of installing the Apex One (Mac)
Security Agent on a single endpoint is similar to the
installation process for other Mac software.
During the installation, users may be prompted to allow
connections to iCoreService, which is used to register the
Security Agent to the server. Instruct users to allow the
connection when prompted.
Procedure
- Check for and uninstall any security software on the endpoint.
- Obtain the agent installation package
tmsminstall.zip.For information on obtaining the package, see Agent Installation Methods and Setup Files. - Copy
tmsminstall.zipon the endpoint and then launch it using a built-in archiving tool, such as Archive Utility.
WARNING
The files ontmsminstall.zipmay become corrupted if users launch it using archiving tools not built-in on the Mac.To launchtmsminstall.zipfrom Terminal, use the following command:ditto –xk <tmsminstall.zip file path> <destination folder>For example:ditto –xk users/mac/Desktop/tmsminstall.zip users/mac/DesktopLaunchingtmsminstall.zipcreates a new foldertmsminstall. - Open the
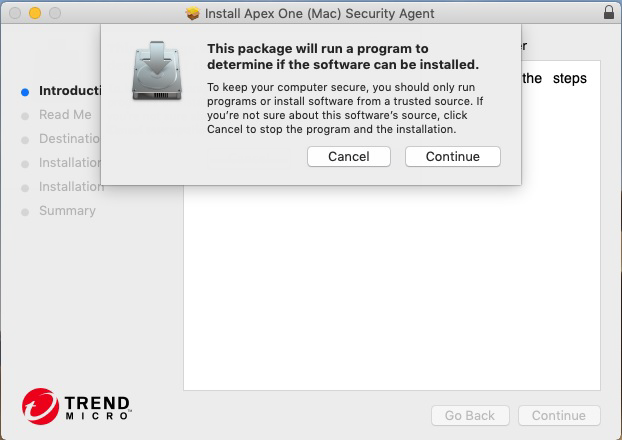
tmsminstallfolder and launchtmsminstall.pkg. - When a message prompting you to continue
with installation displays, click Continue.
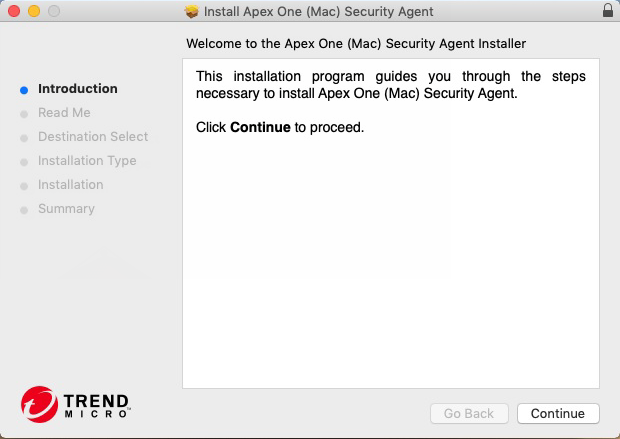
- On the Introduction screen, click
Continue to proceed.
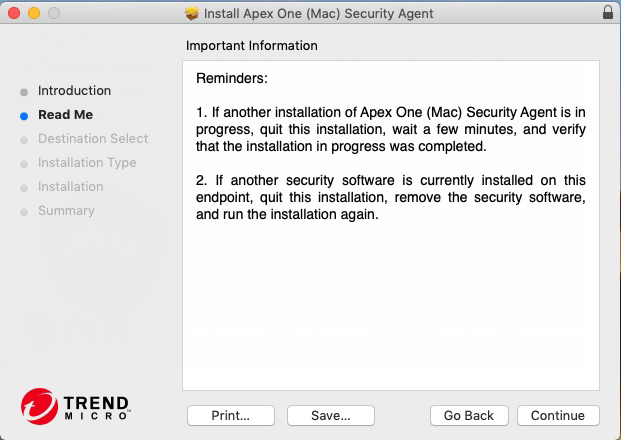
- Read the reminders and click
Continue.
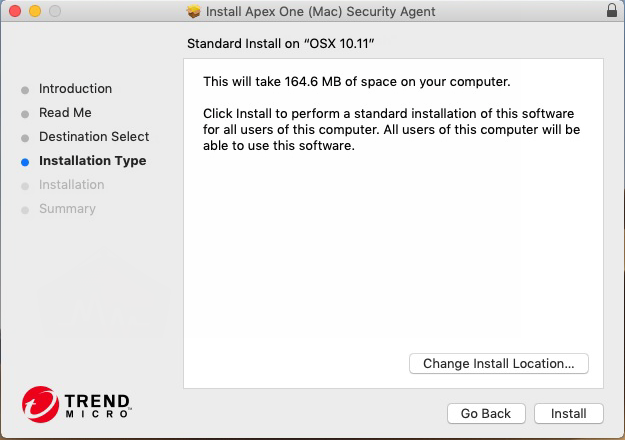
- On the Installation Type screen, click
Install.
- Fill in the Name and
Password fields to begin the installation
process.

Note
Specify the name and password for an account with administrative rights on the endpoint.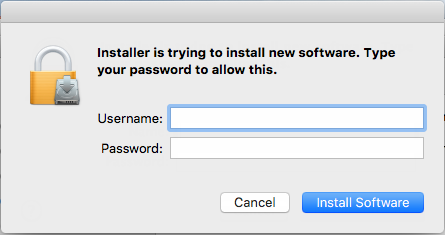
- If the installation was successful, click
Close to finish the installation process.
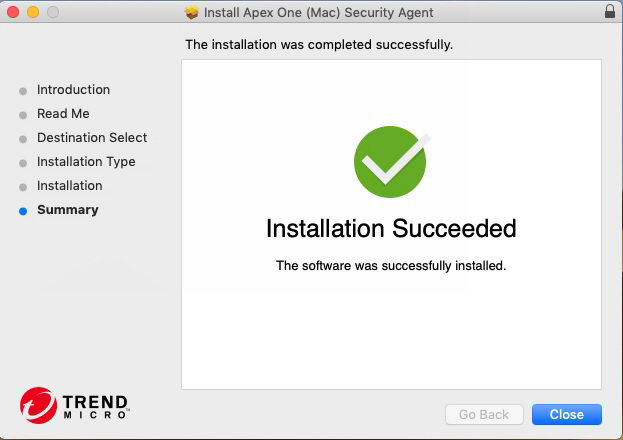 The Security Agent automatically registers to the server where the agent installation package was obtained. The Security Agent also updates for the first time.
What to do next
Perform agent post-installation tasks. For details,
see Agent Post-installation.

