You can watch Try the Deep Security as a Service demo application on YouTube.
You can try out the Workload Security demo application to learn how to add a protected
computer and explore the various protection modules:
Procedure
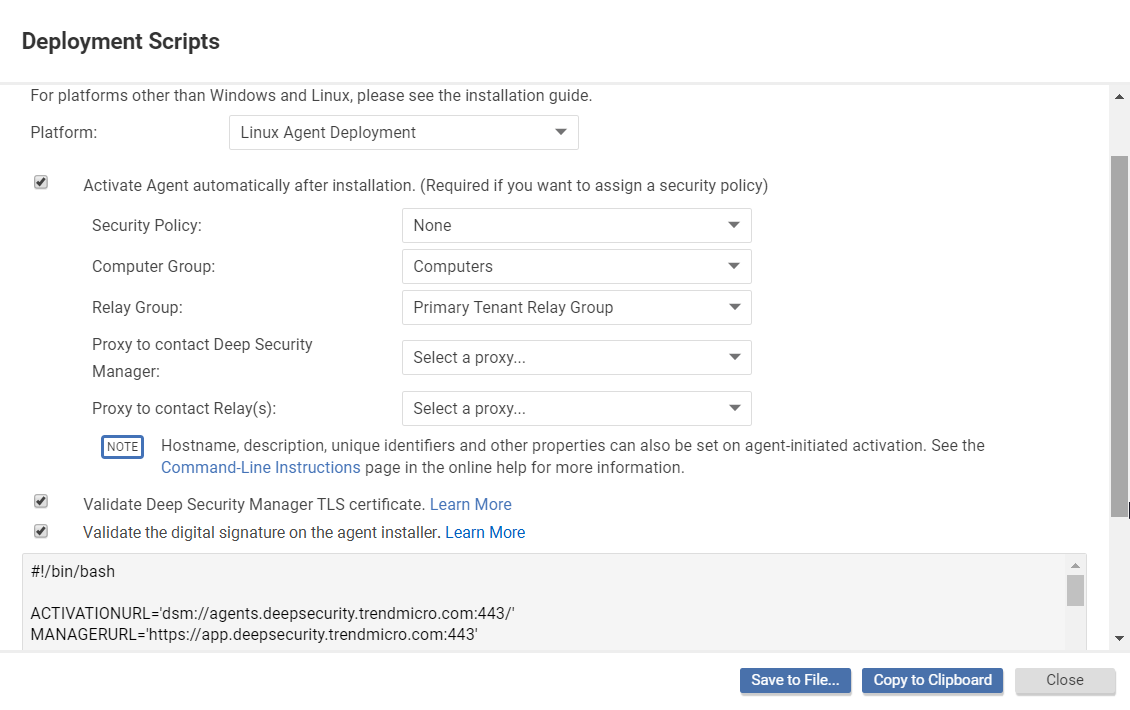
- In the Workload Security console, go to . For more information about deployment scripts, see Use deployment scripts to add and protect computers.
- Set the Platform to Linux Agent Deployment and the Security Policy to .
- Copy the deployment script to your clipboard.
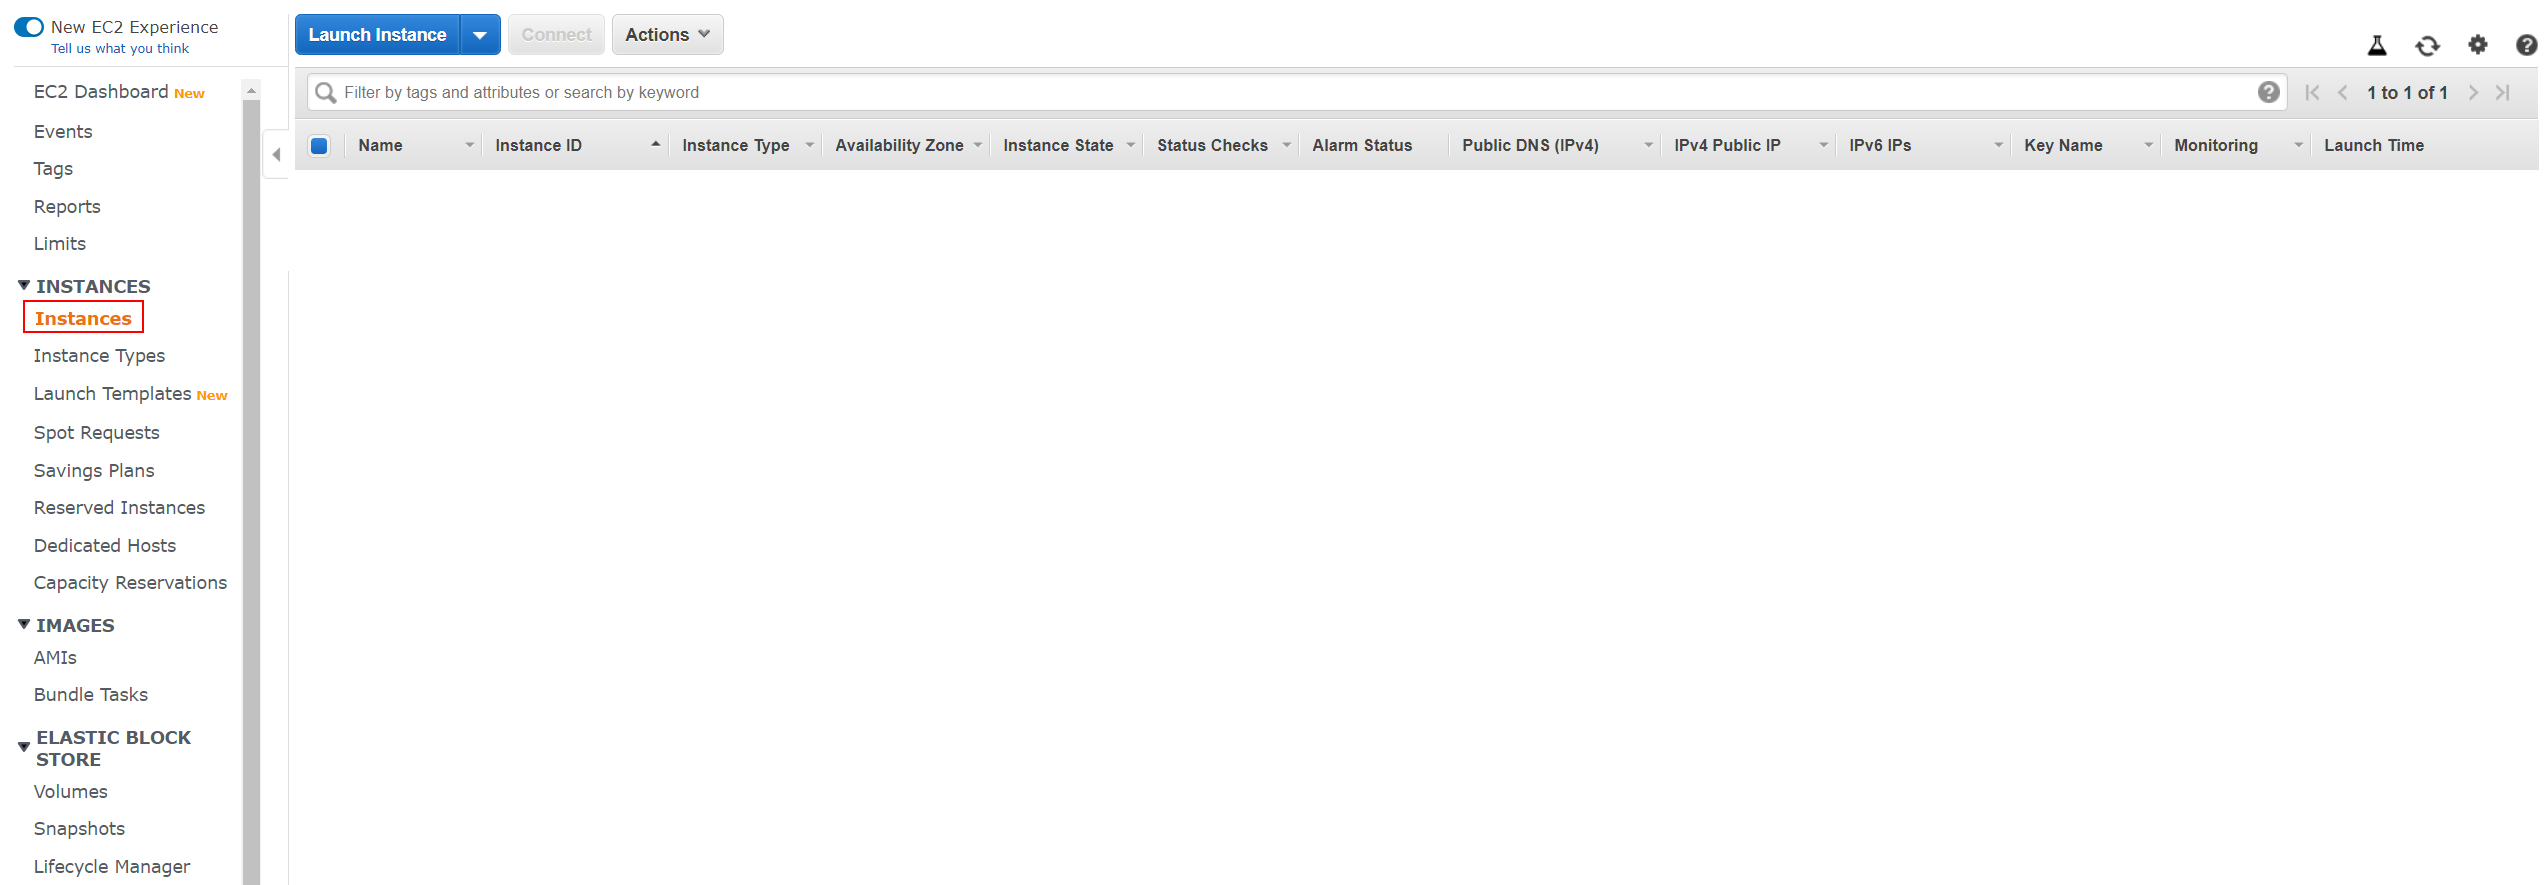
- Navigate to your AWS console and go to .
- Select Instances from the side-menu. Click Launch Instance.
- Select Ubuntu Server 18.04 from the list.

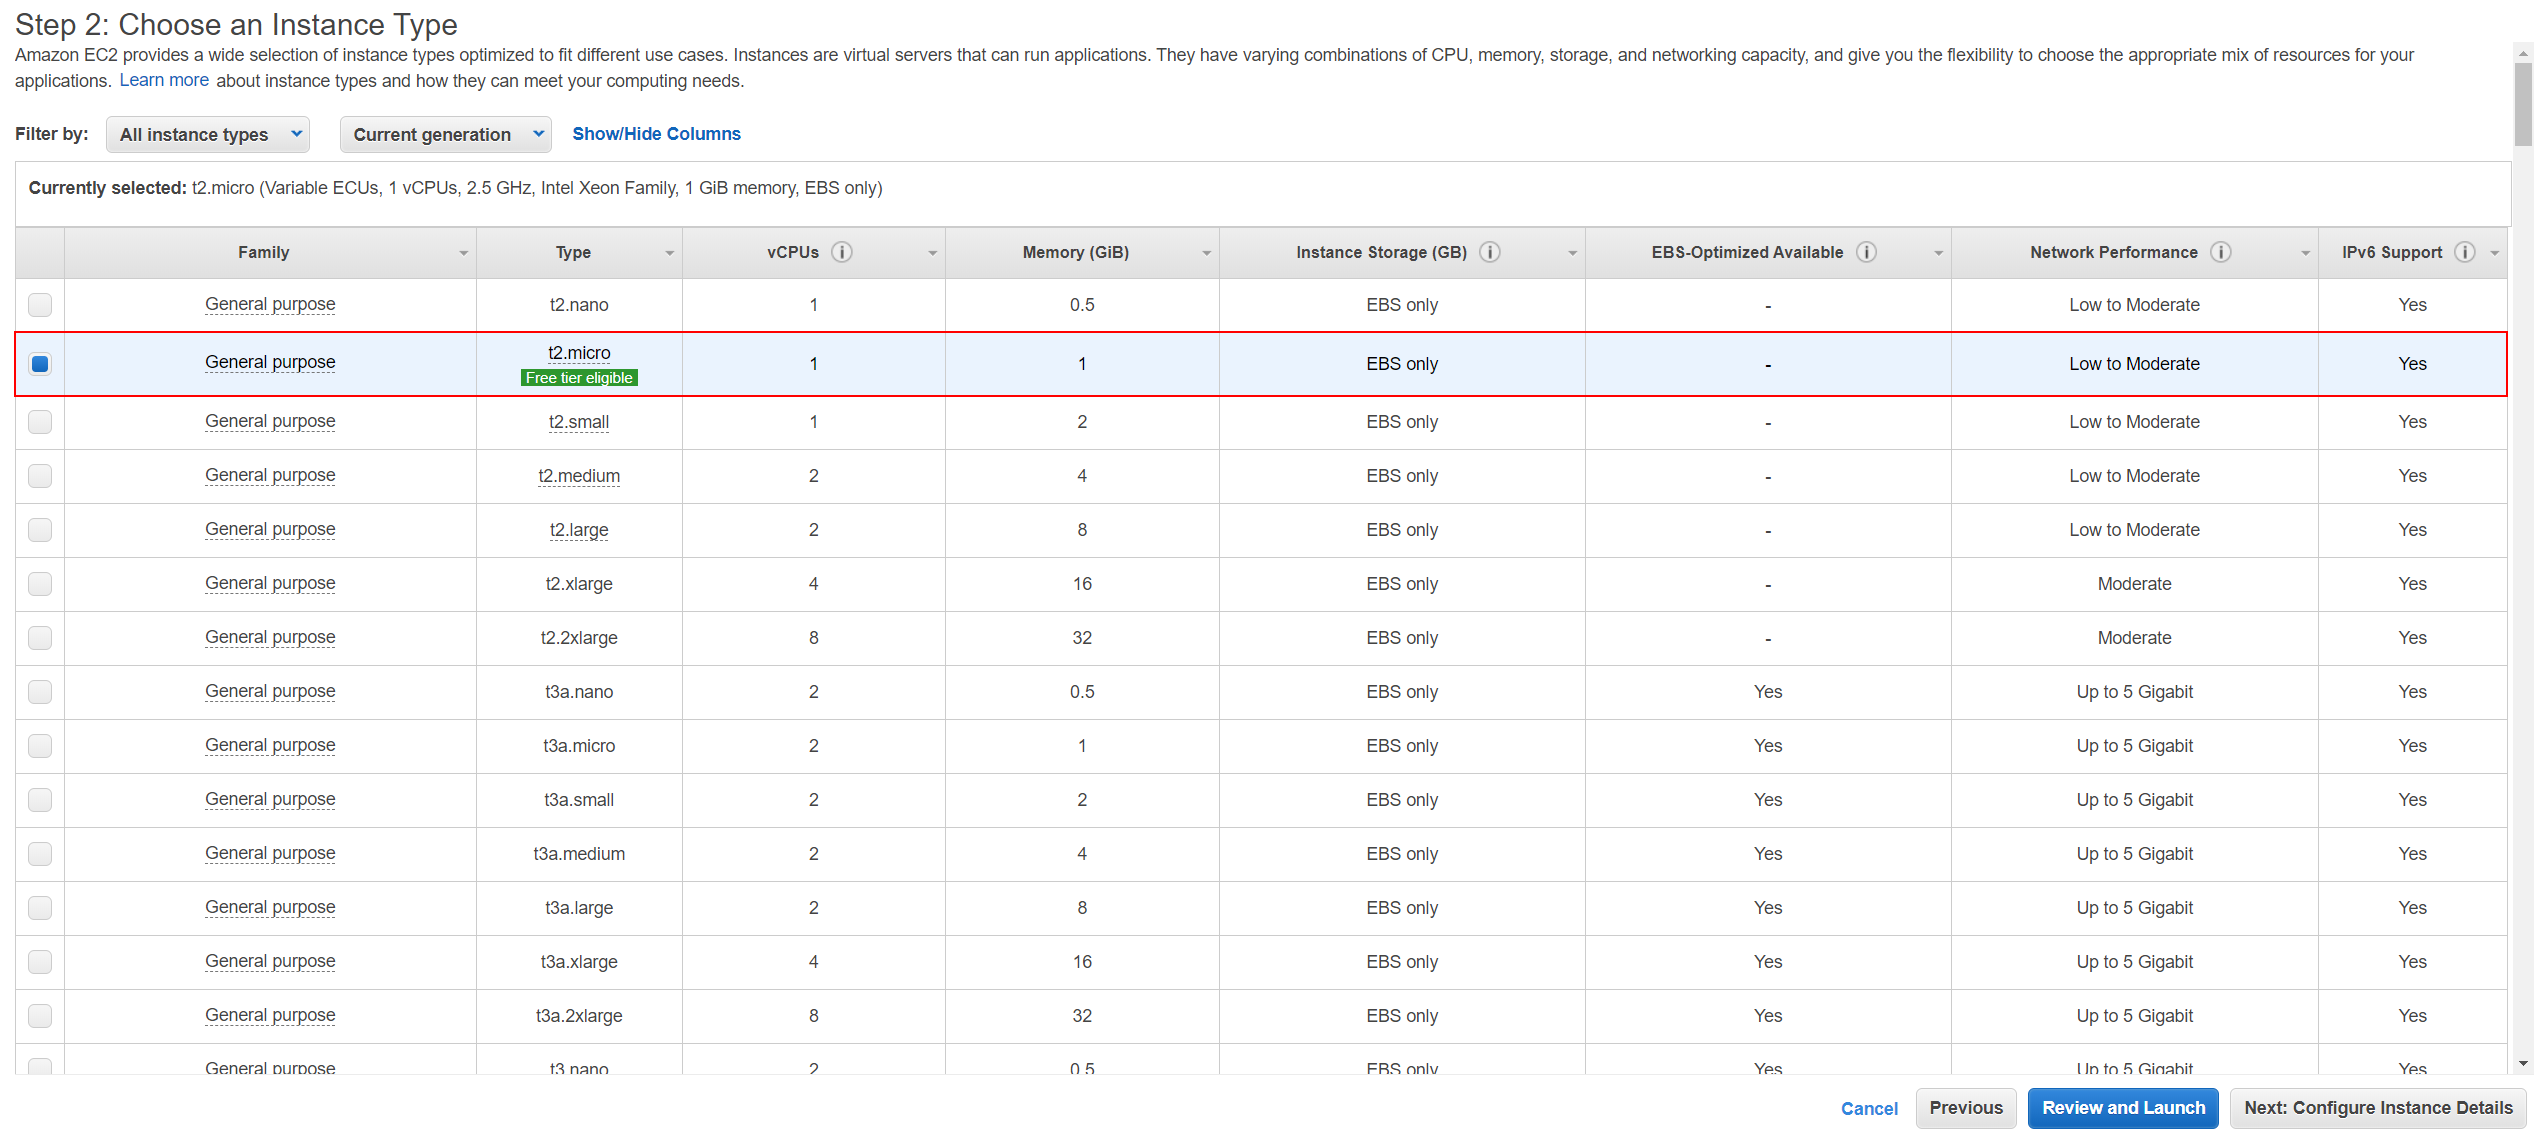
- In Choose an Instance Type, select t2.micro. Click Next: Configure Instance Details.
- In Configure Instance Details, select a Network and Subnet that have public internet access.
- Open the Advanced Details pane and paste the deployment script.
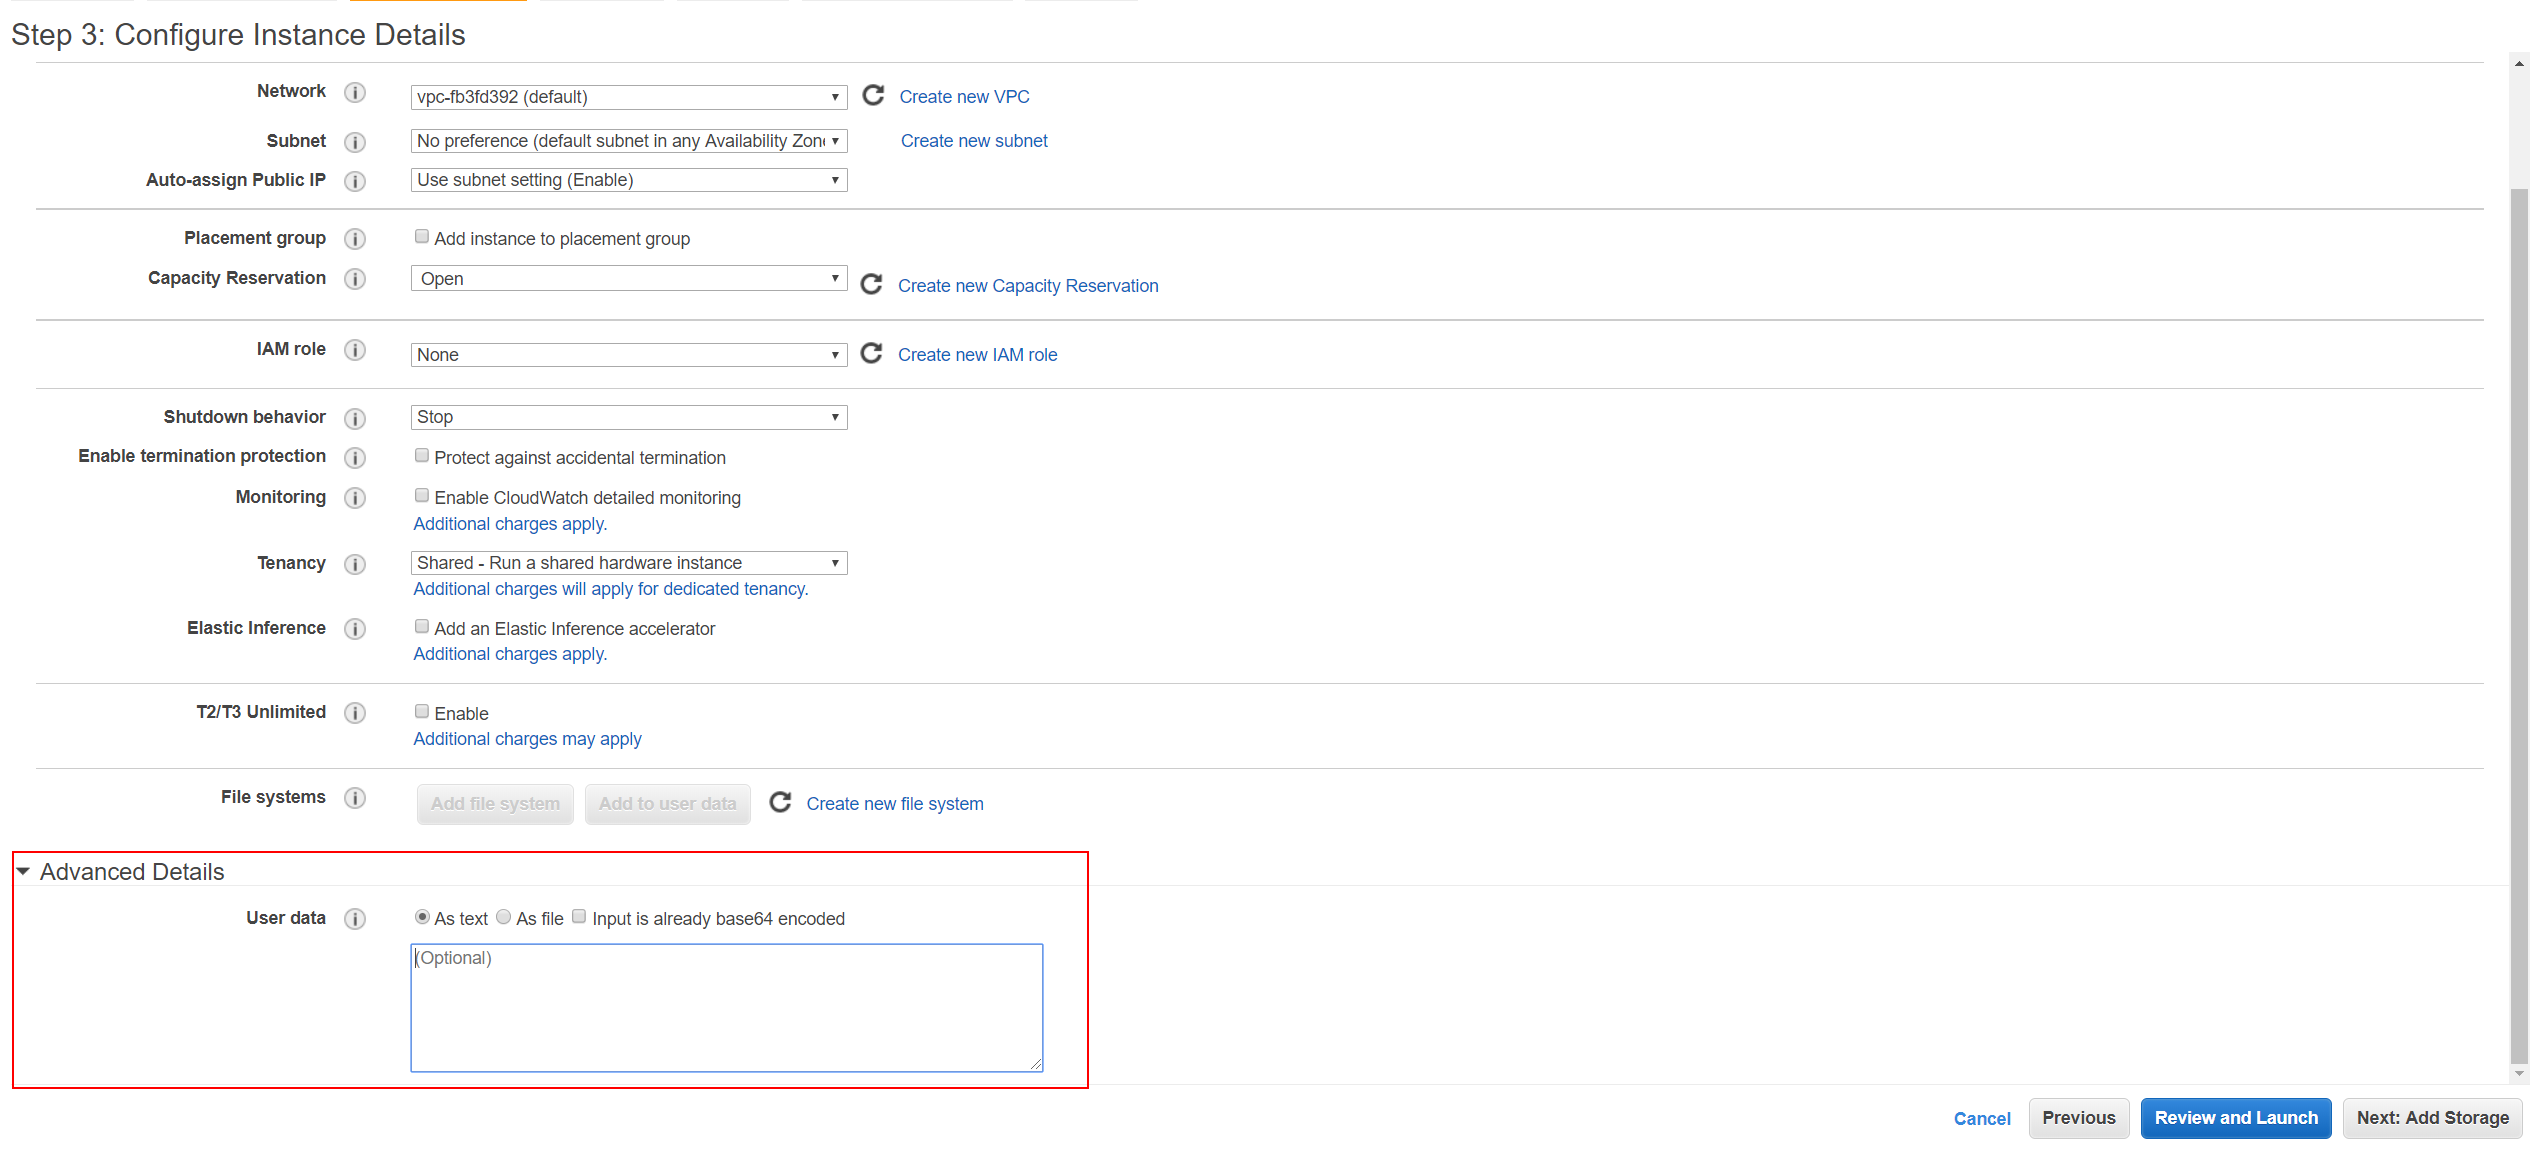
- Under the deployment script, paste the following command:
curl https://raw.githubusercontent.com/deep-security/demo-app/master/demo-app.sh |
                           sudo bash
This installs and configures Tomcat. - It is not necessary to add storage or tags, so click through to the Configure Security Group page.
- Add an SSH rule and an HTTP rule and set the Source to My IP. This security group is the only thing blocking outside access to your instance until
the agent is installed, which is why we highly recommend you only allow access from
your IP address.
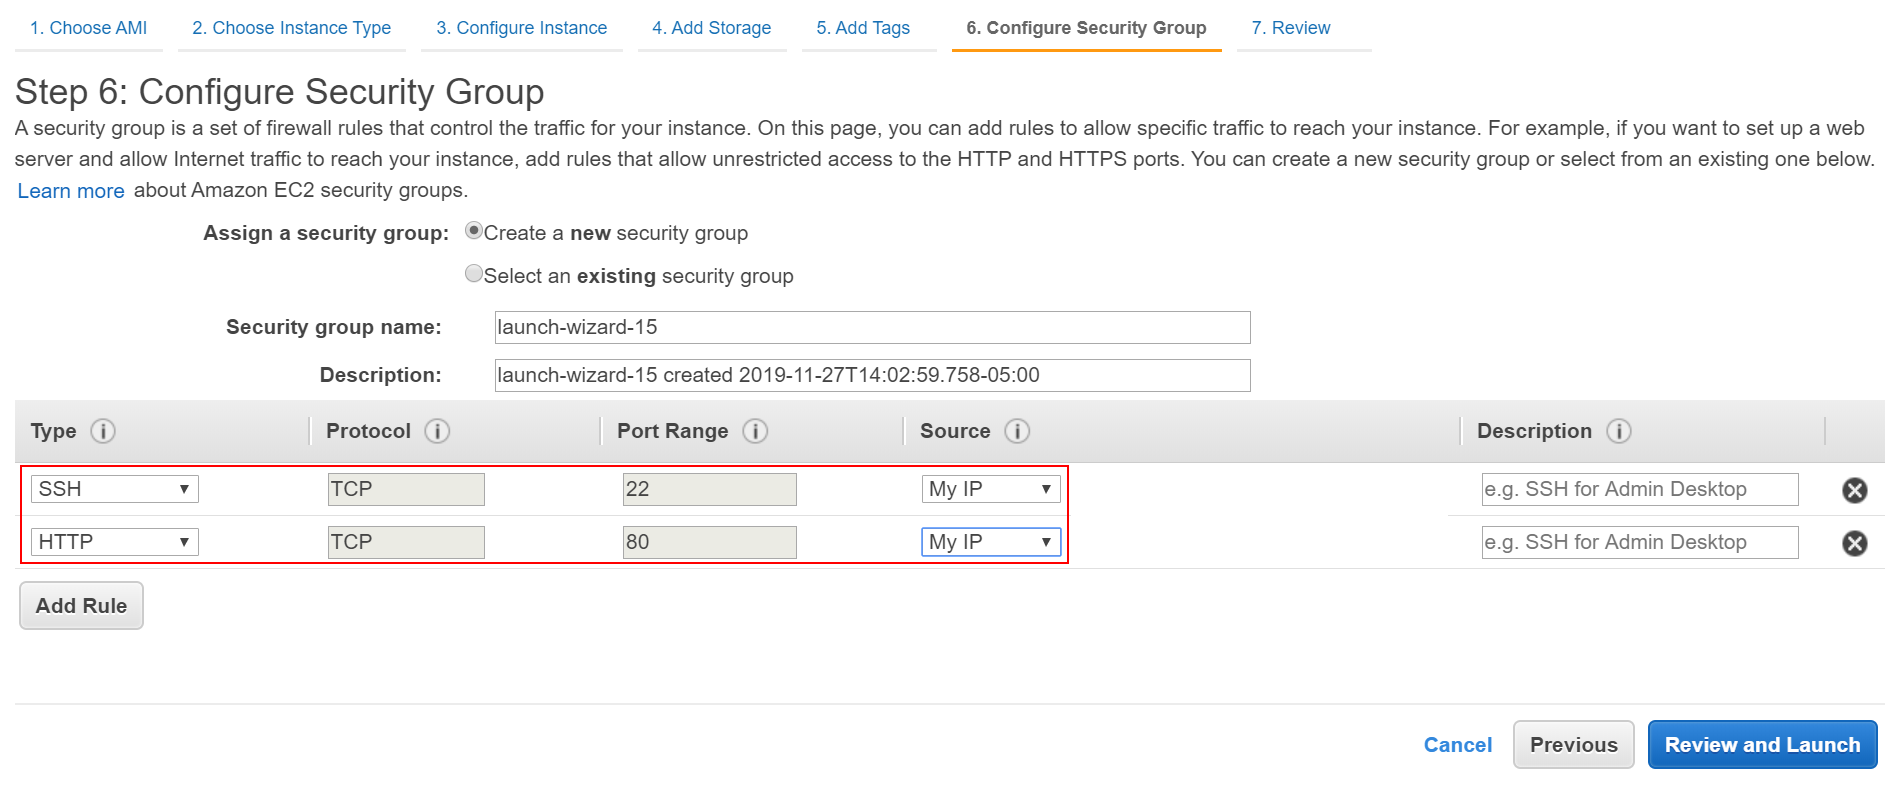
- Click Review and Launch.
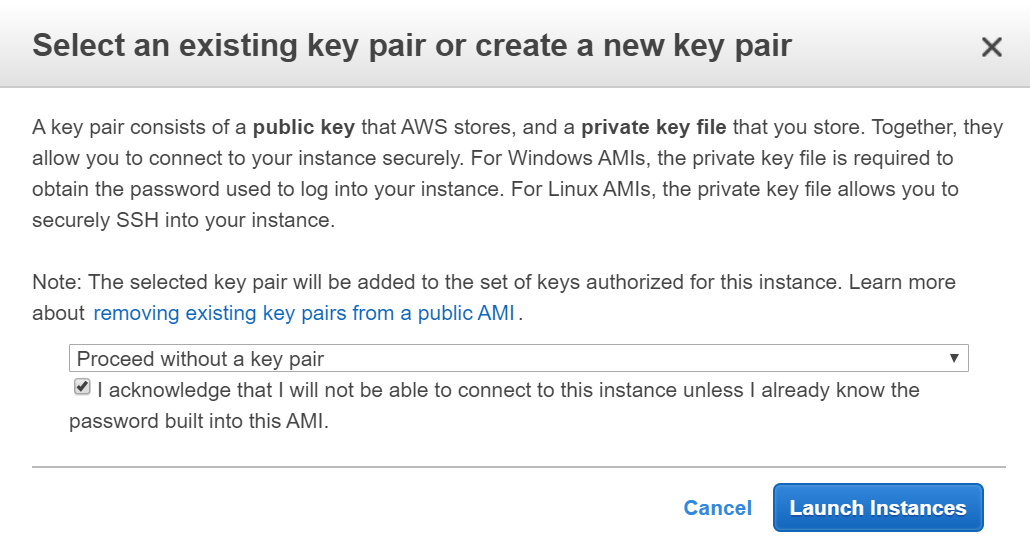
- In the dialog, select Proceed without a key pair. Click Launch Instance.
- Click on the instance ID to navigate to the AWS console. Your instance and demo app will take about five minutes to launch and install. Once the instance is running and all the necessary checks are complete, you are ready to explore the Workload Security console and agent!
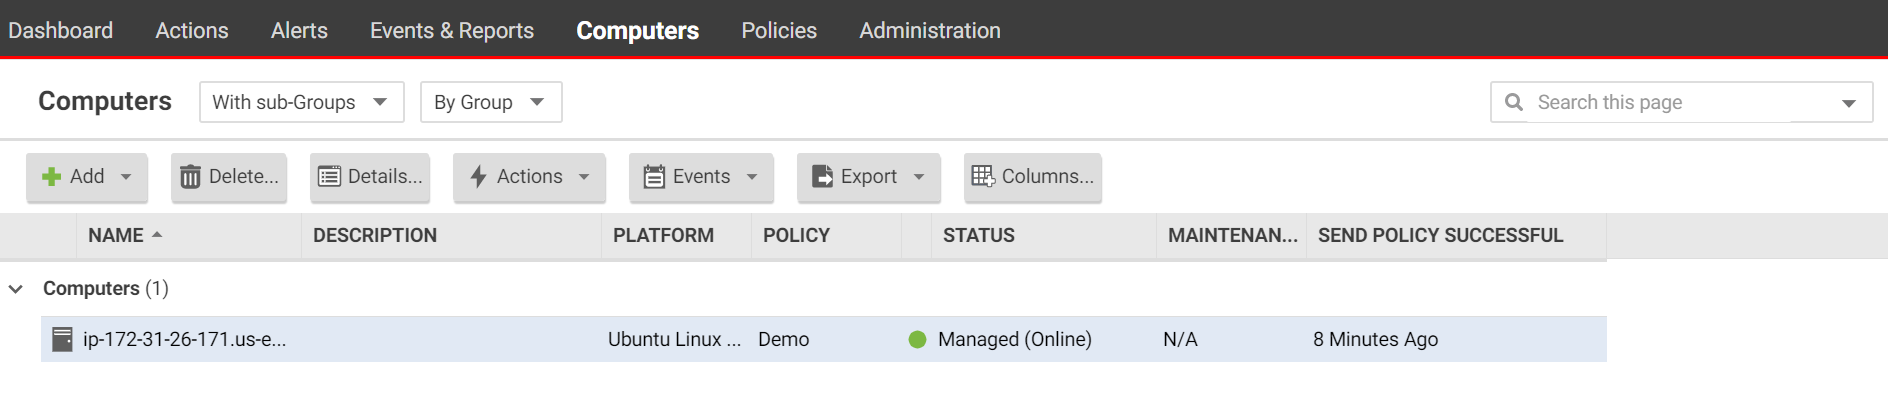
- To view your new instance, open the Workload Security console and go to Computers. Your new instance should be displayed.
- To access the demo application, go back to the AWS Instance page, copy your Public DNS and enter the URL into a browser with
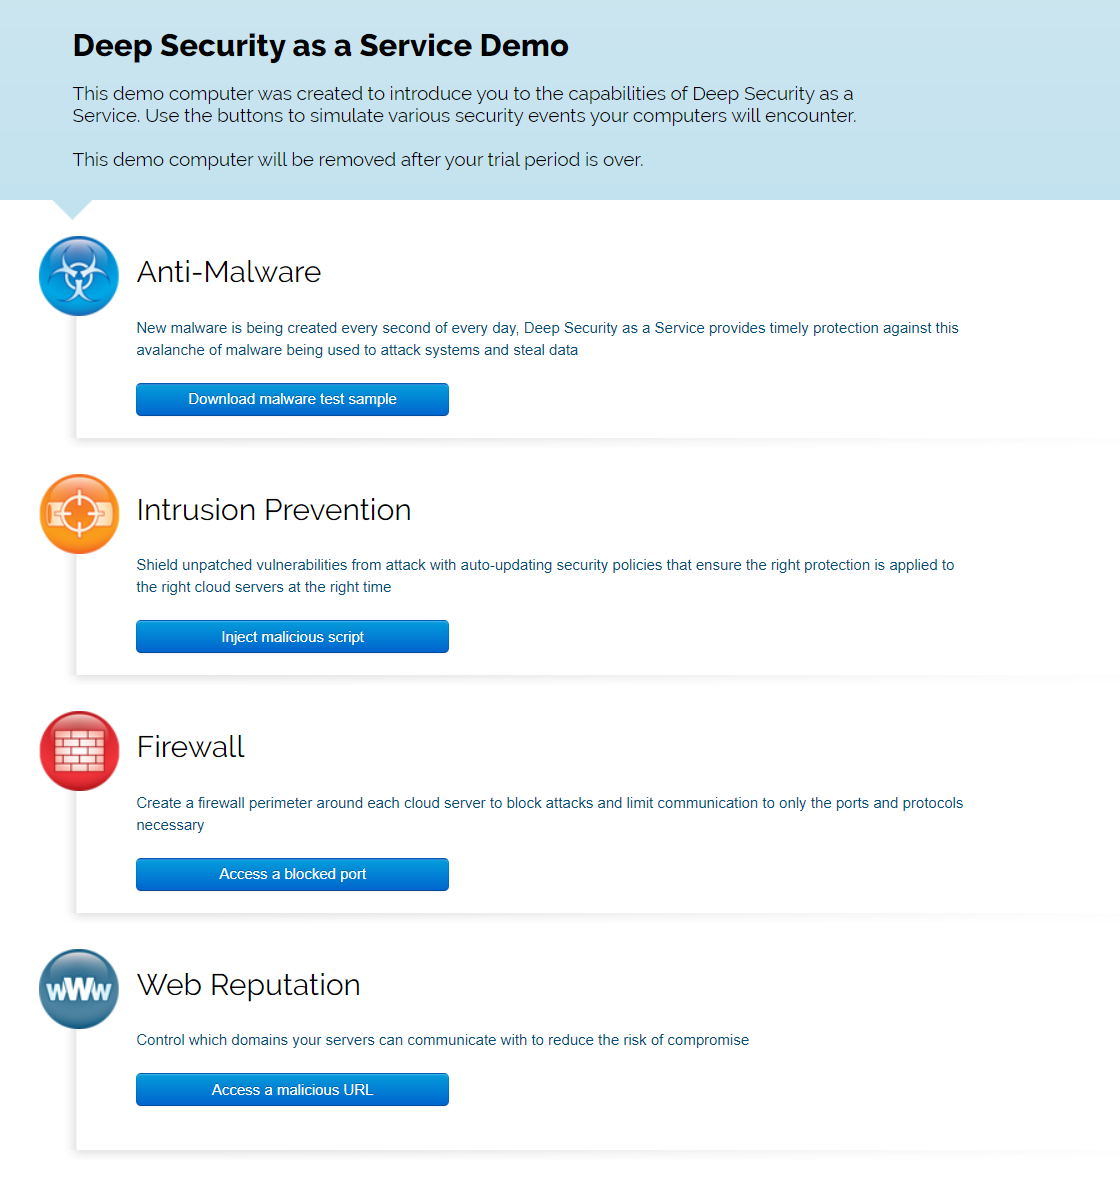
/demo-appat the end. - Trigger the security module of your choice.
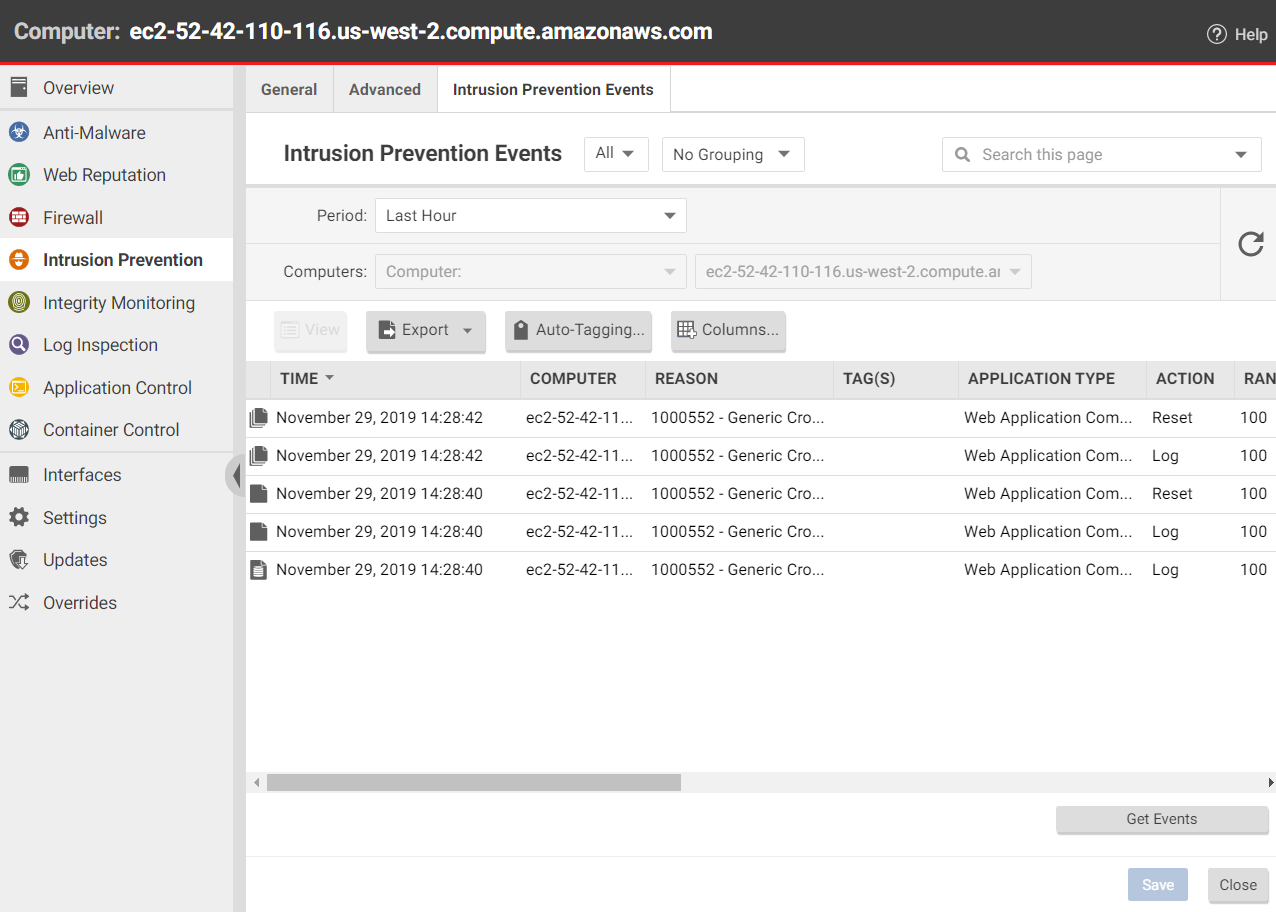
- To view the security event, open the Workload Security console, go to Computers and double-click the demo computer.

- In the pop-up window, select the security module that you triggered, then navigate to the Events page of that module.
- If the event has not appeared, click Get Events. Double-click the event for more information.