|
|
|
|
|
|
ImportantEnsure that your device can connect to the
Internet.
|
NoteSign in to the End-user portal to change your account
password or view your enrolled devices. Check the End-user portal help for details.
|
|
Status
|
Description / Recommended Action
|
|---|---|
|
Normal
|
No action required.
|
|
Unhealthy
|
For Android devices only.
Update the scanning components to
ensure protection from malware threats.
|
|
Non-compliant
|
Settings found on your device violates the company security policies.
Tap Detail to read instructions on how to remedy issues.
|
|
Warning
|
Either you or your IT administrator erased all corporate data saved on the device.
Consequently, this status prevents your company from managing your device.
|
|
Un-enrolled
|
Either you or your IT administrator has unenrolled the device. Consequently, this
status
prevents your company from managing your device.
Re-enroll your to enjoy the benefits of Hosted
Mobile Security.
|
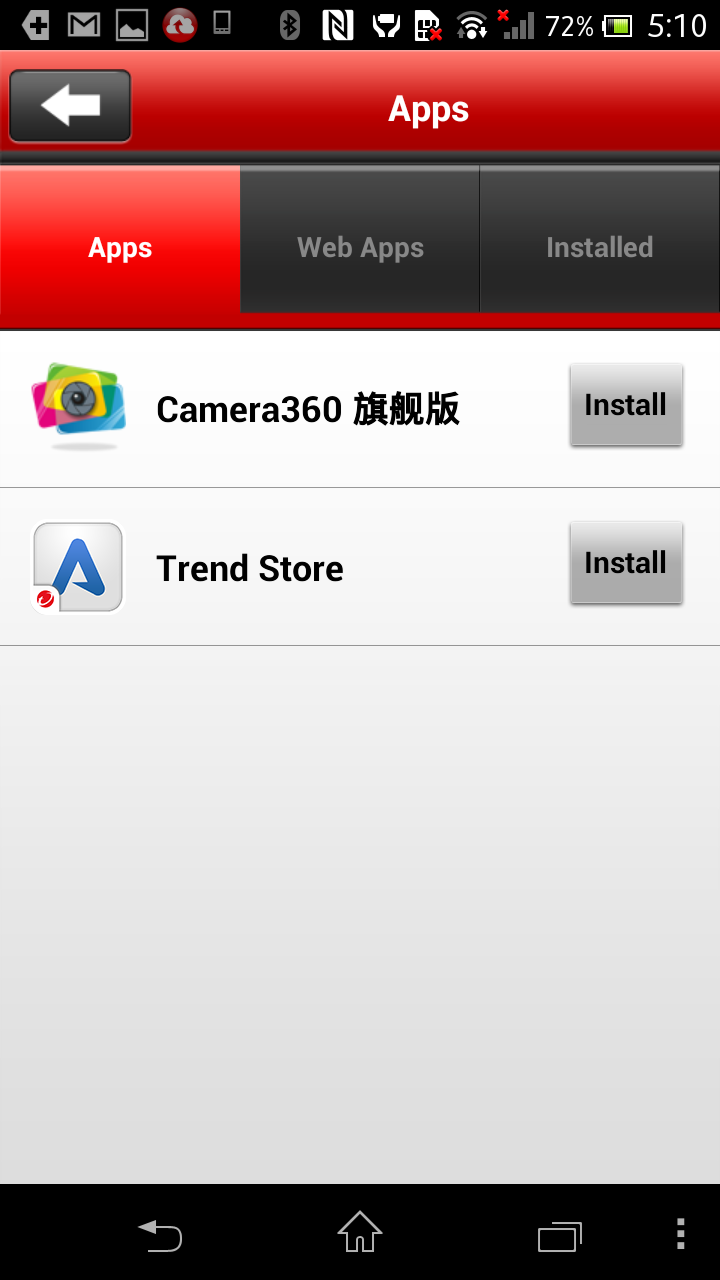
NoteEnsure that your mobile device can installation of third-party
applications. Otherwise, installation will not proceed.
|
ImportantThe device must be connected to the Internet to receive updates.
|
WARNINGOnce records are deleted, they cannot be recovered.
|
TipVisit Trend Micro Site Safety
Center to check the reputation of a site (and request for a reclassification if you
disagree with the rating).
|
WARNINGOnly add completely trusted websites to the Approved List.
|
NoteEnsure that device administrator is disabled.
|