Collapse AllExpand All
  • Smart Protection Network [1]
  • Smart Protection Server [1]
  • Smart Scan Agent pattern [1]
  • Smart Scan pattern [1]
  • summary screen
  • support
    • knowledge base [1]
    • resolve issues faster [1]
    • TrendLabs [1]
  • tabs [1]
  • TrendLabs [1]
  • Web Blocking List [1]
  • widgets [1]

Enabling Web Reputation Services Parent topic

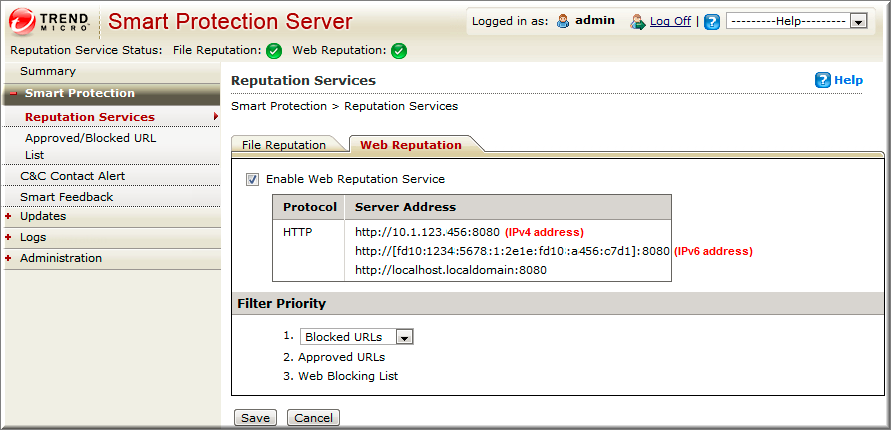
Enable Web Reputation Services to support URL queries from endpoints. These are the options available on this screen.
  • Enable Web Reputation Service: Select to support Web Reputation queries from endpoints.
  • Server Address: Used by other Trend Micro products for Web Reputation queries.
  • Filter Priority: Select to specify the priority when filtering URLs.

Procedure

  1. Go to Smart ProtectionReputation Services, and then go to the Web Reputation tab.
    smart_prot_wrs.png
  2. Select the Enable Web Reputation Service check box.
  3. (Optional) Specify the priority of the Approved/Blocked URL List when filtering URLs.
  4. Click Save.
    The Server Address can now be used for File Reputation queries by other Trend Micro products that support Smart Protection Server.