
The client tree displays in the main frame when you click certain functions from the main menu, such as Client Management. Use the Java-based client tree to configure settings and send commands to selected clients or domains.
Note: To configure global client settings, go to Networked Computers > Global Client Settings.
Tips:
Click the root icon  to select all domains and clients. Aside from applying settings to all
existing domains and clients, you have the option to apply them to future
clients that the OfficeScan server will manage by clicking the Apply
to All Clients button in the settings page.
to select all domains and clients. Aside from applying settings to all
existing domains and clients, you have the option to apply them to future
clients that the OfficeScan server will manage by clicking the Apply
to All Clients button in the settings page.
To select multiple, adjacent domains or clients, click the first domain or client in the range, hold down the SHIFT key, and then click the last domain or client in the range.
To select a range of non-contiguous domains or clients, hold down the CTRL key and then click the domains or clients that you want to select.
Search for a client to manage by specifying the client name in the Search for computers text box. A list of matching client names will appear highlighted in the client tree.
Note: For more search options, click Advanced Search.
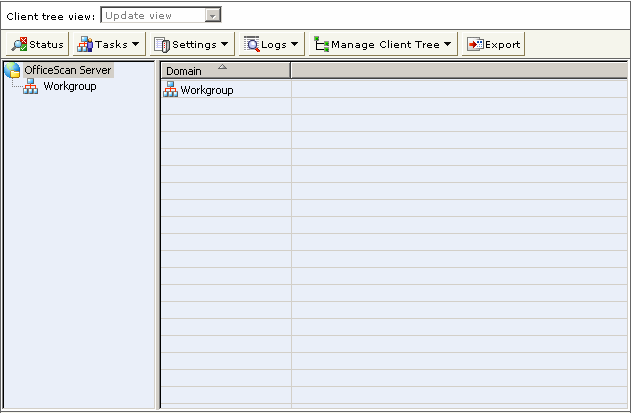
After selecting a domain, the client tree table expands to show the clients belonging to the domain and all the columns containing relevant information for each client. To view only a set of related columns, select an item in Client tree view.
Update view: Shows all the components and programs that you can update
Antivirus view: Shows antivirus components
Firewall view: Shows firewall components
Anti-spyware view: Shows anti-spyware components
View all: Shows all columns
Rearrange columns by dragging the column titles to different positions in the client tree. OfficeScan automatically saves the new column positions.
Sort clients based on column information by clicking the column name.
Refresh the client tree
by clicking  .
.